Epson Perfection 1640SU Office Scanner Basics - Page 37
Scanning Projects, Scanning to E- mail
 |
View all Epson Perfection 1640SU Office manuals
Add to My Manuals
Save this manual to your list of manuals |
Page 37 highlights
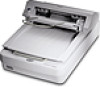
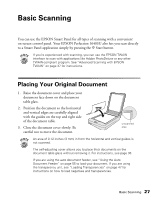
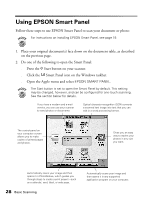
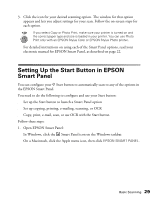
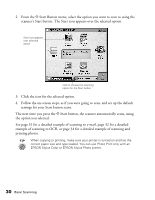
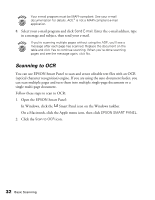
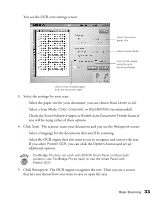
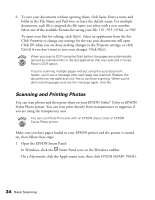
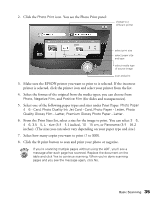
Scanning Projects The following sections include step-by-step scanning projects for three of the Smart Panel scanning options: Scan to E-mail, Scan to OCR, and Photo Print. The steps for the other Smart Panel options are similar. For detailed instructions, see your electronic manual for EPSON Smart Panel. Scanning to E-mail You can scan photos or documents and then attach the resulting files to an e-mail message. Follow these steps to scan to e-mail: 1. Open the EPSON Smart Panel: In Windows, click the Smart Panel icon on the Windows taskbar. On a Macintosh, click the Apple menu icon, then click EPSON SMART PANEL. 2. Click the Scan to E-mail icon. 3. Select the document settings for your scans: s Select the document type for your source image. s Select a destination setting. s Check the Scan Multiple Images or Enable Auto Document Feeder boxes if you will be using either of these options. 4. Click Scan. The scanner scans your image(s). 5. Click Specify Name and Format. You see the following: 6. Choose a format for your file(s). If you save your file in the JPEG format, you can select a compression option from the Options list. If you select RTF, your scan is saved as an image in the RTF file; it is not converted to editable text. 7. Click Apply and then click Finish. A screen appears showing any available e-mail programs on your system. Basic Scanning 31
-
 1
1 -
2
-
3
-
4
-
5
-
6
-
7
-
8
-
9
-
10
-
11
-
12
-
13
-
14
-
15
-
16
-
17
-
18
-
19
-
20
-
21
-
22
-
23
-
24
-
25
-
26
-
27
-
28
-
29
-
30
-
31
-
 32
32 -
 33
33 -
 34
34 -
 35
35 -
 36
36 -
 37
37 -
 38
38 -
 39
39 -
 40
40 -
 41
41 -
 42
42 -
43
-
44
-
45
-
46
-
47
-
48
-
49
-
50
-
51
-
52
-
53
-
54
-
55
-
56
-
57
-
58
-
59
-
60
-
61
-
62
-
63
-
64
-
65
-
66
-
67
-
68
-
69
-
70
-
71
-
72
-
73
-
74
-
75
-
76
-
77
-
78
-
79
-
80
-
81
-
82
-
83
-
84
-
85
-
86
-
87
-
88
-
89
-
90
-
91
-
92
 |
 |