Epson Perfection 1640SU Office Scanner Basics - Page 48
Selecting TWAIN Settings
 |
View all Epson Perfection 1640SU Office manuals
Add to My Manuals
Save this manual to your list of manuals |
Page 48 highlights
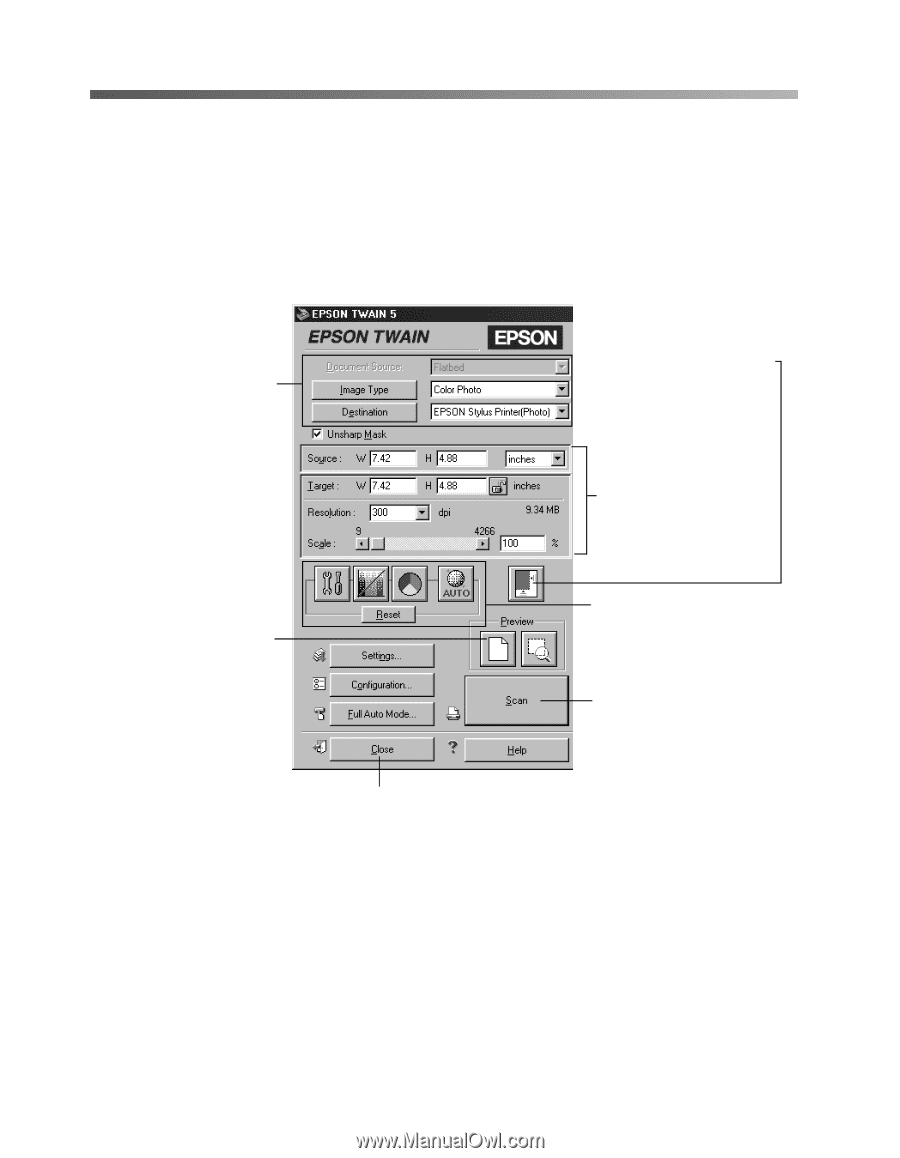
Selecting TWAIN Settings The illustration below shows the different settings you can adjust in the EPSON TWAIN window, and the preferred order you should adjust them in. Detailed descriptions are given in your electronic Reference Guide. Manually adjust settings in the EPSON TWAIN window in the following order: 1 Select the basic settings: Document Source Image Type Destination 3 Automatically set the scan area for your image using Auto Locate 4 Size or scale the image (be sure to increase the Resolution if you increase the size or scale) 2 Preview your image 5 Customize your Settings, Configuration, and use color management 6 Scan the image into your application 7 Close the EPSON TWAIN window 42 Advanced Scanning with EPSON TWAIN
-
 1
1 -
2
-
3
-
4
-
5
-
6
-
7
-
8
-
9
-
10
-
11
-
12
-
13
-
14
-
15
-
16
-
17
-
18
-
19
-
20
-
21
-
22
-
23
-
24
-
25
-
26
-
27
-
28
-
29
-
30
-
31
-
32
-
33
-
34
-
35
-
36
-
37
-
38
-
39
-
40
-
41
-
42
-
 43
43 -
 44
44 -
 45
45 -
 46
46 -
 47
47 -
 48
48 -
 49
49 -
 50
50 -
 51
51 -
 52
52 -
 53
53 -
54
-
55
-
56
-
57
-
58
-
59
-
60
-
61
-
62
-
63
-
64
-
65
-
66
-
67
-
68
-
69
-
70
-
71
-
72
-
73
-
74
-
75
-
76
-
77
-
78
-
79
-
80
-
81
-
82
-
83
-
84
-
85
-
86
-
87
-
88
-
89
-
90
-
91
-
92
 |
 |
42
Advanced Scanning with EPSON TWAIN
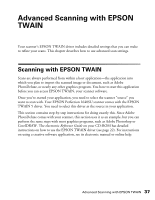
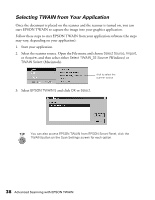
Selecting TWAIN Settings
The illustration below shows the different settings you can adjust in the EPSON
TWAIN window, and the preferred order you should adjust them in. Detailed
descriptions are given in your electronic
Reference Guide
.
Manually adjust settings in the EPSON TWAIN window in the following order:
1
Select the basic settings:
Document Source
Image Type
Destination
2
Preview your image
3
Automatically set the scan
area for your image using
Auto Locate
4
Size or scale the image
(be sure to increase the
Resolution if you increase
the size or scale)
5
Customize your Settings,
Configuration, and use
color management
6
Scan the image into your
application
7
Close the EPSON TWAIN window