Konica Minolta Kodak Ngenuity 9090DB User Guide - Page 26
Custom Functions, Feed Test Batch, Eject, Clean Print Head, Audio, Volume, Mute, Low, Medium
 |
View all Konica Minolta Kodak Ngenuity 9090DB manuals
Add to My Manuals
Save this manual to your list of manuals |
Page 26 highlights
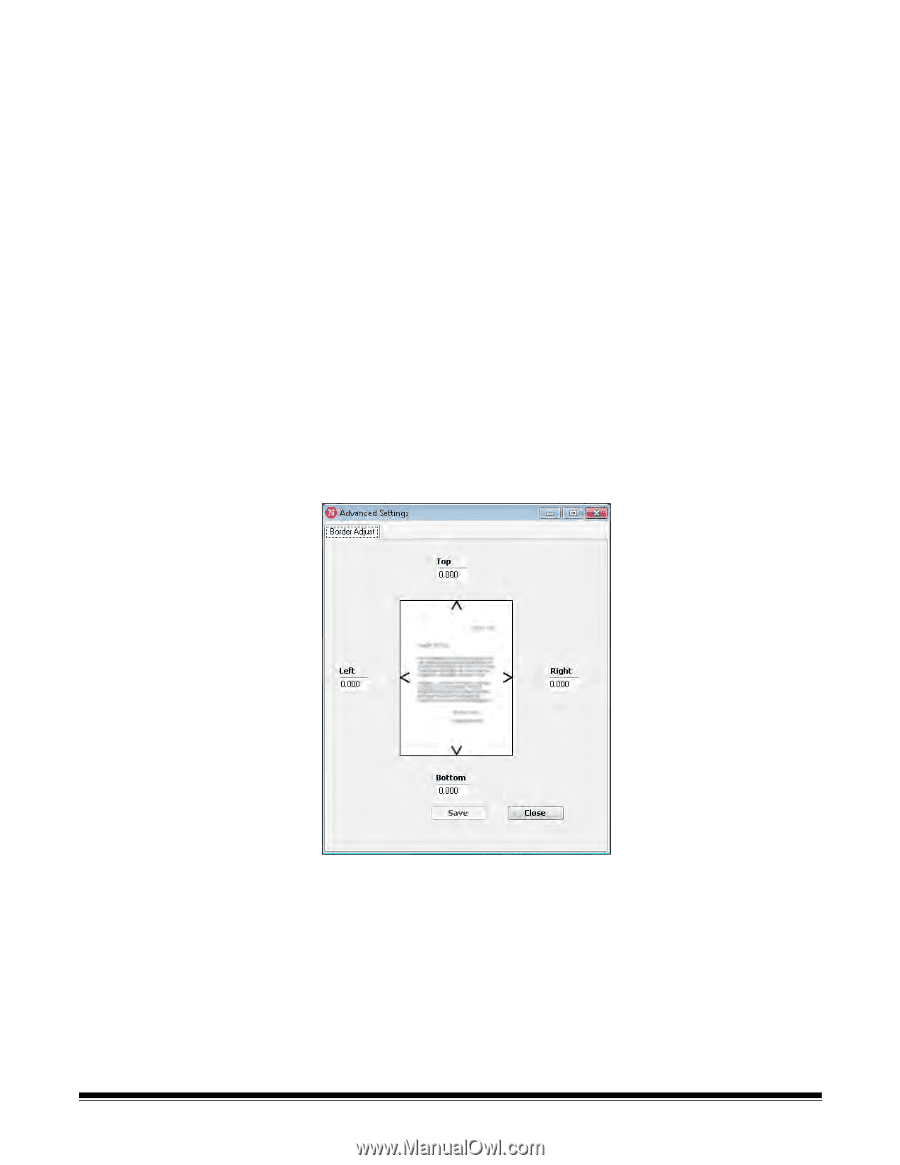
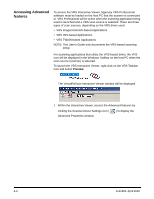
Custom Functions - allows you to set a function for the F1 and F2 buttons on the control panel. Available options are: • None: no function will be performed when F1/F2 is pressed. • Feed Test Batch: activates the Test feed mode which is used to test and verify the scanner's feeding capabilities and allows you to feed transport cleaning sheets. This is the default setting for the F1 key. • Page Eject: will activate the transport to eject multi-fed documents or clear the transport after a stop. This is the default setting for the F2 key. • Clean Print Head: if you have the optional imprinter installed, will activate the imprinter to clean the print head. Audio - allows you to set the volume of a selected sound that alerts you to an error. • Volume: can be set to Mute, Low, Medium or High. • Error Sound: one of three sounds can be selected: Sound1, Sound2, Sound3. Click Play Sound to hear the currently active error sound. Advanced - when you click Advanced, the Advanced Settings screen will be displayed. A-61662 April 2010 From this screen, you can adjust the image boundaries or borders of a scanned image which is determined by autocrop. Each side of a scanned image can be individually adjusted by cropping or adding extra black border. This only affects images as part of the scanning process. This adjustment cannot be made to an existing image. The range of adjustment is between -0.500 to 0.500 inches; negative values crop, and positive values add extra border. The default values are 0.000 for all sides. When finished, click Save to save your changes and close the Advanced Settings window. 3-13
-
 1
1 -
2
-
3
-
4
-
5
-
6
-
7
-
8
-
9
-
10
-
11
-
12
-
13
-
14
-
15
-
16
-
17
-
18
-
19
-
20
-
 21
21 -
 22
22 -
 23
23 -
 24
24 -
 25
25 -
 26
26 -
 27
27 -
 28
28 -
 29
29 -
 30
30 -
 31
31 -
32
-
33
-
34
-
35
-
36
-
37
-
38
-
39
-
40
-
41
-
42
-
43
-
44
-
45
-
46
-
47
-
48
-
49
-
50
-
51
-
52
-
53
-
54
-
55
-
56
-
57
-
58
-
59
-
60
-
61
-
62
-
63
-
64
-
65
-
66
-
67
-
68
-
69
-
70
-
71
-
72
-
73
-
74
-
75
-
76
-
77
-
78
 |
 |