Konica Minolta bizhub PRESS C6000 IC-307 User Guide - Page 84
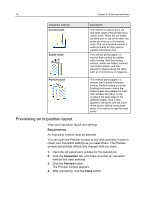
Printing a saddle-stitch job, Imposition Template Builder tool, Requirements, Storage, Method
 |
View all Konica Minolta bizhub PRESS C6000 manuals
Add to My Manuals
Save this manual to your list of manuals |
Page 84 highlights
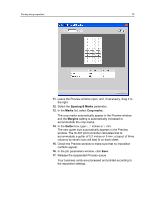
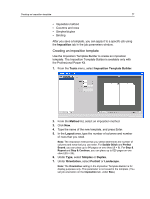
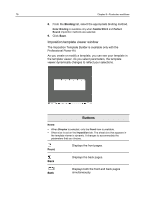
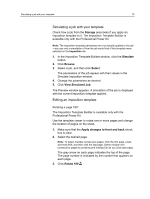
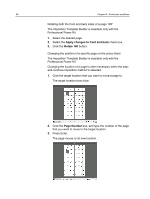
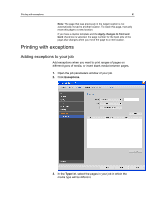
76 Chapter 8-Production workflows Printing a saddle-stitch job Use the saddle-stitch imposition method to print two sets of the same job on one press sheet to save paper and production time. Requirements: This example assumes the following: ● Your job is an eight-page brochure, with a custom trim size of 5.27 by 3.34 inches, or 134 by 85 mm. ● Tabloid or A3 paper is loaded in the printer. 1. In the Storage area, double-click your job. 2. In the Method list, select Saddle stitch. 3. In the Sets per sheet list, select 2 to print two sets of your imposed job on one press sheet. 4. Click Spacing & Marks. 5. In the Marks list, select Crop marks. 6. In the Custom bleed size box, type 0.118 inches or 3 mm. 7. Click the Preview button. The Preview window appears, displaying a schematic representation of your imposition layout. Note: When you print your job, a space of 0.39 inches, or 10 mm, is automatically added between the two sets on the sheet. 8. Close the Preview window. 9. Click Submit. Your job is processed and printed according to the imposition settings for two sets per sheet. You have used most of the sheet's space and saved on paper. You can also easily cut and staple the two brochures. Imposition Template Builder tool Imposition Template Builder overview The Imposition Template Builder is available only with the Professional Power Kit. The Imposition Template Builder enables you to save imposition layouts and reuse them for different jobs, without having to define the same layout repeatedly. The Imposition Template Builder also enables you to create and save templates with special layouts that cannot be created on the Imposition tab alone. You can create templates that have the following imposition settings in common:
-
 1
1 -
2
-
3
-
4
-
5
-
6
-
7
-
8
-
9
-
10
-
11
-
12
-
13
-
14
-
15
-
16
-
17
-
18
-
19
-
20
-
21
-
22
-
23
-
24
-
25
-
26
-
27
-
28
-
29
-
30
-
31
-
32
-
33
-
34
-
35
-
36
-
37
-
38
-
39
-
40
-
41
-
42
-
43
-
44
-
45
-
46
-
47
-
48
-
49
-
50
-
51
-
52
-
53
-
54
-
55
-
56
-
57
-
58
-
59
-
60
-
61
-
62
-
63
-
64
-
65
-
66
-
67
-
68
-
69
-
70
-
71
-
72
-
73
-
74
-
75
-
76
-
77
-
78
-
 79
79 -
 80
80 -
 81
81 -
 82
82 -
 83
83 -
 84
84 -
 85
85 -
 86
86 -
 87
87 -
 88
88 -
 89
89 -
90
-
91
-
92
-
93
-
94
-
95
-
96
-
97
-
98
-
99
-
100
-
101
-
102
-
103
-
104
-
105
-
106
-
107
-
108
-
109
-
110
-
111
-
112
-
113
-
114
-
115
-
116
-
117
-
118
-
119
-
120
-
121
-
122
-
123
-
124
-
125
-
126
-
127
-
128
-
129
-
130
-
131
-
132
-
133
-
134
-
135
-
136
-
137
-
138
-
139
-
140
-
141
-
142
-
143
-
144
-
145
-
146
-
147
-
148
-
149
-
150
-
151
-
152
-
153
-
154
-
155
-
156
-
157
-
158
-
159
-
160
-
161
-
162
-
163
-
164
-
165
-
166
-
167
-
168
-
169
-
170
-
171
-
172
-
173
-
174
-
175
-
176
-
177
-
178
-
179
-
180
-
181
-
182
-
183
-
184
-
185
-
186
-
187
-
188
-
189
-
190
-
191
-
192
-
193
-
194
-
195
-
196
 |
 |