Panasonic VDR M50 Dvd Camcorder - Page 91
LCD SETUP, Setting Brightness of LCD Screen Brightness
 |
UPC - 037988251209
View all Panasonic VDR M50 manuals
Add to My Manuals
Save this manual to your list of manuals |
Page 91 highlights
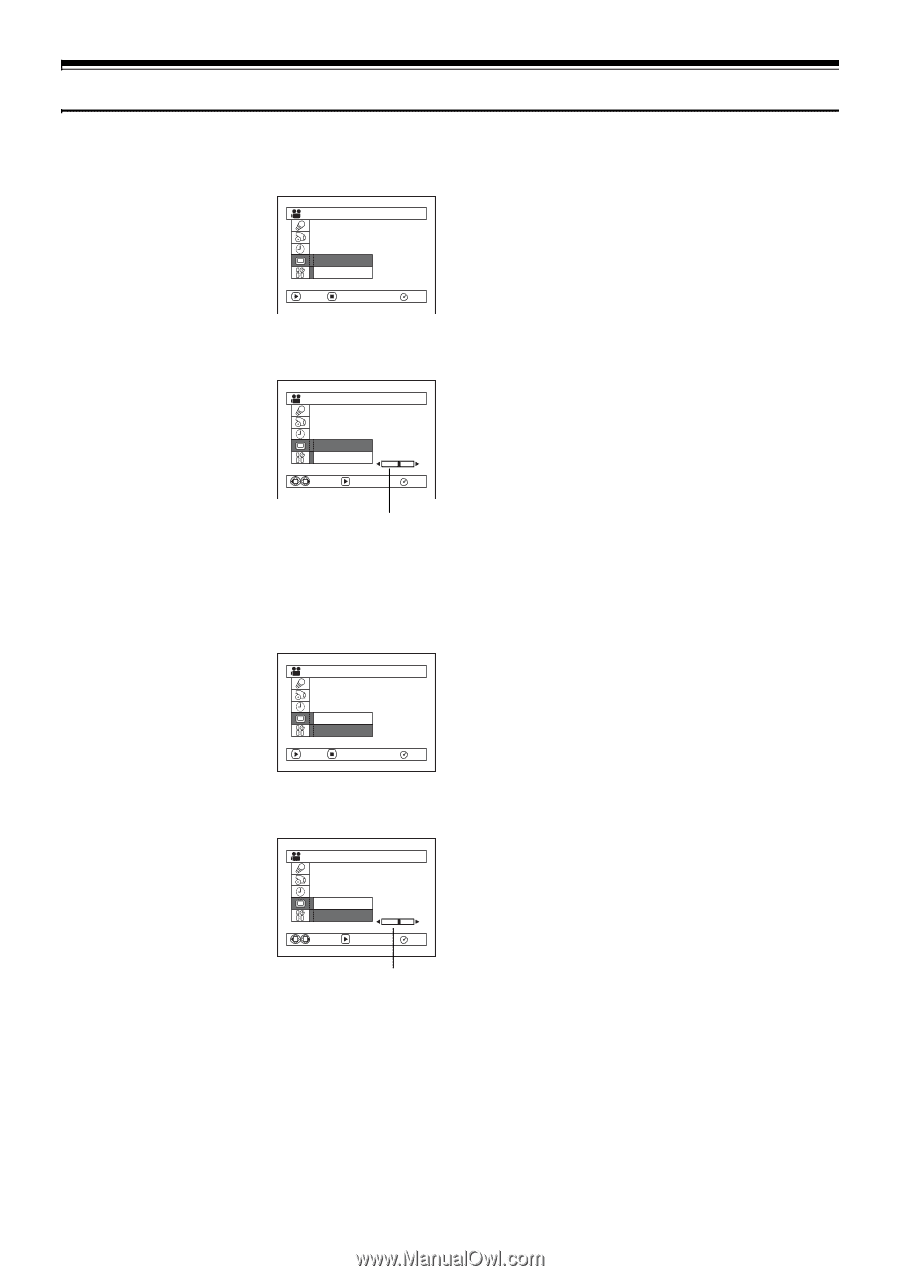
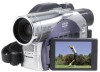
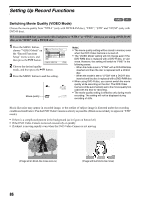
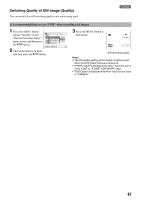
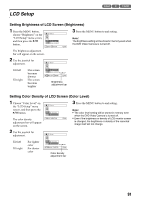
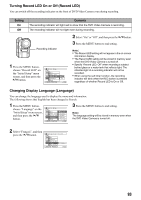
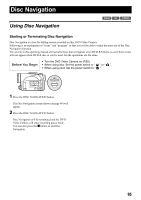
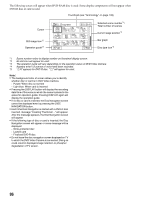
LCD Setup 123 Setting Brightness of LCD Screen (Brightness) 1 Press the MENU button, choose "Brightness" on the LCD Setup 3 Press the MENU button to end setting. "LCD Setup" menu screen, Note: and then press the A button. Br i ghtness Co l o r L e v e l The brightness setting will be stored in memory even when the DVD Video Camera is turned off. ENTER RETURN RAM The brightness adjustment bar will appear on the screen. 2 Use the joystick for adjustment. LCD S e t u p Tilt left Tilt right :The screen becomes dimmer :The screen becomes brighter Br i ghtness Co l o r L e v e l ADJUST ENTER RAM Brightness adjustment bar Setting Color Density of LCD Screen (Color Level) 1 Choose "Color Level" on the "LCD Setup" menu LCD Setup 3 Press the MENU button to end setting. screen, and then press the Note: A button. Br i ghtness Co l o r L e v e l • The color level setting will be stored in memory even when the DVD Video Camera is turned off. The color density adjustment bar will appear on the screen. ENTER RETURN RAM • Even if the brightness or density of LCD monitor screen is changed, the brightness or density of the recorded image itself will not change. 2 Use the joystick for adjustment. LCD S e t u p Tilt left Tilt right :For lighter color :For denser color Br i ghtness Co l o r L e v e l ADJUST ENTER RAM Color density adjustment bar 91
-
 1
1 -
2
-
3
-
4
-
5
-
6
-
7
-
8
-
9
-
10
-
11
-
12
-
13
-
14
-
15
-
16
-
17
-
18
-
19
-
20
-
21
-
22
-
23
-
24
-
25
-
26
-
27
-
28
-
29
-
30
-
31
-
32
-
33
-
34
-
35
-
36
-
37
-
38
-
39
-
40
-
41
-
42
-
43
-
44
-
45
-
46
-
47
-
48
-
49
-
50
-
51
-
52
-
53
-
54
-
55
-
56
-
57
-
58
-
59
-
60
-
61
-
62
-
63
-
64
-
65
-
66
-
67
-
68
-
69
-
70
-
71
-
72
-
73
-
74
-
75
-
76
-
77
-
78
-
79
-
80
-
81
-
82
-
83
-
84
-
85
-
 86
86 -
 87
87 -
 88
88 -
 89
89 -
 90
90 -
 91
91 -
 92
92 -
 93
93 -
 94
94 -
 95
95 -
 96
96 -
97
-
98
-
99
-
100
-
101
-
102
-
103
-
104
-
105
-
106
-
107
-
108
-
109
-
110
-
111
-
112
-
113
-
114
-
115
-
116
-
117
-
118
-
119
-
120
-
121
-
122
-
123
-
124
-
125
-
126
-
127
-
128
-
129
-
130
-
131
-
132
-
133
-
134
-
135
-
136
-
137
-
138
-
139
-
140
-
141
-
142
-
143
-
144
-
145
-
146
-
147
-
148
-
149
-
150
-
151
-
152
-
153
-
154
-
155
-
156
-
157
-
158
-
159
-
160
-
161
-
162
-
163
-
164
-
165
-
166
-
167
-
168
-
169
-
170
-
171
-
172
-
173
-
174
 |
 |