Sony DPP-EX50 Operating Instructions - Page 107
Printing
 |
UPC - 027242639546
View all Sony DPP-EX50 manuals
Add to My Manuals
Save this manual to your list of manuals |
Page 107 highlights
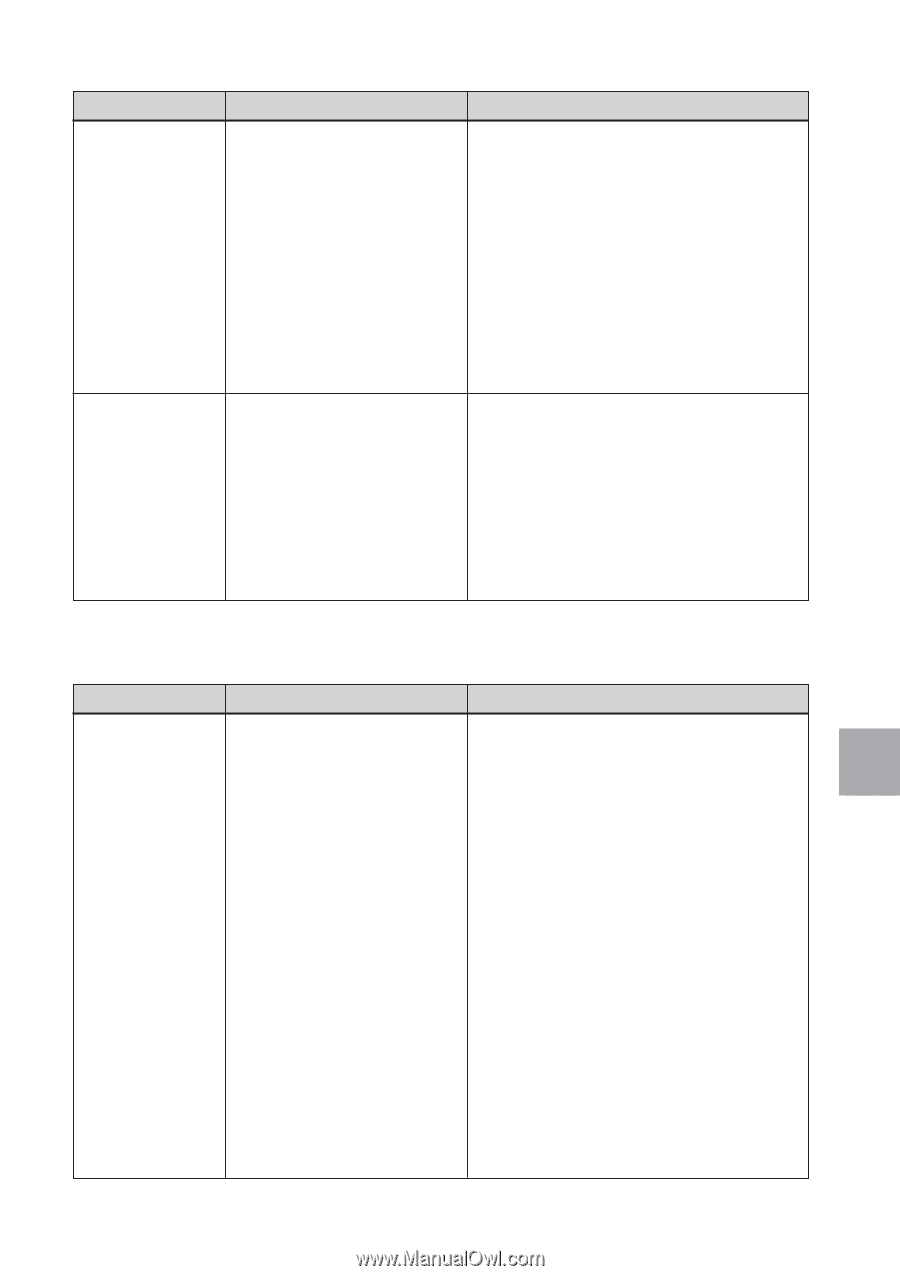
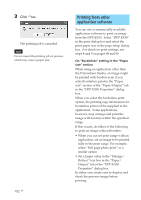
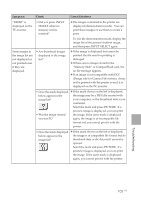
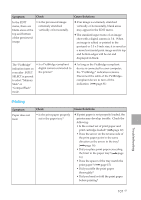
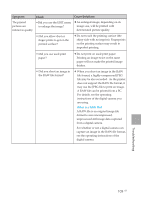
Symptom Check In the EDIT menu, there are blank areas at the top and bottom of the previewed image. • Is the previewed image extremely stretched vertically or horizontally. Cause/Solutions c If an image is extremely stretched vertically or horizontally, blank areas may appear in the EDIT menu. c The standard aspect ratio of an image shot with a digital camera is 3:4. When an image is edited or printed in the postcard or 3.5 x 5 inch size, it is saved as a more horizontal print image and its top and bottom edges will be cut and displayed in black. The "PictBridge" indication turns on even after INPUT SELECT is pressed to select "Memory Stick" or "CompactFlash" mode. • Is a PictBridge-compliant digital camera connected to the printer? c As long as the PictBridge-compliant device is connected to your computer, the "PictBridge" indication remains. Disconnect the cable of the PictBridgecompliant device to turn off the indication. (.page 81) Printing Symptom Paper does not feed. Check • Is the print paper properly set in the paper tray? Cause/Solutions c If print paper is not properly loaded, the printer may develop trouble. Check the following: • Is the correct set of print paper and print cartridge loaded? (.page 12) • Does the arrow on the reverse side of the print paper point in the same direction as the arrow in the tray? (.page 16) • Did you place print paper exceeding the limit in the paper tray? (.page 16) • Does the spacer of the tray match the print paper? (.page 15) • Did you riffle the print paper thoroughly? • Did you bend or fold the print paper before printing? Troubleshooting 107 GB
-
 1
1 -
2
-
3
-
4
-
5
-
6
-
7
-
8
-
9
-
10
-
11
-
12
-
13
-
14
-
15
-
16
-
17
-
18
-
19
-
20
-
21
-
22
-
23
-
24
-
25
-
26
-
27
-
28
-
29
-
30
-
31
-
32
-
33
-
34
-
35
-
36
-
37
-
38
-
39
-
40
-
41
-
42
-
43
-
44
-
45
-
46
-
47
-
48
-
49
-
50
-
51
-
52
-
53
-
54
-
55
-
56
-
57
-
58
-
59
-
60
-
61
-
62
-
63
-
64
-
65
-
66
-
67
-
68
-
69
-
70
-
71
-
72
-
73
-
74
-
75
-
76
-
77
-
78
-
79
-
80
-
81
-
82
-
83
-
84
-
85
-
86
-
87
-
88
-
89
-
90
-
91
-
92
-
93
-
94
-
95
-
96
-
97
-
98
-
99
-
100
-
101
-
 102
102 -
 103
103 -
 104
104 -
 105
105 -
 106
106 -
 107
107 -
 108
108 -
 109
109 -
 110
110 -
 111
111 -
 112
112 -
113
-
114
-
115
-
116
-
117
-
118
-
119
-
120
-
121
-
122
-
123
-
124
-
125
-
126
-
127
-
128
-
129
-
130
-
131
-
132
-
133
-
134
-
135
-
136
-
137
-
138
-
139
-
140
-
141
-
142
-
143
-
144
 |
 |