Epson PowerLite 8150i User Manual - Page 30
Saving Your Drawings and Notes, Capturing an Image
 |
View all Epson PowerLite 8150i manuals
Add to My Manuals
Save this manual to your list of manuals |
Page 30 highlights
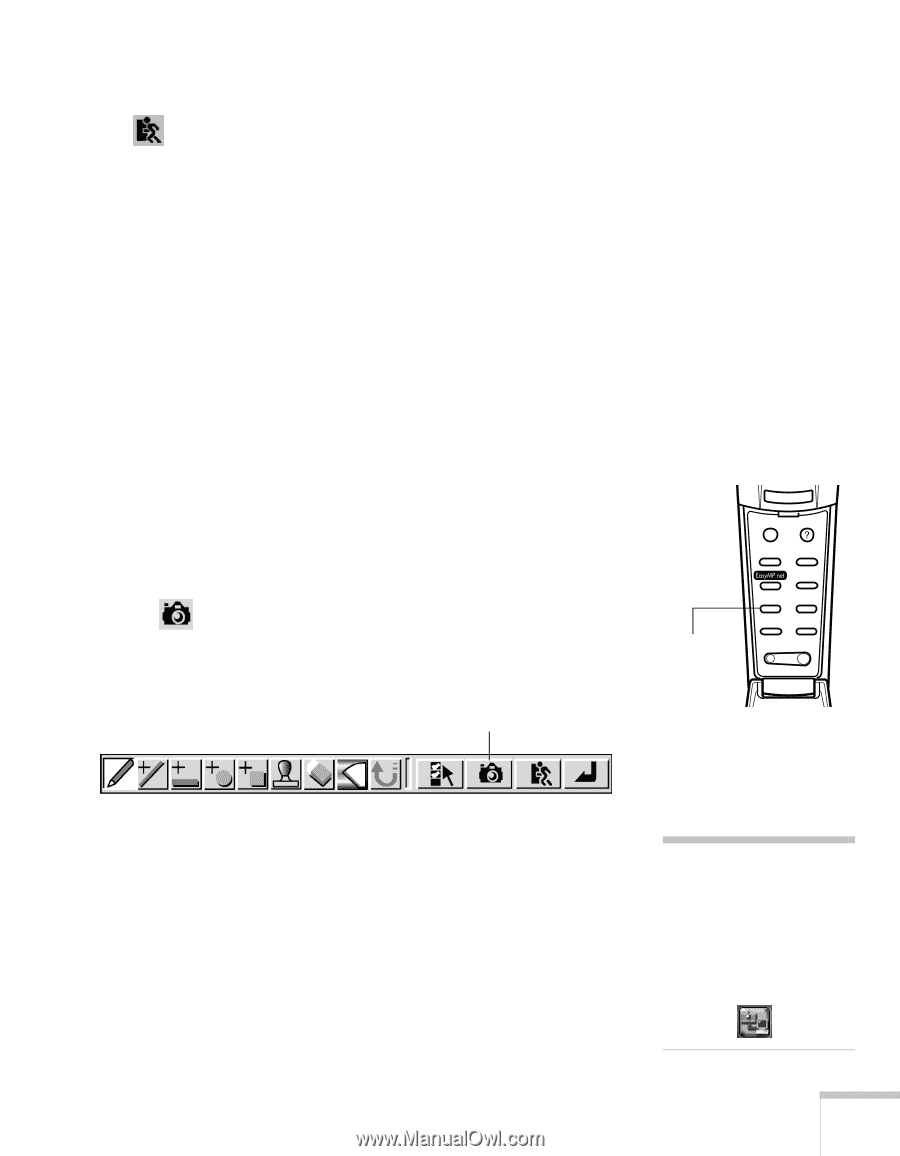
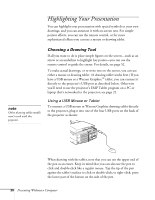
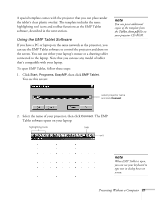
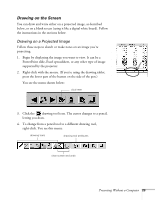
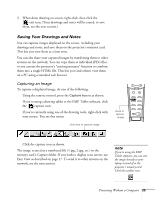
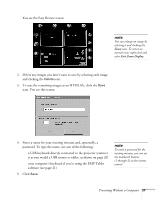
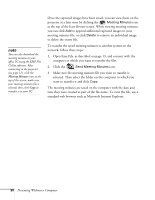
3. When done drawing on screen, right-click, then click the exit icon. (Your drawings and notes will be erased; to save them, see the next section.) Saving Your Drawings and Notes You can capture images displayed on the screen, including your drawings and notes, and save them on the projector's memory card. This lets you view them at a later time. You can also share your captured images by transferring them to other systems on the network. You can copy them as individual JPEG files, or you can use the projector's "meeting minutes" function to combine them into a single HTML file. This lets you (and others) view them on a PC using a standard web browser. Capturing an Image To capture a displayed image, do one of the following: s Using the remote control, press the Capture button as shown. s If you're using a drawing tablet or the EMP Tablet software, click the capture icon. s If you're currently using one of the drawing tools, right-click with your mouse. You see this menu: click here to capture image press to capture image Esc Menu Help Comp1 Comp2/YCbCr Capture Auto Video APPs Resize P in P Preset - Volume + Click the capture icon as shown. The image is saved as a numbered file (1.jpg, 2.jpg, etc.) in the memory card's Capture folder. If you wish to display it on screen, use Easy View as described on page 17. To send it to other systems on the network, see the next section. note If you're using the EMP Tablet software, you can save the image directly to your laptop instead of to the projector's memory card. Click this toolbar icon: Presenting Without a Computer 25
-
 1
1 -
2
-
3
-
4
-
5
-
6
-
7
-
8
-
9
-
10
-
11
-
12
-
13
-
14
-
15
-
16
-
17
-
18
-
19
-
20
-
21
-
22
-
23
-
24
-
 25
25 -
 26
26 -
 27
27 -
 28
28 -
 29
29 -
 30
30 -
 31
31 -
 32
32 -
 33
33 -
 34
34 -
 35
35 -
36
-
37
-
38
-
39
-
40
-
41
-
42
-
43
-
44
-
45
-
46
-
47
-
48
-
49
-
50
-
51
-
52
-
53
-
54
-
55
-
56
-
57
-
58
-
59
-
60
-
61
-
62
-
63
-
64
-
65
-
66
-
67
-
68
-
69
-
70
-
71
-
72
-
73
-
74
-
75
-
76
-
77
-
78
-
79
-
80
-
81
-
82
-
83
 |
 |