Epson PowerLite 8150i User Manual - Page 71
The image isn't square, but trapezoid-shaped., The image contains static or noise.
 |
View all Epson PowerLite 8150i manuals
Add to My Manuals
Save this manual to your list of manuals |
Page 71 highlights
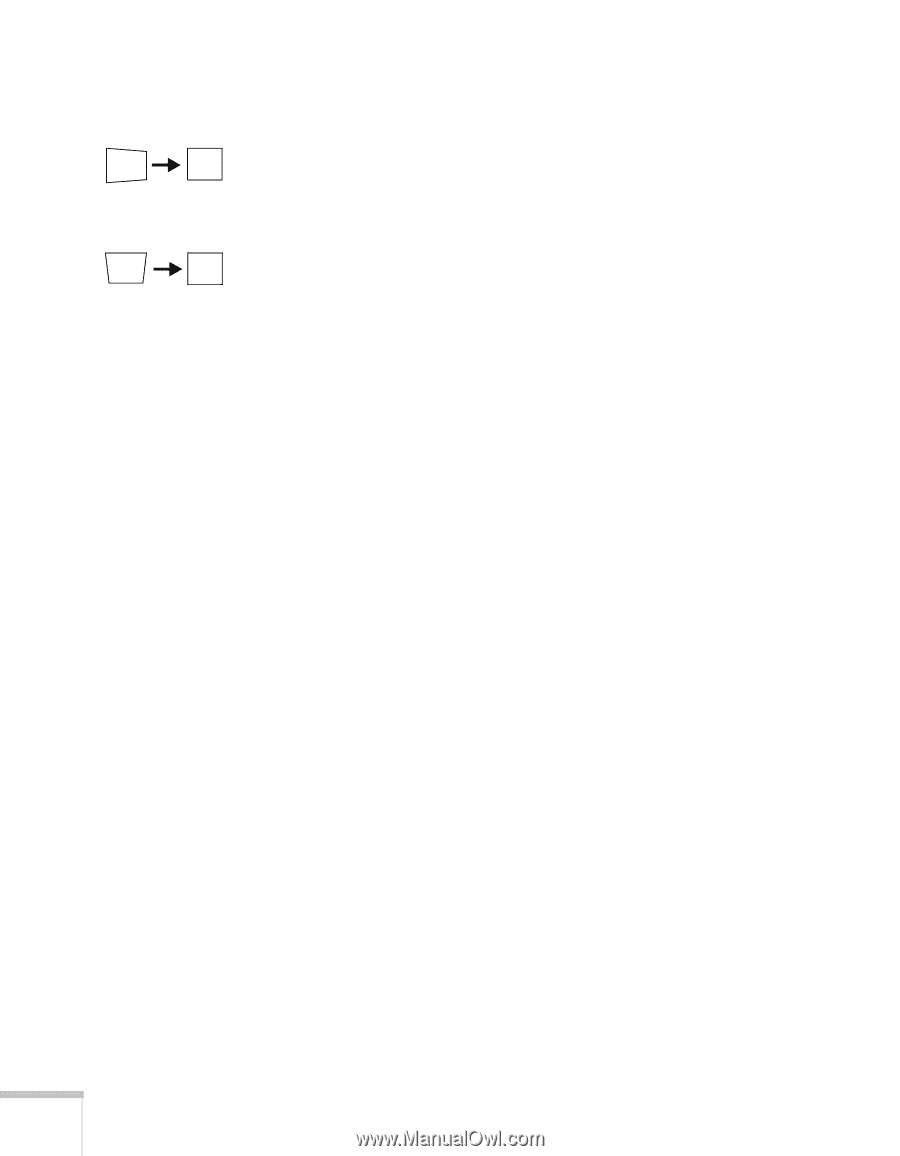
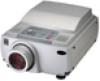
The image isn't square, but trapezoid-shaped. s Make sure the projector isn't placed off to one side of the screen, at an angle. Place the projector directly in front of the center of the screen, facing the screen squarely. s If you've tilted the projector upward by extending the legs, the image will be broader at the top. Hold down the + or - side of the Keystone button on top of the projector until the image is square. The image contains static or noise. s If you've connected a device to the Computer 2/Component Video port, make sure the BNC option in the Setting menu is correct. See the Administrator's Manual. s If you're using a computer cable longer than 6 feet, the image quality may be reduced. s Keep your computer and video cables separated from the power cord as much as possible to prevent interference. s The video signal may be split between the computer and the projector. If you notice a decline in the projected image quality when the image is displayed simultaneously on your laptop computer and the projector, turn off the laptop's LCD display; see your laptop's manual for instructions. The image is blurry. s There may be dirt or smears on the lens. Clean the lens as described in the Administrator's Manual. s Adjust the focus using the focus ring. s Adjust the Sharpness setting in the Video menu (see the Administrator's Manual). If you're projecting from a computer, you may also need to adjust the Tracking and Sync as described in the next section. If you don't like the new settings, you can always select Reset to return to the factory default settings. 66 Solving Problems
-
 1
1 -
2
-
3
-
4
-
5
-
6
-
7
-
8
-
9
-
10
-
11
-
12
-
13
-
14
-
15
-
16
-
17
-
18
-
19
-
20
-
21
-
22
-
23
-
24
-
25
-
26
-
27
-
28
-
29
-
30
-
31
-
32
-
33
-
34
-
35
-
36
-
37
-
38
-
39
-
40
-
41
-
42
-
43
-
44
-
45
-
46
-
47
-
48
-
49
-
50
-
51
-
52
-
53
-
54
-
55
-
56
-
57
-
58
-
59
-
60
-
61
-
62
-
63
-
64
-
65
-
 66
66 -
 67
67 -
 68
68 -
 69
69 -
 70
70 -
 71
71 -
 72
72 -
 73
73 -
 74
74 -
 75
75 -
 76
76 -
77
-
78
-
79
-
80
-
81
-
82
-
83
 |
 |