HP 750c HP DesignJet 700 user guide - Page 75
Example 1: Changing Margins
 |
View all HP 750c manuals
Add to My Manuals
Save this manual to your list of manuals |
Page 75 highlights
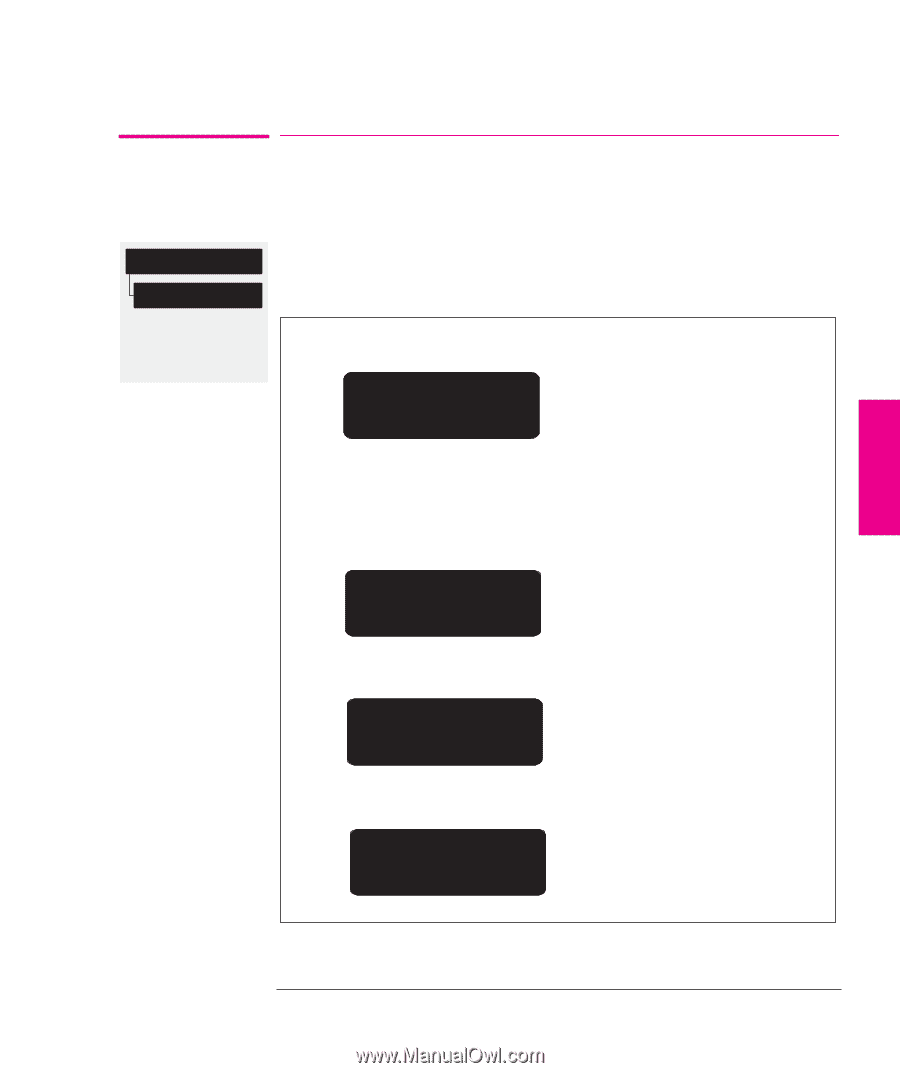
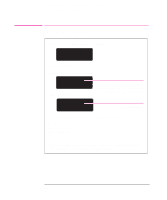
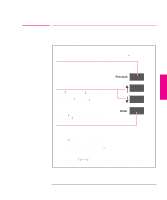
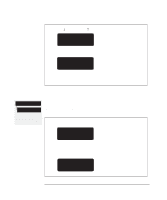
Learning How To Use the Front-Panel Display Examples FRONT-PANEL 2 TUTORIAL Page format Margins Full menu mode Default: Normal Affects next plot Examples Example 1: Changing Margins In the section of this manual that describes how to adjust the page margins, the icon on the left is shown, indicating that you should go to the MARGINS menu as follows. With the STATUS screen displayed: STATUS Ready 1 Enter the menu system by pressing the Enter key. Either the SHORT MENUS screen or the FULL MENUS screen is displayed with the Queueing & Nesting option. If necessary, see page 1-31 and change to full menu mode. FULL MENUS Queueing & Nesting 2 Press the ° key once, or the ± key 6 times, to display the required option. FULL MENUS Page format³ 3 Press the Enter key. PAGE FORMAT Size=ISO³ Continued... 2-11
-
 1
1 -
2
-
3
-
4
-
5
-
6
-
7
-
8
-
9
-
10
-
11
-
12
-
13
-
14
-
15
-
16
-
17
-
18
-
19
-
20
-
21
-
22
-
23
-
24
-
25
-
26
-
27
-
28
-
29
-
30
-
31
-
32
-
33
-
34
-
35
-
36
-
37
-
38
-
39
-
40
-
41
-
42
-
43
-
44
-
45
-
46
-
47
-
48
-
49
-
50
-
51
-
52
-
53
-
54
-
55
-
56
-
57
-
58
-
59
-
60
-
61
-
62
-
63
-
64
-
65
-
66
-
67
-
68
-
69
-
 70
70 -
 71
71 -
 72
72 -
 73
73 -
 74
74 -
 75
75 -
 76
76 -
 77
77 -
 78
78 -
 79
79 -
 80
80 -
81
-
82
-
83
-
84
-
85
-
86
-
87
-
88
-
89
-
90
-
91
-
92
-
93
-
94
-
95
-
96
-
97
-
98
-
99
-
100
-
101
-
102
-
103
-
104
-
105
-
106
-
107
-
108
-
109
-
110
-
111
-
112
-
113
-
114
-
115
-
116
-
117
-
118
-
119
-
120
-
121
-
122
-
123
-
124
-
125
-
126
-
127
-
128
-
129
-
130
-
131
-
132
-
133
-
134
-
135
-
136
-
137
-
138
-
139
-
140
-
141
-
142
-
143
-
144
-
145
-
146
-
147
-
148
-
149
-
150
-
151
-
152
-
153
-
154
-
155
-
156
-
157
-
158
-
159
-
160
-
161
-
162
-
163
-
164
-
165
-
166
-
167
-
168
-
169
-
170
-
171
-
172
-
173
-
174
-
175
-
176
-
177
-
178
-
179
-
180
-
181
-
182
-
183
-
184
-
185
-
186
-
187
-
188
-
189
-
190
-
191
-
192
-
193
-
194
-
195
-
196
-
197
-
198
-
199
-
200
-
201
-
202
-
203
-
204
-
205
-
206
-
207
-
208
-
209
-
210
-
211
-
212
-
213
-
214
-
215
-
216
-
217
-
218
-
219
-
220
-
221
-
222
 |
 |