HP Deskjet 990c HP DeskJet 990C Series Printer - (English) Online User's Guide - Page 70
Automatic, Normal, The OUT Tray Extension may
 |
View all HP Deskjet 990c manuals
Add to My Manuals
Save this manual to your list of manuals |
Page 70 highlights
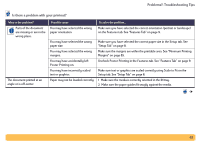
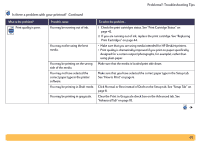
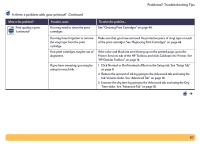
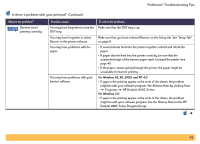
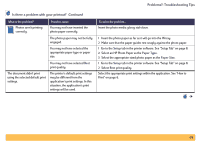
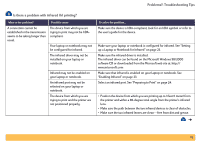
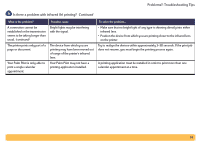
Problems?: Troubleshooting Tips Is there a problem with your printout? Continued What is the problem? The print quality is different if the paper type is set to Automatic rather than the specific paper type. Automatic is set as the paper type, but the printer does not use the optimal paper mode. Automatic is set as the paper type, but when preparing to print, the printer spits out the paper. Paper falls to the floor after printing. Possible cause When the paper type is set to Automatic, the print quality is automatically set to Normal. When the paper type is set to a specific paper type, the default print quality may be something different. The paper may be marked, scratched, or wrinkled. To solve the problem... After selecting a paper type, choose the desired print quality. See "Setup Tab" on page 8. The Automatic Paper-Type Sensor is less accurate if paper is damaged in any way. Make sure the paper is clear and free of scratches or wrinkles. The paper may be letterhead or stationary with a preprinted pattern at the top edge. The paper may be dark in color or contain metallic fibers. The printer may have been placed in direct sunlight, overwhelming the Automatic Paper-Type Sensor. The Automatic Paper-Type Sensor always sets this type of letterhead or stationary to Plain Paper. Manually select the appropriate paper type. See "Setup Tab" on page 8. The Automatic Paper-Type Sensor may set this type of media to Plain Paper. Manually select the appropriate paper type. See "Setup Tab" on page 8. Move the printer out of direct sunlight. The OUT Tray Extension may not be pulled out. Gently pull out the OUT Tray Extension. When your print job finishes, push the OUT Tray Extension back into its storage slot. See "OUT Tray" on page 5. 70
-
 1
1 -
2
-
3
-
4
-
5
-
6
-
7
-
8
-
9
-
10
-
11
-
12
-
13
-
14
-
15
-
16
-
17
-
18
-
19
-
20
-
21
-
22
-
23
-
24
-
25
-
26
-
27
-
28
-
29
-
30
-
31
-
32
-
33
-
34
-
35
-
36
-
37
-
38
-
39
-
40
-
41
-
42
-
43
-
44
-
45
-
46
-
47
-
48
-
49
-
50
-
51
-
52
-
53
-
54
-
55
-
56
-
57
-
58
-
59
-
60
-
61
-
62
-
63
-
64
-
 65
65 -
 66
66 -
 67
67 -
 68
68 -
 69
69 -
 70
70 -
 71
71 -
 72
72 -
 73
73 -
 74
74 -
 75
75 -
76
-
77
-
78
-
79
-
80
-
81
-
82
-
83
-
84
-
85
-
86
-
87
-
88
-
89
-
90
-
91
-
92
-
93
-
94
-
95
-
96
-
97
-
98
-
99
-
100
-
101
-
102
 |
 |
