NVIDIA P128 User Guide - Page 41
Uninstalling the NVIDIA Display Driver Software
 |
UPC - 813999000056
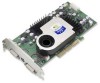
View all NVIDIA P128 manuals
Add to My Manuals
Save this manual to your list of manuals |
Page 41 highlights
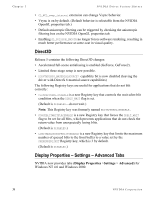
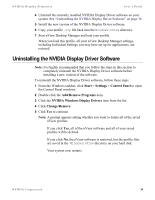
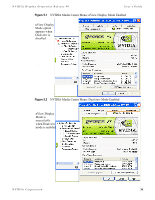
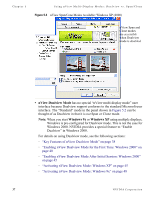
NVIDIA Display Properites User's Guide 4 Uninstall the currently installed NVIDIA Display Driver software on your system. See "Uninstalling the NVIDIA Display Driver Software" on page 34. 5 Install the new version of the NVIDIA Display Driver software. 6 Copy your profile .tvp file back into the Windows\nView directory. 7 Start nView Desktop Manager and load your profile. When you load this profile, all your nView Desktop Manager settings, including Individual Settings you may have set up for applications, are restored. Uninstalling the NVIDIA Display Driver Software Note: It is highly recommended that you follow the steps in this section to completely uninstall the NVIDIA Display Driver software before installing a new version of the software. To uninstall the NVIDIA Display Driver software, follow these steps: 1 From the Windows taskbar, click Start > Settings > Control Panel to open the Control Panel windows. 2 Double click the Add/Remove Programs item. 3 Click the NVIDIA Windows Display Drivers item from the list. 4 Click Change/Remove. 5 Click Yes to continue. Note: A prompt appears asking whether you want to delete all of the saved nView profiles. If you click Yes, all of the nView software and all of your saved profiles will be deleted. If you click No, the nView software is removed, but the profile files are saved in the Windows\nView directory on your hard disk. Your system now restarts. NVIDIA Corporation 34
-
 1
1 -
2
-
3
-
4
-
5
-
6
-
7
-
8
-
9
-
10
-
11
-
12
-
13
-
14
-
15
-
16
-
17
-
18
-
19
-
20
-
21
-
22
-
23
-
24
-
25
-
26
-
27
-
28
-
29
-
30
-
31
-
32
-
33
-
34
-
35
-
 36
36 -
 37
37 -
 38
38 -
 39
39 -
 40
40 -
 41
41 -
 42
42 -
 43
43 -
 44
44 -
 45
45 -
 46
46 -
47
-
48
-
49
-
50
-
51
-
52
-
53
-
54
-
55
-
56
-
57
-
58
-
59
-
60
-
61
-
62
-
63
-
64
-
65
-
66
-
67
-
68
-
69
-
70
-
71
-
72
-
73
-
74
-
75
-
76
-
77
-
78
-
79
-
80
-
81
-
82
-
83
-
84
-
85
-
86
-
87
-
88
-
89
-
90
-
91
-
92
-
93
-
94
-
95
-
96
-
97
-
98
-
99
-
100
-
101
-
102
-
103
-
104
-
105
-
106
-
107
-
108
-
109
-
110
-
111
-
112
-
113
-
114
-
115
-
116
-
117
-
118
-
119
-
120
-
121
-
122
-
123
-
124
-
125
-
126
-
127
-
128
-
129
-
130
-
131
-
132
-
133
-
134
-
135
-
136
-
137
-
138
-
139
-
140
-
141
-
142
-
143
-
144
-
145
-
146
-
147
-
148
-
149
-
150
-
151
-
152
-
153
-
154
-
155
 |
 |