Nokia 3650 User Guide - Page 34
Access points, Use default settings, Use existing settings, Delete, Change, Advanced settings
 |
View all Nokia 3650 manuals
Add to My Manuals
Save this manual to your list of manuals |
Page 34 highlights
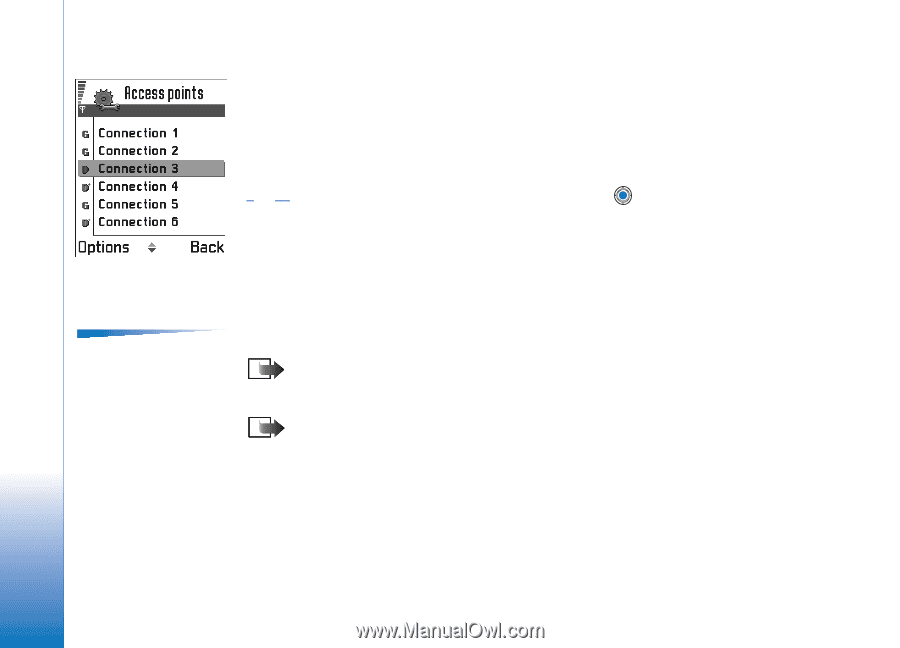
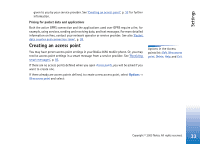
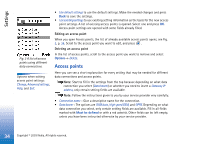
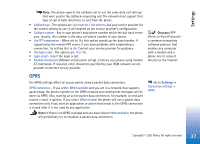
Settings Fig. 3 A list of access points using different data connections. Options when editing access point settings: Change, Advanced settings, Help, and Exit. • Use default settings to use the default settings. Make the needed changes and press Back to save the settings. • Use existing settings to use existing setting information as the basis for the new access point settings. A list of existing access points is opened. Select one and press OK. Access point settings are opened with some fields already filled. Editing an access point When you open Access points, the list of already available access points opens, see Fig. 3, p. 34. Scroll to the access point you want to edit, and press . Deleting an access point In the list of access points, scroll to the access point you want to remove and select Options→ Delete. Access points Here you can see a short explanation for every setting that may be needed for different data connections and access points. Note: Start to fill in the settings from the top because depending on what data connection you select (Data bearer) or whether you need to insert a Gateway IP address, only certain setting fields are available. Note: Follow the instructions given to you by your service provider very carefully. • Connection name - Give a descriptive name for the connection. • Data bearer - The options are GSM data, High speed GSM, and GPRS. Depending on what data connection you select, only certain setting fields are available. Fill in all fields marked with Must be defined or with a red asterisk. Other fields can be left empty, unless you have been instructed otherwise by your service provider. 34 Copyright © 2003 Nokia. All rights reserved.
-
 1
1 -
2
-
3
-
4
-
5
-
6
-
7
-
8
-
9
-
10
-
11
-
12
-
13
-
14
-
15
-
16
-
17
-
18
-
19
-
20
-
21
-
22
-
23
-
24
-
25
-
26
-
27
-
28
-
 29
29 -
 30
30 -
 31
31 -
 32
32 -
 33
33 -
 34
34 -
 35
35 -
 36
36 -
 37
37 -
 38
38 -
 39
39 -
40
-
41
-
42
-
43
-
44
-
45
-
46
-
47
-
48
-
49
-
50
-
51
-
52
-
53
-
54
-
55
-
56
-
57
-
58
-
59
-
60
-
61
-
62
-
63
-
64
-
65
-
66
-
67
-
68
-
69
-
70
-
71
-
72
-
73
-
74
-
75
-
76
-
77
-
78
-
79
-
80
-
81
-
82
-
83
-
84
-
85
-
86
-
87
-
88
-
89
-
90
-
91
-
92
-
93
-
94
-
95
-
96
-
97
-
98
-
99
-
100
-
101
-
102
-
103
-
104
-
105
-
106
-
107
-
108
-
109
-
110
-
111
-
112
-
113
-
114
-
115
-
116
-
117
-
118
-
119
-
120
-
121
-
122
-
123
-
124
-
125
-
126
-
127
-
128
-
129
-
130
-
131
-
132
-
133
-
134
-
135
-
136
-
137
-
138
-
139
-
140
-
141
-
142
-
143
-
144
-
145
-
146
-
147
-
148
-
149
-
150
-
151
-
152
-
153
-
154
-
155
-
156
-
157
 |
 |