HP 1320 Service Manual - Page 178
The toner is loose, and it does not stay attached to the printed
 |
UPC - 829160406831
View all HP 1320 manuals
Add to My Manuals
Save this manual to your list of manuals |
Page 178 highlights
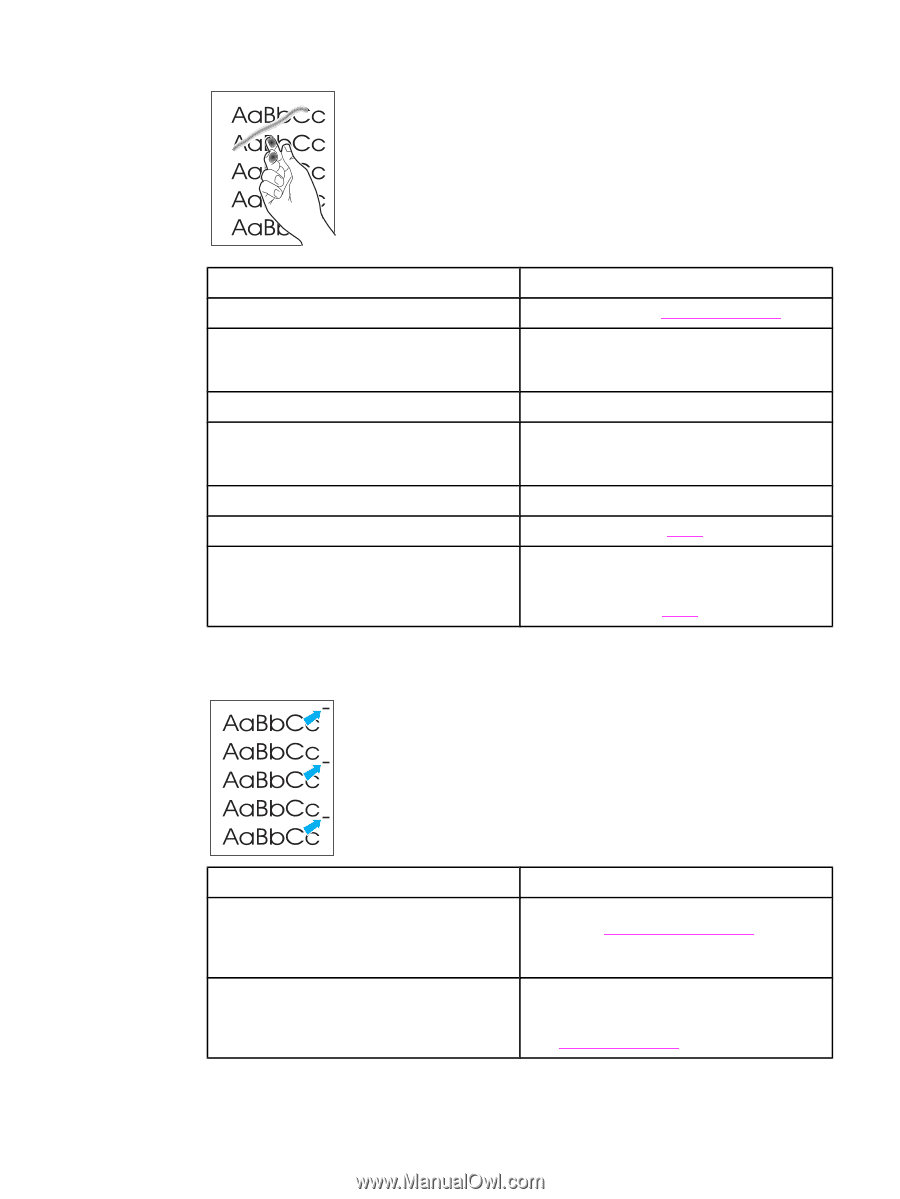
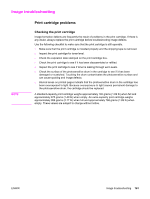
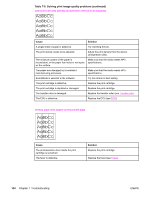
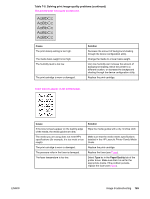
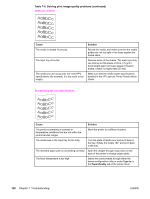
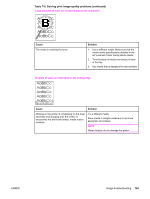
Table 7-8. Solving print image-quality problems (continued) The toner is loose, and it does not stay attached to the printed page. Cause Solution The inside of the printer is dirty. Clean the printer (see Cleaning the printer). The media you are using does not meet HP's Make sure that the media meets specifications specifications. (For example, it is too moist or too detailed in the HP LaserJet Printer Family Media rough.) Guide. The print cartridge needs to be replaced. Replace the print cartridge. The printer driver is not set for the correct media. Select the correct media through either the device configuration utility or under Type is: in the Paper/Quality tab of the printer driver. The power strip is not working correctly. Plug the printer directly into an ac outlet. The pressure roller in the fuser is damaged. Replace the fuser (see Fuser). The fuser temperature is too low. Select Type is: in the Paper/Quality tab of the printer driver. Make sure that it is set for the appropriate media. If the problem persists, replace the fuser (see Fuser). Repetitive vertical defects appear on the printed page. Cause If the repetitive mark occurs at equal distance between marks, either the print cartridge or a printer roller is damaged. The internal parts have toner on them. Solution Use the repetitive image defects table to identify the spacing (Repetitive image defects). Check the appropriate component and replace it if necessary. If the defects occur on the back of the page, the problem will probably correct itself after a few more printed pages. Otherwise, clean the printer. (See Cleaning the printer.) 166 Chapter 7 Troubleshooting ENWW
-
 1
1 -
2
-
3
-
4
-
5
-
6
-
7
-
8
-
9
-
10
-
11
-
12
-
13
-
14
-
15
-
16
-
17
-
18
-
19
-
20
-
21
-
22
-
23
-
24
-
25
-
26
-
27
-
28
-
29
-
30
-
31
-
32
-
33
-
34
-
35
-
36
-
37
-
38
-
39
-
40
-
41
-
42
-
43
-
44
-
45
-
46
-
47
-
48
-
49
-
50
-
51
-
52
-
53
-
54
-
55
-
56
-
57
-
58
-
59
-
60
-
61
-
62
-
63
-
64
-
65
-
66
-
67
-
68
-
69
-
70
-
71
-
72
-
73
-
74
-
75
-
76
-
77
-
78
-
79
-
80
-
81
-
82
-
83
-
84
-
85
-
86
-
87
-
88
-
89
-
90
-
91
-
92
-
93
-
94
-
95
-
96
-
97
-
98
-
99
-
100
-
101
-
102
-
103
-
104
-
105
-
106
-
107
-
108
-
109
-
110
-
111
-
112
-
113
-
114
-
115
-
116
-
117
-
118
-
119
-
120
-
121
-
122
-
123
-
124
-
125
-
126
-
127
-
128
-
129
-
130
-
131
-
132
-
133
-
134
-
135
-
136
-
137
-
138
-
139
-
140
-
141
-
142
-
143
-
144
-
145
-
146
-
147
-
148
-
149
-
150
-
151
-
152
-
153
-
154
-
155
-
156
-
157
-
158
-
159
-
160
-
161
-
162
-
163
-
164
-
165
-
166
-
167
-
168
-
169
-
170
-
171
-
172
-
 173
173 -
 174
174 -
 175
175 -
 176
176 -
 177
177 -
 178
178 -
 179
179 -
 180
180 -
 181
181 -
 182
182 -
 183
183 -
184
-
185
-
186
-
187
-
188
-
189
-
190
-
191
-
192
-
193
-
194
-
195
-
196
-
197
-
198
-
199
-
200
-
201
-
202
-
203
-
204
-
205
-
206
-
207
-
208
-
209
-
210
-
211
-
212
-
213
-
214
-
215
-
216
-
217
-
218
-
219
-
220
-
221
-
222
-
223
-
224
-
225
-
226
-
227
-
228
-
229
-
230
-
231
-
232
-
233
-
234
-
235
-
236
-
237
-
238
-
239
-
240
-
241
-
242
-
243
-
244
-
245
-
246
-
247
-
248
-
249
-
250
-
251
-
252
-
253
-
254
 |
 |