JVC GZ-E200 User Manual - English - Page 108
Demo Mode, Touch Screen Adjust
 |
View all JVC GZ-E200 manuals
Add to My Manuals
Save this manual to your list of manuals |
Page 108 highlights
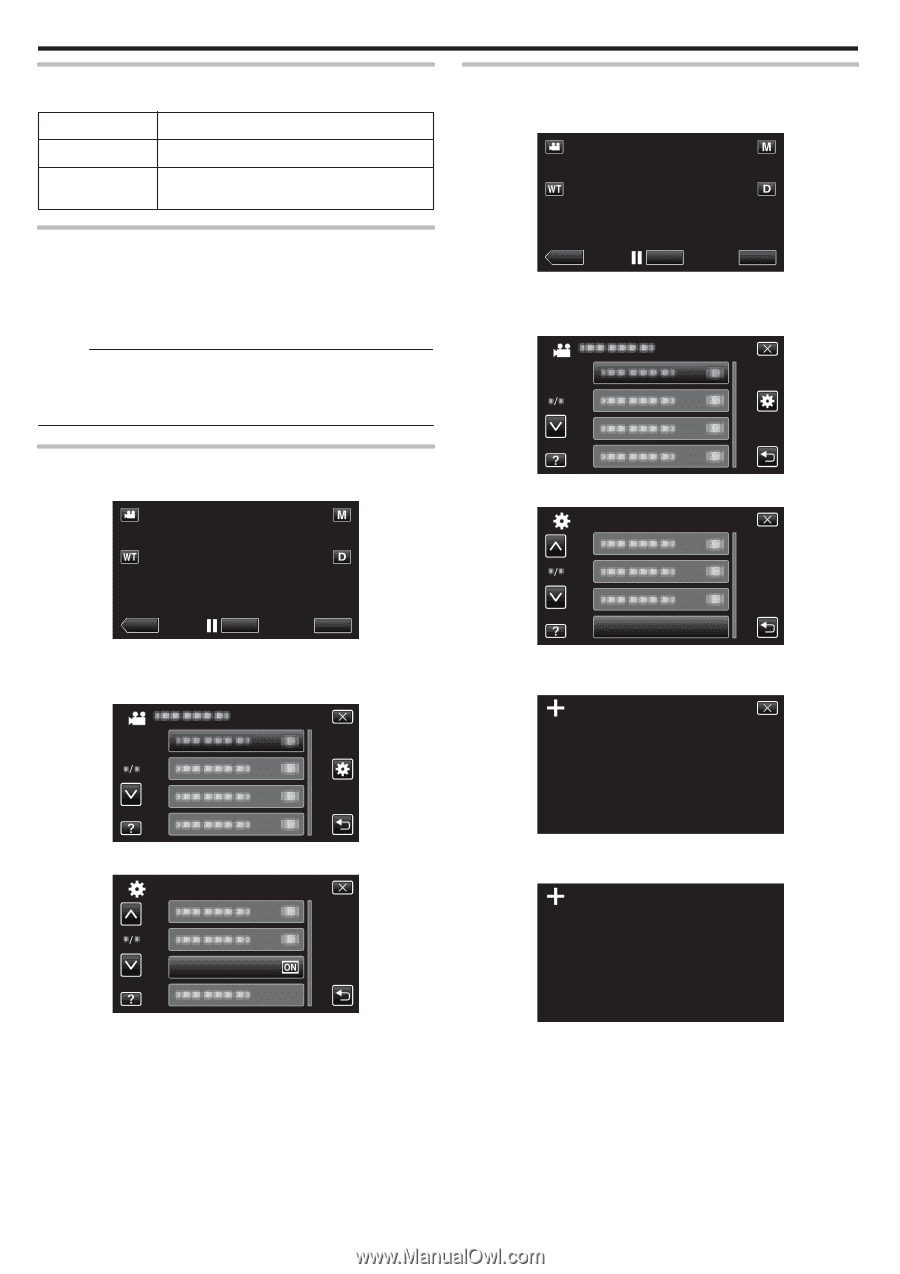
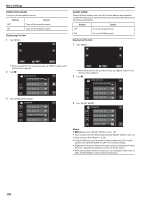
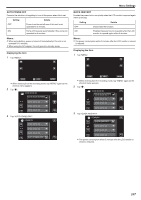
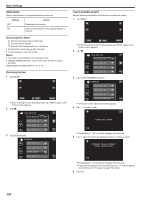
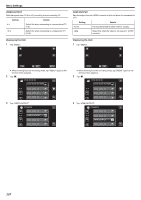
Menu Settings DEMO MODE Plays a demonstration of the special features of this unit. Setting Details OFF Deactivates the function. ON Plays a demonstration of the special features of this unit. Displaying Demo Mode A Remove the battery pack and SD card. B Connect the AC adapter. C Open the LCD monitor and turn on the power. 0 Demonstration starts playing after 3 minutes. 0 To stop playback, tap on the screen. Memo : 0 This mode is not available in the playback mode. 0 "SMILE%/NAME DISPLAY" is set to "ON" when the demo mode is activated. "Setting SMILE%/NAME DISPLAY" (A p. 45) Displaying the Item 1 Tap "MENU". TOUCH SCREEN ADJUST Adjusts the response position of the buttons on the touch screen. 1 Tap "MENU". ˻PLAY REC MENU . 0 When entering from the recording mode, tap "MENU" again as the shortcut menu appears. 2 Tap "Q". . 3 Tap "TOUCH SCREEN ADJUST". COMMON ˻PLAY REC MENU . 0 When entering from the recording mode, tap "MENU" again as the shortcut menu appears. 2 Tap "Q". TOUCH SCREEN ADJUST . 0 The touch screen adjustment screen appears. 4 Tap "+". (3 times in total) . 3 Tap "DEMO MODE". COMMON DEMO MODE . PRESS THE + MARK 1/3 . 0 Keep tapping "+" as its position changes with every tap. 5 Tap "+" again to confirm the adjusted positions. (3 times in total) CONFIRM THE ADJUSTMENT PRESS + MARK AGAIN 1/3 . 0 Keep tapping "+" as its position changes with every tap. 0 If areas on the adjustment screen other than the "+" mark are tapped, errors will occur. In this case, try again from step 4. 6 Tap "OK". 108
-
 1
1 -
2
-
3
-
4
-
5
-
6
-
7
-
8
-
9
-
10
-
11
-
12
-
13
-
14
-
15
-
16
-
17
-
18
-
19
-
20
-
21
-
22
-
23
-
24
-
25
-
26
-
27
-
28
-
29
-
30
-
31
-
32
-
33
-
34
-
35
-
36
-
37
-
38
-
39
-
40
-
41
-
42
-
43
-
44
-
45
-
46
-
47
-
48
-
49
-
50
-
51
-
52
-
53
-
54
-
55
-
56
-
57
-
58
-
59
-
60
-
61
-
62
-
63
-
64
-
65
-
66
-
67
-
68
-
69
-
70
-
71
-
72
-
73
-
74
-
75
-
76
-
77
-
78
-
79
-
80
-
81
-
82
-
83
-
84
-
85
-
86
-
87
-
88
-
89
-
90
-
91
-
92
-
93
-
94
-
95
-
96
-
97
-
98
-
99
-
100
-
101
-
102
-
 103
103 -
 104
104 -
 105
105 -
 106
106 -
 107
107 -
 108
108 -
 109
109 -
 110
110 -
 111
111 -
 112
112 -
 113
113 -
114
-
115
-
116
-
117
-
118
-
119
-
120
-
121
-
122
-
123
-
124
-
125
-
126
-
127
 |
 |