JVC GZ-E200 User Manual - English - Page 80
Recording Videos to Discs, Telephone, Home
 |
View all JVC GZ-E200 manuals
Add to My Manuals
Save this manual to your list of manuals |
Page 80 highlights
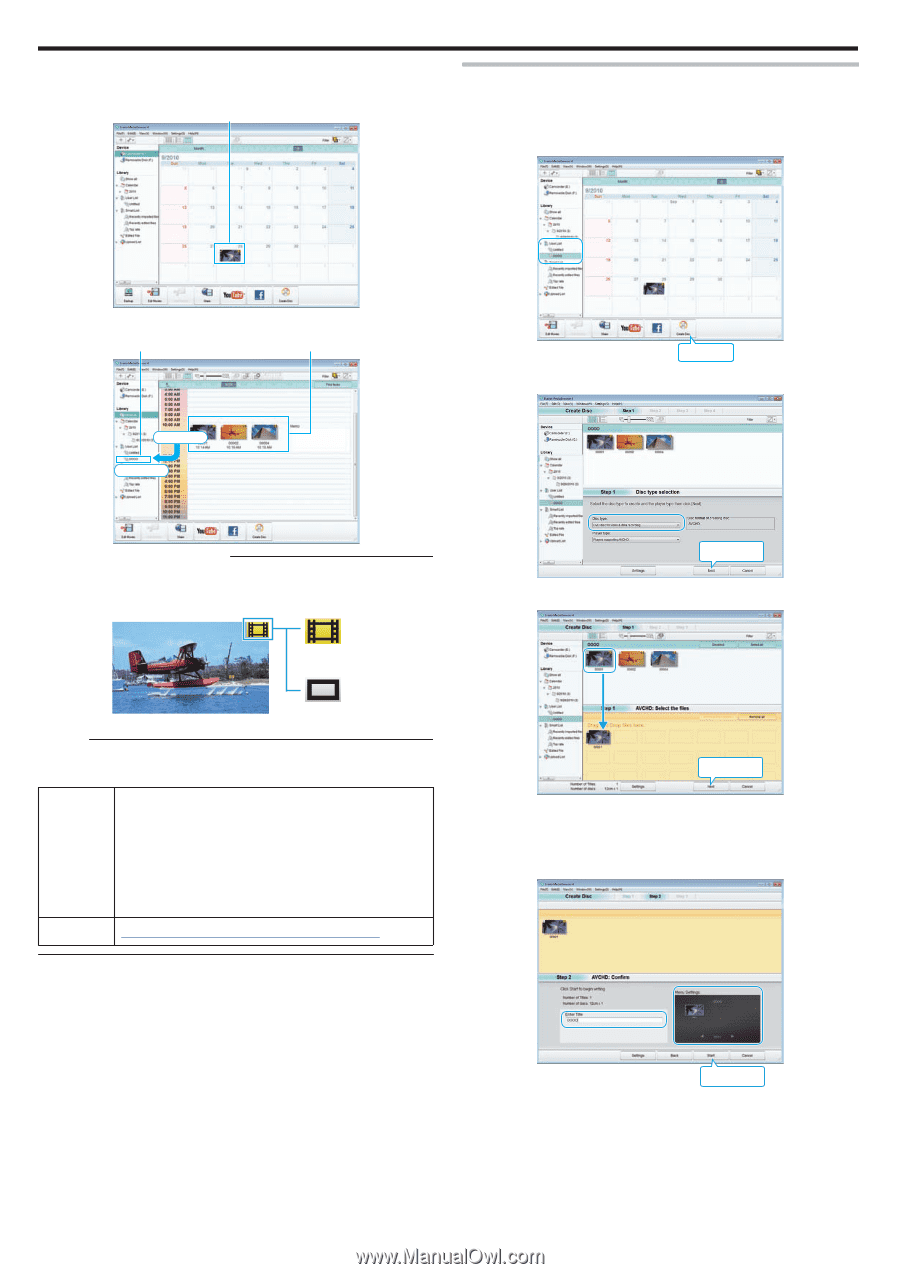
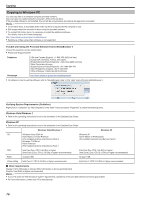
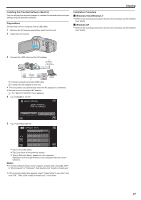
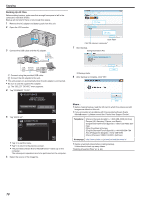
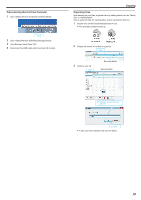
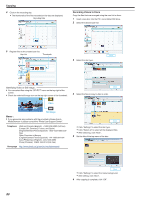
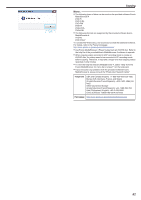
Copying 4 Click on the recording day. 0 The thumbnails of the files recorded on the day are displayed. Recording Date Recording Videos to Discs Copy the files that are arranged using the user list to discs. 1 Insert a new disc into the PC's recordable DVD drive. 2 Select the desired user list. . 5 Register files to the created user list. User List Thumbnails Drag Drop . 3 Select the disc type. Click . Identifying Video or Still Image: 0 You can select files using the "SELECT" menu on the top right of the screen. 0 Check the video/still image icon on the top right corner of the thumbnail. . 4 Select the files to copy to disc in order. Click Video Still Image . Memo : 0 If you encounter any problems with the provided software Everio MediaBrowser 4, please consult the "Pixela User Support Center". Telephone USA and Canada (English): +1-800-458-4029 (toll-free) Europe (UK, Germany, France, and Spain) (English/German/French/Spanish): +800-1532-4865 (tollfree) Other Countries in Europe (English/German/French/Spanish): +44-1489-564-764 Asia (Philippines) (English): +63-2-438-0090 China (Chinese): 10800-163-0014 (toll-free) Homepage http://www.pixela.co.jp/oem/jvc/mediabrowser/e/ Drag Drop Click . 0 Click "Settings" to select the disc type. 0 Click "Select all" to select all the displayed files. 0 After selecting, click "Next". 5 Set the title of the top menu of the disc. Click . 0 Click "Settings" to select the menu background. 0 After setting, click "Start". 6 After copying is complete, click "OK". 80
-
 1
1 -
2
-
3
-
4
-
5
-
6
-
7
-
8
-
9
-
10
-
11
-
12
-
13
-
14
-
15
-
16
-
17
-
18
-
19
-
20
-
21
-
22
-
23
-
24
-
25
-
26
-
27
-
28
-
29
-
30
-
31
-
32
-
33
-
34
-
35
-
36
-
37
-
38
-
39
-
40
-
41
-
42
-
43
-
44
-
45
-
46
-
47
-
48
-
49
-
50
-
51
-
52
-
53
-
54
-
55
-
56
-
57
-
58
-
59
-
60
-
61
-
62
-
63
-
64
-
65
-
66
-
67
-
68
-
69
-
70
-
71
-
72
-
73
-
74
-
 75
75 -
 76
76 -
 77
77 -
 78
78 -
 79
79 -
 80
80 -
 81
81 -
 82
82 -
 83
83 -
 84
84 -
 85
85 -
86
-
87
-
88
-
89
-
90
-
91
-
92
-
93
-
94
-
95
-
96
-
97
-
98
-
99
-
100
-
101
-
102
-
103
-
104
-
105
-
106
-
107
-
108
-
109
-
110
-
111
-
112
-
113
-
114
-
115
-
116
-
117
-
118
-
119
-
120
-
121
-
122
-
123
-
124
-
125
-
126
-
127
 |
 |