Lexmark X945e User's Guide - Page 36
Using A5 or statement paper sizes, Long-edge orientation, Size Sensing, Submit, Exit Config Menu
 |
View all Lexmark X945e manuals
Add to My Manuals
Save this manual to your list of manuals |
Page 36 highlights
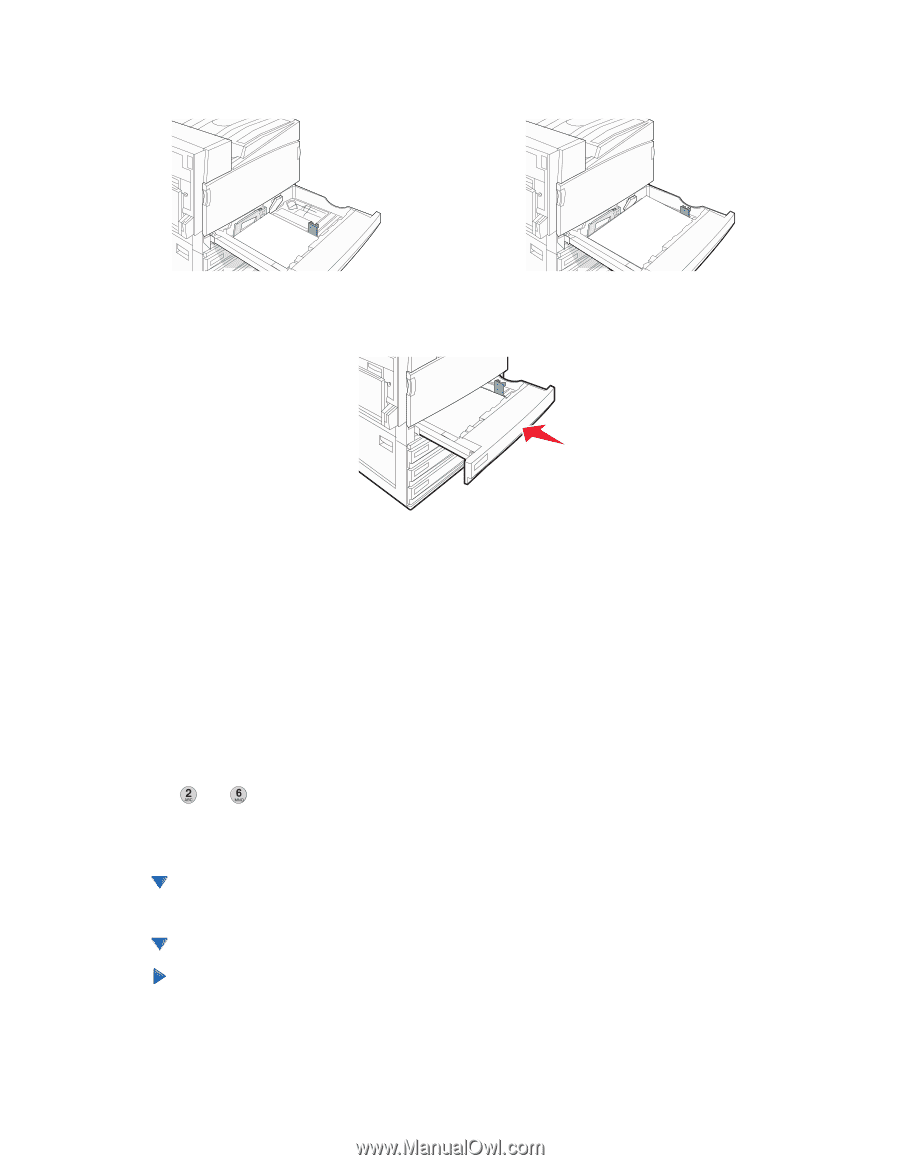
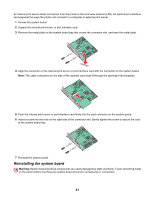
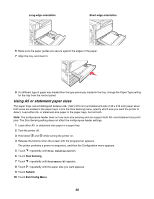
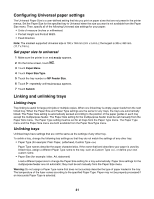
Long-edge orientation Short-edge orientation 6 Make sure the paper guides are secure against the edges of the paper. 7 Align the tray, and insert it. 8 If a different type of paper was loaded than the type previously loaded in the tray, change the Paper Type setting for the tray from the control panel. Using A5 or statement paper sizes The paper trays cannot distinguish between A5- (148 x 210 mm) and statement-size (140 x 216 mm) paper when both sizes are loaded in the paper trays. From the Size Sensing menu, specify which size you want the printer to detect. Load either A5- or statement-size paper in the paper trays, but not both. Note: The multipurpose feeder does not use auto-size sensing and can support both A5- and statement-size print jobs. The Size Sensing setting does not affect the multipurpose feeder settings. 1 Load either A5- or statement-size paper in a paper tray. 2 Turn the printer off. 3 Hold down and while turning the printer on. 4 Release the buttons when the screen with the progress bar appears. The printer performs a power-on sequence, and then the Configuration menu appears. 5 Touch repeatedly until Size Sensing appears. 6 Touch Size Sensing. 7 Touch repeatedly until Statement/A5 appears. 8 Touch repeatedly until the paper size you want appears. 9 Touch Submit. 10 Touch Exit Config Menu. 36
-
 1
1 -
2
-
3
-
4
-
5
-
6
-
7
-
8
-
9
-
10
-
11
-
12
-
13
-
14
-
15
-
16
-
17
-
18
-
19
-
20
-
21
-
22
-
23
-
24
-
25
-
26
-
27
-
28
-
29
-
30
-
 31
31 -
 32
32 -
 33
33 -
 34
34 -
 35
35 -
 36
36 -
 37
37 -
 38
38 -
 39
39 -
 40
40 -
 41
41 -
42
-
43
-
44
-
45
-
46
-
47
-
48
-
49
-
50
-
51
-
52
-
53
-
54
-
55
-
56
-
57
-
58
-
59
-
60
-
61
-
62
-
63
-
64
-
65
-
66
-
67
-
68
-
69
-
70
-
71
-
72
-
73
-
74
-
75
-
76
-
77
-
78
-
79
-
80
-
81
-
82
-
83
-
84
-
85
-
86
-
87
-
88
-
89
-
90
-
91
-
92
-
93
-
94
-
95
-
96
-
97
-
98
-
99
-
100
-
101
-
102
-
103
-
104
-
105
-
106
-
107
-
108
-
109
-
110
-
111
-
112
-
113
-
114
-
115
-
116
-
117
-
118
-
119
-
120
-
121
-
122
-
123
-
124
-
125
-
126
-
127
-
128
-
129
-
130
-
131
-
132
-
133
-
134
-
135
-
136
-
137
-
138
-
139
-
140
-
141
-
142
-
143
-
144
-
145
-
146
-
147
-
148
-
149
-
150
-
151
-
152
-
153
-
154
-
155
-
156
-
157
-
158
-
159
-
160
-
161
-
162
-
163
-
164
-
165
-
166
-
167
-
168
-
169
-
170
-
171
-
172
-
173
-
174
-
175
-
176
-
177
-
178
-
179
-
180
-
181
-
182
-
183
-
184
-
185
-
186
-
187
-
188
-
189
-
190
-
191
-
192
-
193
-
194
-
195
-
196
-
197
-
198
-
199
-
200
-
201
-
202
-
203
-
204
-
205
-
206
-
207
-
208
-
209
-
210
-
211
-
212
-
213
-
214
-
215
-
216
-
217
-
218
-
219
-
220
-
221
-
222
-
223
-
224
-
225
-
226
-
227
-
228
-
229
-
230
-
231
-
232
-
233
-
234
-
235
-
236
-
237
-
238
-
239
-
240
-
241
-
242
-
243
-
244
-
245
-
246
-
247
-
248
-
249
-
250
-
251
-
252
-
253
-
254
-
255
-
256
-
257
-
258
-
259
-
260
-
261
-
262
-
263
-
264
-
265
-
266
-
267
-
268
-
269
-
270
-
271
-
272
 |
 |