Magellan MobileMapper CX Getting Started Guide - Page 56
Function, Screen, Grid: Grid lines - field software
 |
UPC - 009905860047
View all Magellan MobileMapper CX manuals
Add to My Manuals
Save this manual to your list of manuals |
Page 56 highlights
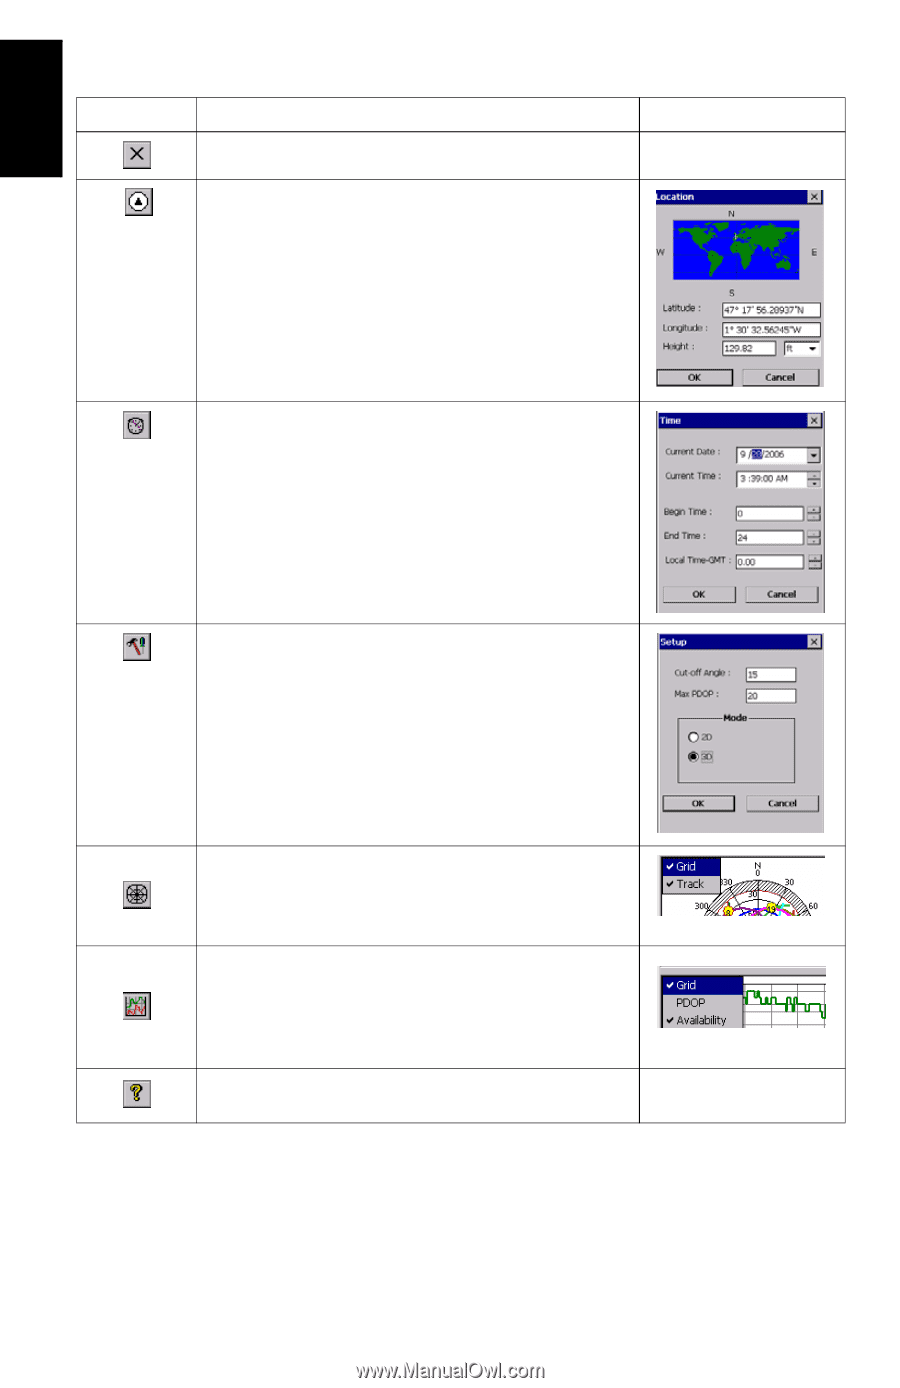
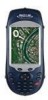
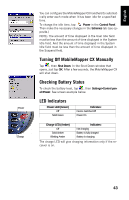
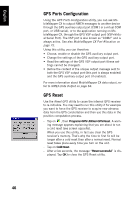
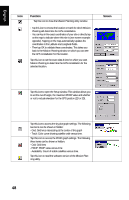
English Icon Function Tap this icon to close the Mission Planning utility window. - Tap this icon to choose the location on Earth for which Mission Planning will determine the GPS constellation. - You can key in the exact coordinates of your site or directly tap on the map to indicate where this site is (see screen example opposite). Tapping on the map automatically updates the coordinates in the Latitude and Longitude fields. - Then tap OK to validate these coordinates. This takes you back to the Mission Planning window on which you can see the GPS constellation for this location. Tap this icon to set the exact date & time for which you want Mission Planning to determine the GPS constellation for the selected location. Screen Tap this icon to open the Setup window. This window allows you to set the cut-off angle, the maximum PDOP value and whether or not to include elevation for the GPS position (2D or 3D). Tap this icon to access the sky plot graph settings. The following two items can be shown or hidden: - Grid: Grid lines intersecting at the center of the graph - Track: Color curve showing satellite orbit versus time. Tap this icon to access the PDOP graph settings. The following three items can be shown or hidden: - Grid: Grid lines - PDOP: PDOP value versus time - Availability: Count of visible satellites versus time. Tap this icon to read the software version of the Mission Planning utility. 48
-
 1
1 -
2
-
3
-
4
-
5
-
6
-
7
-
8
-
9
-
10
-
11
-
12
-
13
-
14
-
15
-
16
-
17
-
18
-
19
-
20
-
21
-
22
-
23
-
24
-
25
-
26
-
27
-
28
-
29
-
30
-
31
-
32
-
33
-
34
-
35
-
36
-
37
-
38
-
39
-
40
-
41
-
42
-
43
-
44
-
45
-
46
-
47
-
48
-
49
-
50
-
 51
51 -
 52
52 -
 53
53 -
 54
54 -
 55
55 -
 56
56 -
 57
57 -
 58
58 -
 59
59 -
 60
60 -
 61
61 -
62
-
63
-
64
-
65
-
66
-
67
-
68
-
69
-
70
-
71
-
72
-
73
-
74
-
75
-
76
-
77
-
78
-
79
-
80
-
81
-
82
-
83
-
84
-
85
-
86
 |
 |