TP-Link TL-WA5110G User Guide - Page 18
Quick Setup - wireless access point
 |
UPC - 845973051327
View all TP-Link TL-WA5110G manuals
Add to My Manuals
Save this manual to your list of manuals |
Page 18 highlights
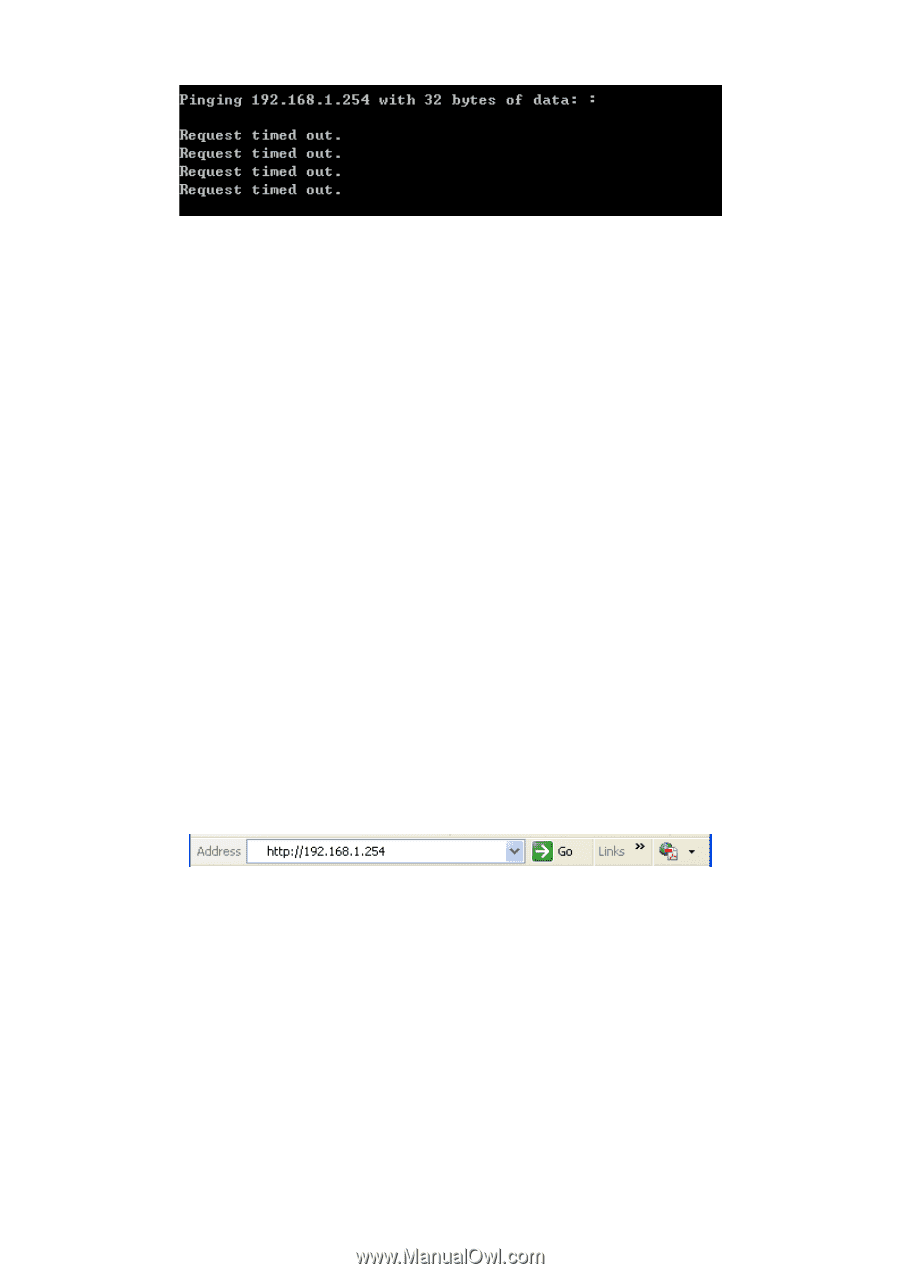
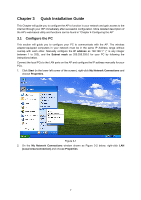
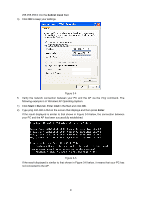
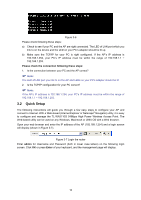
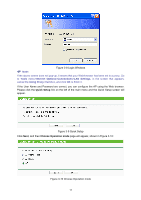
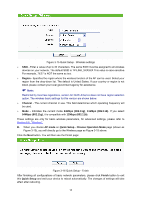
Figure 3-6 Please check following these steps: a) Check to see if your PC and the AP are right connected. The LED of LAN port which you link to on the device and the LED on your PC's adapter should be lit up. b) Make sure the TCP/IP for your PC is right configured. If the AP's IP address is 192.168.1.254, your PC's IP address must be within the range of 192.168.1.1 ~ 192.168.1.253. Please check the connection following these steps: 1. Is the connection between your PC and the AP correct? ) Note: The LED of LAN port you link to on the AP and LEDs on your PC's adapter should be lit. 2. Is the TCP/IP configuration for your PC correct? ) Note: If the AP's IP address is 192.168.1.254, your PC's IP address must be within the range of 192.168.1.1 ~ 192.168.1.253. 3.2 Quick Setup The following instructions will guide you through a few easy steps to configure your AP and connect to Internet. With a Web-based (Internet Explorer or Netscape® Navigator) utility, it is easy to configure and manage the TL-WA5110G 54Mbps High Power Wireless Access Point. The Web-based utility can be used on any Windows, Macintosh or UNIX OS with a Web browser. Open your web browser and enter the IP address of the AP (192.168.1.254) and a login screen will display (shown in Figure 3-7). Figure 3-7 Login the router Enter admin for Username and Password (both in lower case letters) on the following login screen. Click OK or press Enter of your keyboard, and the management page will display. 10
-
 1
1 -
2
-
3
-
4
-
5
-
6
-
7
-
8
-
9
-
10
-
11
-
12
-
 13
13 -
 14
14 -
 15
15 -
 16
16 -
 17
17 -
 18
18 -
 19
19 -
 20
20 -
 21
21 -
 22
22 -
 23
23 -
24
-
25
-
26
-
27
-
28
-
29
-
30
-
31
-
32
-
33
-
34
-
35
-
36
-
37
-
38
-
39
-
40
-
41
-
42
-
43
-
44
-
45
-
46
-
47
-
48
-
49
-
50
-
51
-
52
-
53
-
54
-
55
-
56
-
57
-
58
-
59
-
60
-
61
-
62
-
63
-
64
-
65
-
66
-
67
-
68
-
69
-
70
-
71
-
72
-
73
-
74
-
75
-
76
-
77
-
78
-
79
-
80
-
81
-
82
-
83
-
84
-
85
-
86
-
87
-
88
-
89
-
90
-
91
-
92
-
93
-
94
-
95
-
96
-
97
-
98
-
99
-
100
-
101
-
102
-
103
-
104
-
105
-
106
-
107
-
108
-
109
 |
 |