Canon PC720 Service Manual - Page 142
Illuminating, Assembly
 |
View all Canon PC720 manuals
Add to My Manuals
Save this manual to your list of manuals |
Page 142 highlights
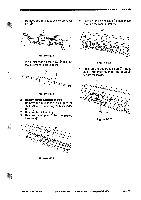
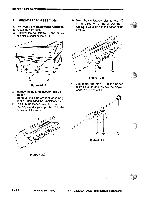
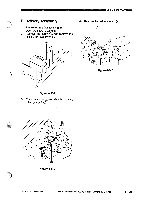
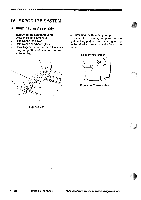
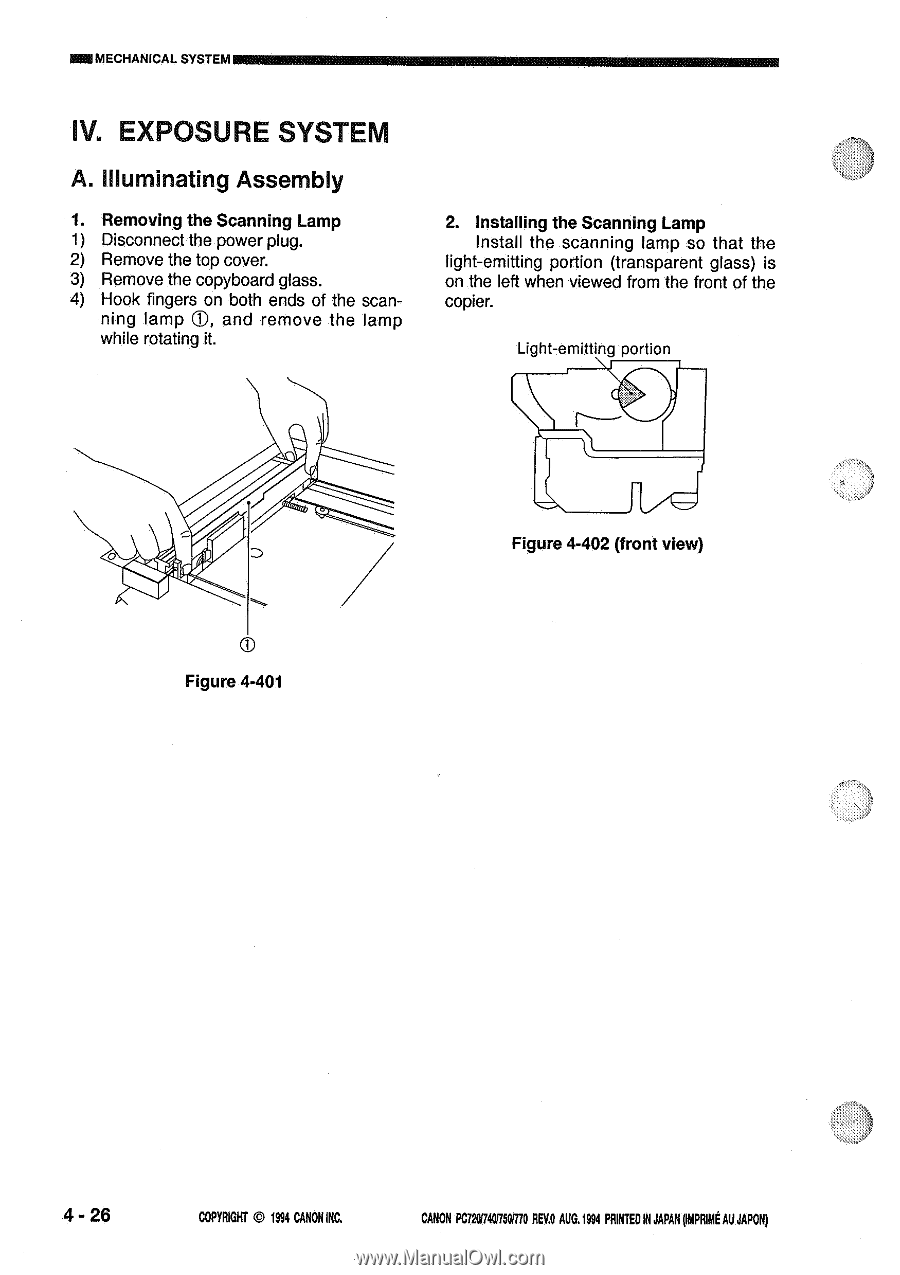
=MECHANICAL SYSTEM IV. EXPOSURE SYSTEM A. Illuminating Assembly 1. Removing the Scanning Lamp 1) Disconnect the power plug. 2) Remove the top cover. 3) Remove the copyboard glass. 4) Hook fingers on both ends of the scan- ning lamp CI, and remove the lamp while rotating it. 2. Installing the Scanning Lamp Install the scanning lamp so that the light-emitting portion (transparent glass) is on the left when viewed from the front of the copier. Light-emitting portion 0 0 Figure 4-401 Figure 4-402 (front view) 4 - 26 COPYRIGHT 4 1994 CANONINC. CANON PC7201740R501170REV.OAUG.1994 PRINTEDIN JAPANpink AUJAPON)
-
 1
1 -
2
-
3
-
4
-
5
-
6
-
7
-
8
-
9
-
10
-
11
-
12
-
13
-
14
-
15
-
16
-
17
-
18
-
19
-
20
-
21
-
22
-
23
-
24
-
25
-
26
-
27
-
28
-
29
-
30
-
31
-
32
-
33
-
34
-
35
-
36
-
37
-
38
-
39
-
40
-
41
-
42
-
43
-
44
-
45
-
46
-
47
-
48
-
49
-
50
-
51
-
52
-
53
-
54
-
55
-
56
-
57
-
58
-
59
-
60
-
61
-
62
-
63
-
64
-
65
-
66
-
67
-
68
-
69
-
70
-
71
-
72
-
73
-
74
-
75
-
76
-
77
-
78
-
79
-
80
-
81
-
82
-
83
-
84
-
85
-
86
-
87
-
88
-
89
-
90
-
91
-
92
-
93
-
94
-
95
-
96
-
97
-
98
-
99
-
100
-
101
-
102
-
103
-
104
-
105
-
106
-
107
-
108
-
109
-
110
-
111
-
112
-
113
-
114
-
115
-
116
-
117
-
118
-
119
-
120
-
121
-
122
-
123
-
124
-
125
-
126
-
127
-
128
-
129
-
130
-
131
-
132
-
133
-
134
-
135
-
136
-
 137
137 -
 138
138 -
 139
139 -
 140
140 -
 141
141 -
 142
142 -
 143
143 -
 144
144 -
 145
145 -
 146
146 -
 147
147 -
148
-
149
-
150
-
151
-
152
-
153
-
154
-
155
-
156
-
157
-
158
-
159
-
160
-
161
-
162
-
163
-
164
-
165
-
166
-
167
-
168
-
169
-
170
-
171
-
172
-
173
-
174
-
175
-
176
-
177
-
178
-
179
-
180
-
181
-
182
-
183
-
184
-
185
-
186
-
187
-
188
-
189
-
190
-
191
-
192
-
193
-
194
-
195
-
196
-
197
-
198
-
199
-
200
 |
 |
=MECHANICAL
SYSTEM
IV.
EXPOSURE
SYSTEM
A.
Illuminating
Assembly
1.
Removing
the
Scanning
Lamp
1)
Disconnect
the
power
plug.
2)
Remove
the
top
cover.
3)
Remove
the
copyboard
glass.
4)
Hook
fingers
on
both
ends
of
the
scan-
ning
lamp
CI,
and
remove
the
lamp
while
rotating
it.
0
0
Figure
4-401
2.
Installing
the
Scanning
Lamp
Install
the
scanning
lamp
so
that
the
light
-emitting
portion
(transparent
glass)
is
on
the
left
when
viewed
from
the
front
of
the
copier.
Light
-emitting
portion
Figure
4-402
(front
view)
4
-
26
COPYRIGHT
4
1994
CANON
INC.
CANON PC7201740R501170
REV.O
AUG.1994
PRINTED
IN
JAPAN
pink
AU
JAPON)