Canon VIXIA HG20 VIXIA HG20 / VIXIA HG21 Instruction Manual - Page 48
Self Timer, Manual Exposure Adjustment and Automatic Backlight Correction, Manual Exposure Adjustment
 |
View all Canon VIXIA HG20 manuals
Add to My Manuals
Save this manual to your list of manuals |
Page 48 highlights
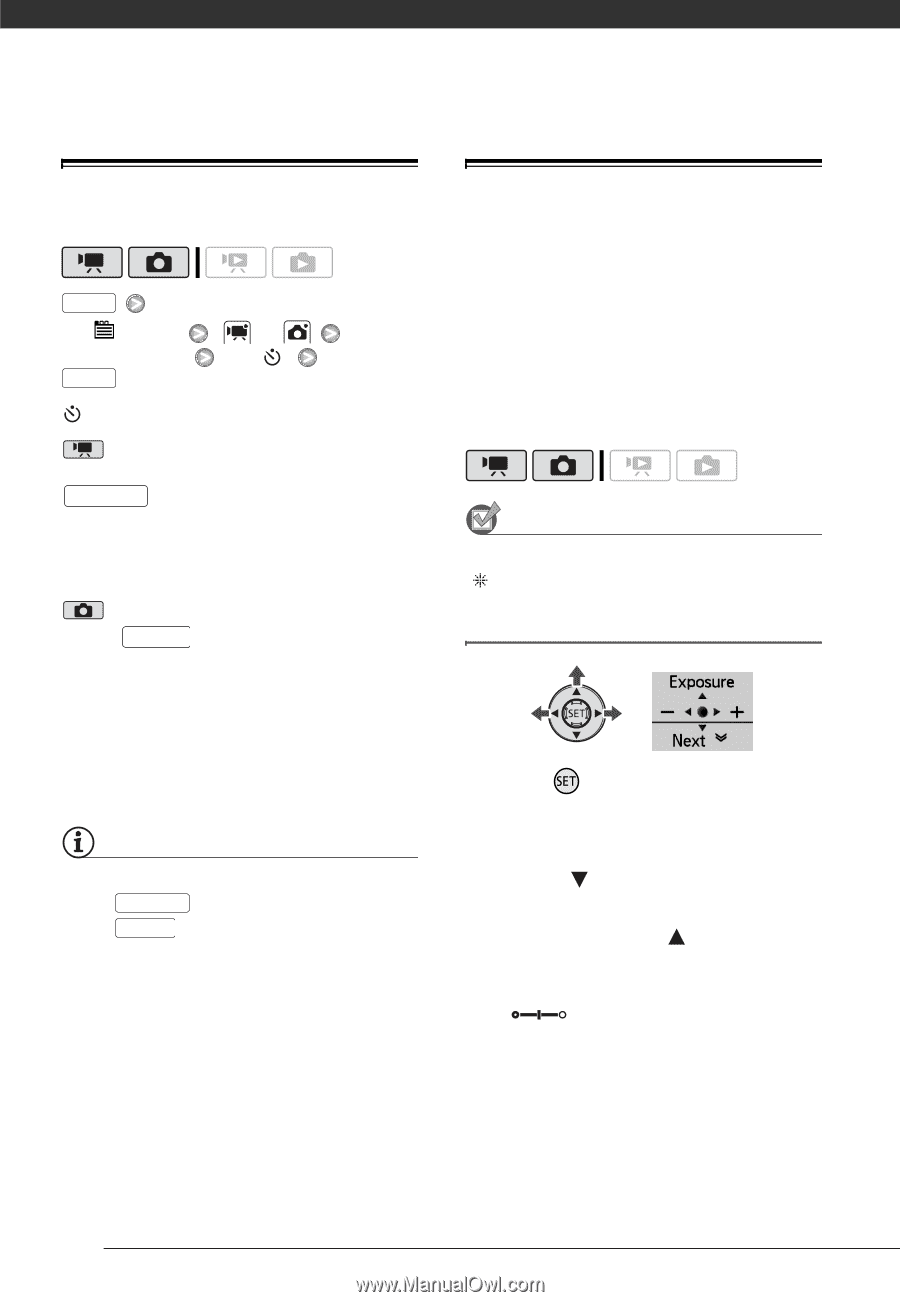
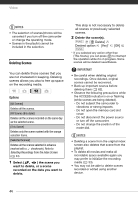
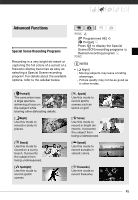
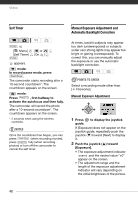
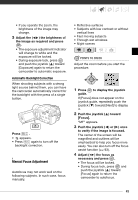
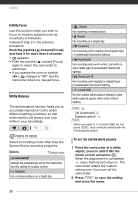
Video Self Timer Manual Exposure Adjustment and Automatic Backlight Correction FUNC. [ Menu] [Self Timer] FUNC. or [On ] appears. mode: In record pause mode, press Start/Stop . The camcorder starts recording after a 10-second countdown*. The countdown appears on the screen. mode: Press PHOTO , first halfway to activate the autofocus and then fully. The camcorder will record the photo after a 10-second countdown*. The countdown appears on the screen. * 2 seconds when using the wireless controller. NOTES Once the countdown has begun, you can press Start/Stop (when recording movies), press PHOTO fully (when recording photos) or turn off the camcorder to cancel the self timer. At times, backlit subjects may appear too dark (underexposed) or subjects under very strong lights may appear too bright or glaring (overexposed). To correct this, you can manually adjust the exposure or use the automatic backlight correction. POINTS TO CHECK Select a recording mode other than [ Fireworks]. Manual Exposure Adjustment 1 Press guide. to display the joystick If [Exposure] does not appear on the joystick guide, repeatedly push the joystick ( ) toward [Next] to display it. 2 Push the joystick ( ) toward [Exposure]. • The exposure adjustment indicator and the neutral value "±0" appear on the screen. • The adjustment range and the length of the exposure adjustment indicator will vary depending on the initial brightness of the picture. 48
-
 1
1 -
2
-
3
-
4
-
5
-
6
-
7
-
8
-
9
-
10
-
11
-
12
-
13
-
14
-
15
-
16
-
17
-
18
-
19
-
20
-
21
-
22
-
23
-
24
-
25
-
26
-
27
-
28
-
29
-
30
-
31
-
32
-
33
-
34
-
35
-
36
-
37
-
38
-
39
-
40
-
41
-
42
-
 43
43 -
 44
44 -
 45
45 -
 46
46 -
 47
47 -
 48
48 -
 49
49 -
 50
50 -
 51
51 -
 52
52 -
 53
53 -
54
-
55
-
56
-
57
-
58
-
59
-
60
-
61
-
62
-
63
-
64
-
65
-
66
-
67
-
68
-
69
-
70
-
71
-
72
-
73
-
74
-
75
-
76
-
77
-
78
-
79
-
80
-
81
-
82
-
83
-
84
-
85
-
86
-
87
-
88
-
89
-
90
-
91
-
92
-
93
-
94
-
95
-
96
-
97
-
98
-
99
-
100
-
101
-
102
-
103
-
104
-
105
-
106
-
107
-
108
-
109
-
110
-
111
-
112
-
113
-
114
-
115
-
116
-
117
-
118
-
119
-
120
-
121
-
122
-
123
-
124
-
125
-
126
-
127
-
128
-
129
-
130
-
131
-
132
-
133
-
134
-
135
 |
 |