HP rp3440 Installation Guide, Seventh Edition - HP 9000 rp3410 and HP 9000 rp3 - Page 36
Front View of the HP 9000 rp3410/rp3440 Server, Step 1.
 |
View all HP rp3440 manuals
Add to My Manuals
Save this manual to your list of manuals |
Page 36 highlights
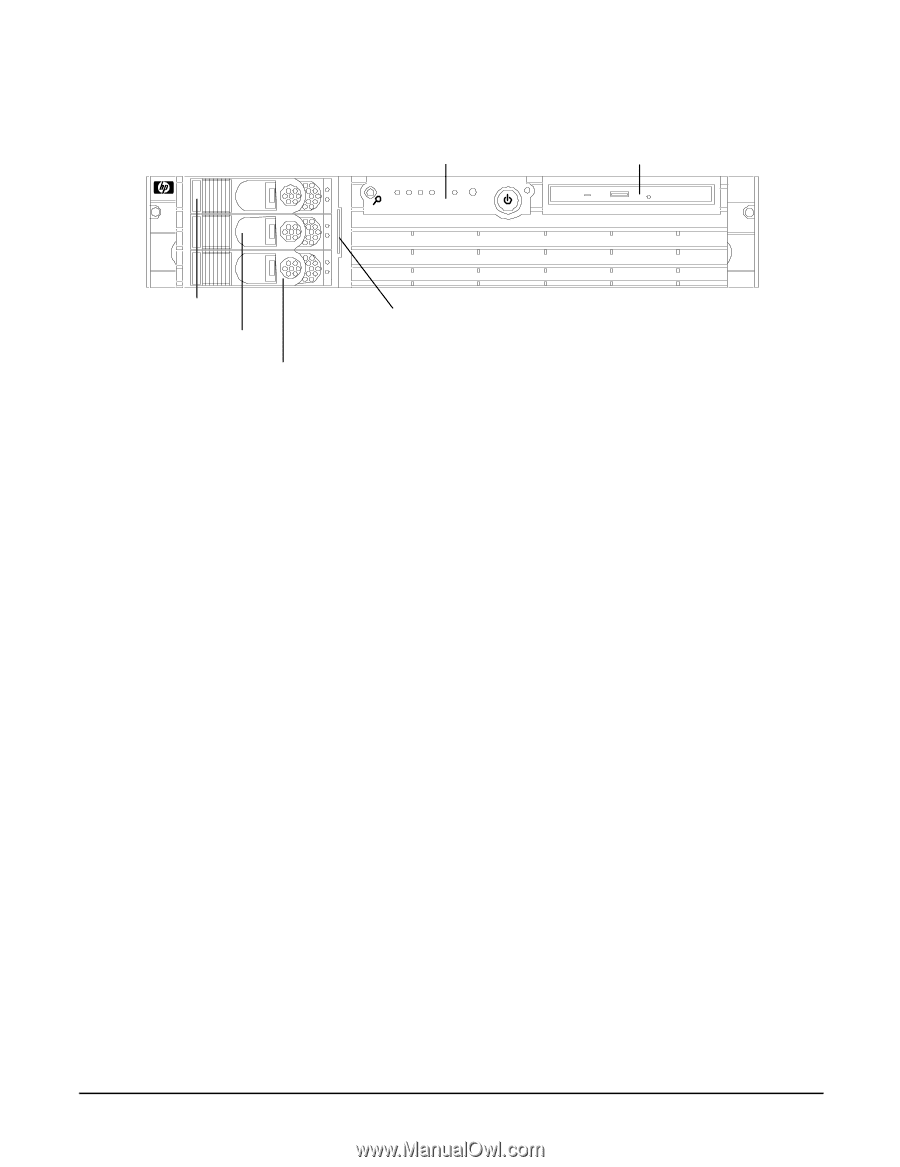
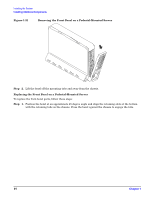
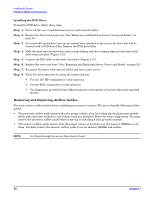
Installing the System Installing Additional Components Figure 1-23 Front View of the HP 9000 rp3410/rp3440 Server Control Panel DVD Drive LVD HDD 3 LVD HDD 2 System Product Label (pull-out) LVD HDD 1 Two additional hard disk drives can be added to the server in slots 2 and 3. Always use low profile disk drives (1 inch height) in HP 9000 rp3410 and rp3440 servers. To install a hard disk drive, follow these steps: Step 1. If you will be locking the hard drive in place, you must remove the cover to access the hard drive lock. Proceed as follows: a. If rack-mounted, slide the server out from the rack until it stops. (See "Extend the Server from the Rack" on page 25.) b. Remove the cover and bezel. (See "Removing and Replacing Server Covers and Bezels" on page 25.) Step 2. Remove the slot filler that is installed in the slot where the additional drive is to be installed. 36 Chapter 1
-
 1
1 -
2
-
3
-
4
-
5
-
6
-
7
-
8
-
9
-
10
-
11
-
12
-
13
-
14
-
15
-
16
-
17
-
18
-
19
-
20
-
21
-
22
-
23
-
24
-
25
-
26
-
27
-
28
-
29
-
30
-
 31
31 -
 32
32 -
 33
33 -
 34
34 -
 35
35 -
 36
36 -
 37
37 -
 38
38 -
 39
39 -
 40
40 -
 41
41 -
42
-
43
-
44
-
45
-
46
-
47
-
48
-
49
-
50
-
51
-
52
-
53
-
54
-
55
-
56
-
57
-
58
-
59
-
60
-
61
-
62
-
63
-
64
-
65
-
66
-
67
-
68
-
69
-
70
-
71
-
72
-
73
-
74
-
75
-
76
-
77
-
78
-
79
-
80
-
81
-
82
-
83
-
84
-
85
-
86
-
87
-
88
-
89
-
90
-
91
-
92
-
93
-
94
-
95
-
96
 |
 |