HP t150 Maintenance & Service Guide: HP MultiSeat 6000 Desktop, HP MultiSe - Page 142
Appendix E, correctly, restart the MultiPoint Server system.
 |
View all HP t150 manuals
Add to My Manuals
Save this manual to your list of manuals |
Page 142 highlights
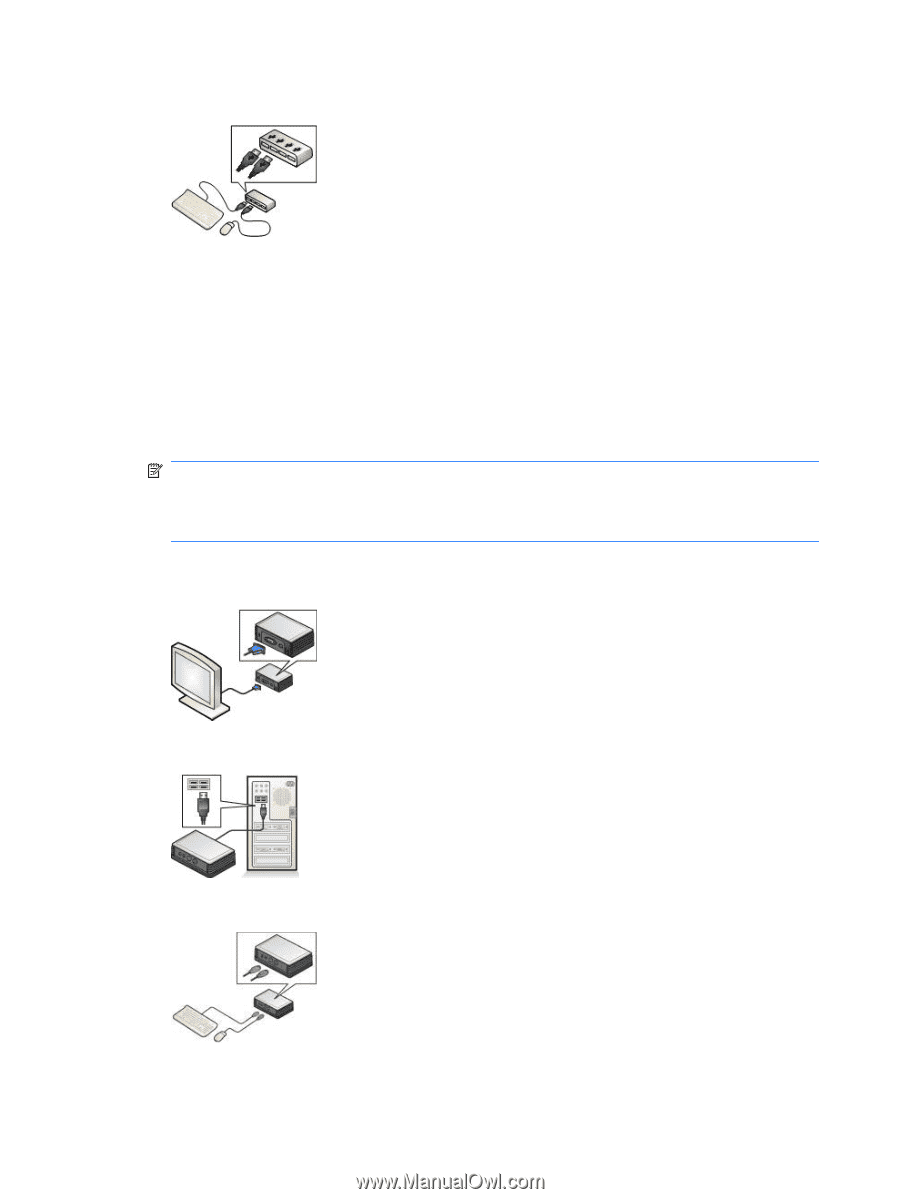
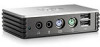
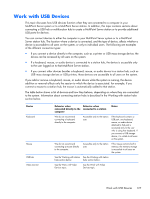
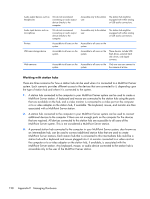
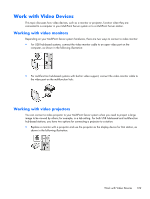
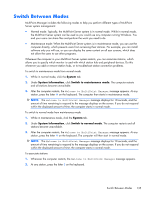
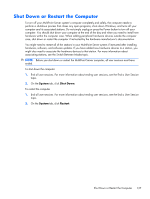
4. Connect a keyboard and mouse to the USB hub: 5. Connect the power cord of the video monitor to a power outlet. 6. Turn on the computer. 7. MultiPoint Server starts. Follow the instructions that appear on the new station's video monitor to associate the devices to the new station. To set up a station with a multifunction hub 1. Before you can connect a new station, end all user sessions, and then shut down the computer and other powered devices in your MultiPoint Server system. NOTE: Some multifunction hubs do not require a system restart when you connect them to a MultiPoint Server computer. Try setting up your new multifunction hub and station hardware without shutting down the entire MultiPoint Server system first. If the new station does not function correctly, restart the MultiPoint Server system. 2. Connect the new video monitor cable to the DVI or VGA video display port on the multifunction hub as shown in the following illustration: 3. Connect the new multifunction hub to an open USB port on the computer: 4. Connect a keyboard and mouse to the PS2 connectors on the multifunction hub: 5. Connect the power cord of the video monitor to a power outlet. 132 Appendix E Managing Hardware
-
 1
1 -
2
-
3
-
4
-
5
-
6
-
7
-
8
-
9
-
10
-
11
-
12
-
13
-
14
-
15
-
16
-
17
-
18
-
19
-
20
-
21
-
22
-
23
-
24
-
25
-
26
-
27
-
28
-
29
-
30
-
31
-
32
-
33
-
34
-
35
-
36
-
37
-
38
-
39
-
40
-
41
-
42
-
43
-
44
-
45
-
46
-
47
-
48
-
49
-
50
-
51
-
52
-
53
-
54
-
55
-
56
-
57
-
58
-
59
-
60
-
61
-
62
-
63
-
64
-
65
-
66
-
67
-
68
-
69
-
70
-
71
-
72
-
73
-
74
-
75
-
76
-
77
-
78
-
79
-
80
-
81
-
82
-
83
-
84
-
85
-
86
-
87
-
88
-
89
-
90
-
91
-
92
-
93
-
94
-
95
-
96
-
97
-
98
-
99
-
100
-
101
-
102
-
103
-
104
-
105
-
106
-
107
-
108
-
109
-
110
-
111
-
112
-
113
-
114
-
115
-
116
-
117
-
118
-
119
-
120
-
121
-
122
-
123
-
124
-
125
-
126
-
127
-
128
-
129
-
130
-
131
-
132
-
133
-
134
-
135
-
136
-
 137
137 -
 138
138 -
 139
139 -
 140
140 -
 141
141 -
 142
142 -
 143
143 -
 144
144 -
 145
145 -
 146
146 -
 147
147 -
148
-
149
-
150
-
151
-
152
-
153
-
154
-
155
-
156
-
157
-
158
-
159
-
160
-
161
-
162
-
163
-
164
-
165
-
166
-
167
-
168
-
169
-
170
-
171
-
172
-
173
-
174
-
175
-
176
-
177
-
178
-
179
-
180
-
181
-
182
-
183
-
184
-
185
-
186
-
187
-
188
-
189
-
190
-
191
-
192
-
193
-
194
-
195
-
196
-
197
-
198
-
199
-
200
-
201
-
202
-
203
-
204
-
205
-
206
-
207
-
208
-
209
-
210
-
211
-
212
-
213
-
214
 |
 |