Panasonic KXTVA200 KXTVA200 User Guide - Page 99
Recording System Caller Names, Enter the Caller ID List Number - kx tva200 manual
 |
UPC - 037988851430
View all Panasonic KXTVA200 manuals
Add to My Manuals
Save this manual to your list of manuals |
Page 99 highlights
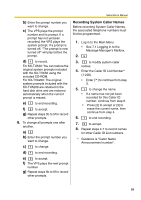
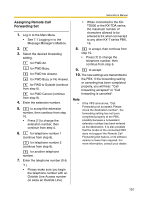
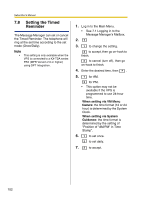
Subscriber's Manual b) Enter the prompt number you want to change. c) The VPS plays the prompt number and its prompt. If a prompt has not yet been recorded, the VPS plays the system prompt. If a prompt is turned off, "The prompt is now turned off" will play before the prompt. d) 1 to record. For KX-TVA50: You can restore the original system prompts included with the KX-TVA50 using the included CD-ROM. For KX-TVA200: The original system prompts included with the KX-TVA200 are retained in the hard disk drive and are restored automatically when the current prompt is erased. e) 1 to end recording. f) 2 to accept. g) Repeat steps 5b to 5f to record other prompts. 6. To change all prompts one after another. a) 2 b) Enter the prompt number you want to change. c) 1 to change. d) 1 to end recording. e) 2 to accept. f) The VPS plays the next prompt number. g) Repeat steps 6b to 6f to record other prompts. Recording System Caller Names Before recording System Caller Names, the associated telephone numbers must first be programmed. 1. Log in to the Main Menu. • See 7.1 Logging in to the Message Manager's Mailbox. 2. 5 3. 7 to modify system caller names. 4. Enter the Caller ID List Number*1 (1-200). • Enter [ ] to continue from step 3. 5. 1 to change the name. • If a name has not yet been recorded for this Caller ID number, continue from step 6. • Press [2] to accept or [3] to erase the current name, then continue from step 4. 6. 1 to end recording. 7. 2 to accept. 8. Repeat steps 4-7 to record names for other Caller ID List numbers. *1 Guidance is "Caller Name Announcement number". 99
-
 1
1 -
2
-
3
-
4
-
5
-
6
-
7
-
8
-
9
-
10
-
11
-
12
-
13
-
14
-
15
-
16
-
17
-
18
-
19
-
20
-
21
-
22
-
23
-
24
-
25
-
26
-
27
-
28
-
29
-
30
-
31
-
32
-
33
-
34
-
35
-
36
-
37
-
38
-
39
-
40
-
41
-
42
-
43
-
44
-
45
-
46
-
47
-
48
-
49
-
50
-
51
-
52
-
53
-
54
-
55
-
56
-
57
-
58
-
59
-
60
-
61
-
62
-
63
-
64
-
65
-
66
-
67
-
68
-
69
-
70
-
71
-
72
-
73
-
74
-
75
-
76
-
77
-
78
-
79
-
80
-
81
-
82
-
83
-
84
-
85
-
86
-
87
-
88
-
89
-
90
-
91
-
92
-
93
-
 94
94 -
 95
95 -
 96
96 -
 97
97 -
 98
98 -
 99
99 -
 100
100 -
 101
101 -
 102
102 -
 103
103 -
 104
104 -
105
-
106
-
107
-
108
-
109
-
110
-
111
-
112
-
113
-
114
-
115
-
116
-
117
-
118
-
119
-
120
-
121
-
122
-
123
-
124
-
125
-
126
-
127
-
128
-
129
-
130
-
131
-
132
-
133
-
134
-
135
-
136
-
137
-
138
-
139
-
140
-
141
-
142
-
143
-
144
-
145
-
146
-
147
-
148
-
149
-
150
-
151
-
152
-
153
-
154
-
155
-
156
-
157
-
158
-
159
-
160
-
161
-
162
-
163
-
164
-
165
-
166
-
167
-
168
-
169
-
170
-
171
-
172
 |
 |