Brother International PC-8500 Users Manual - English - Page 105
Sewing, Sewing attractive finishes, Using a pattern sheet
 |
View all Brother International PC-8500 manuals
Add to My Manuals
Save this manual to your list of manuals |
Page 105 highlights
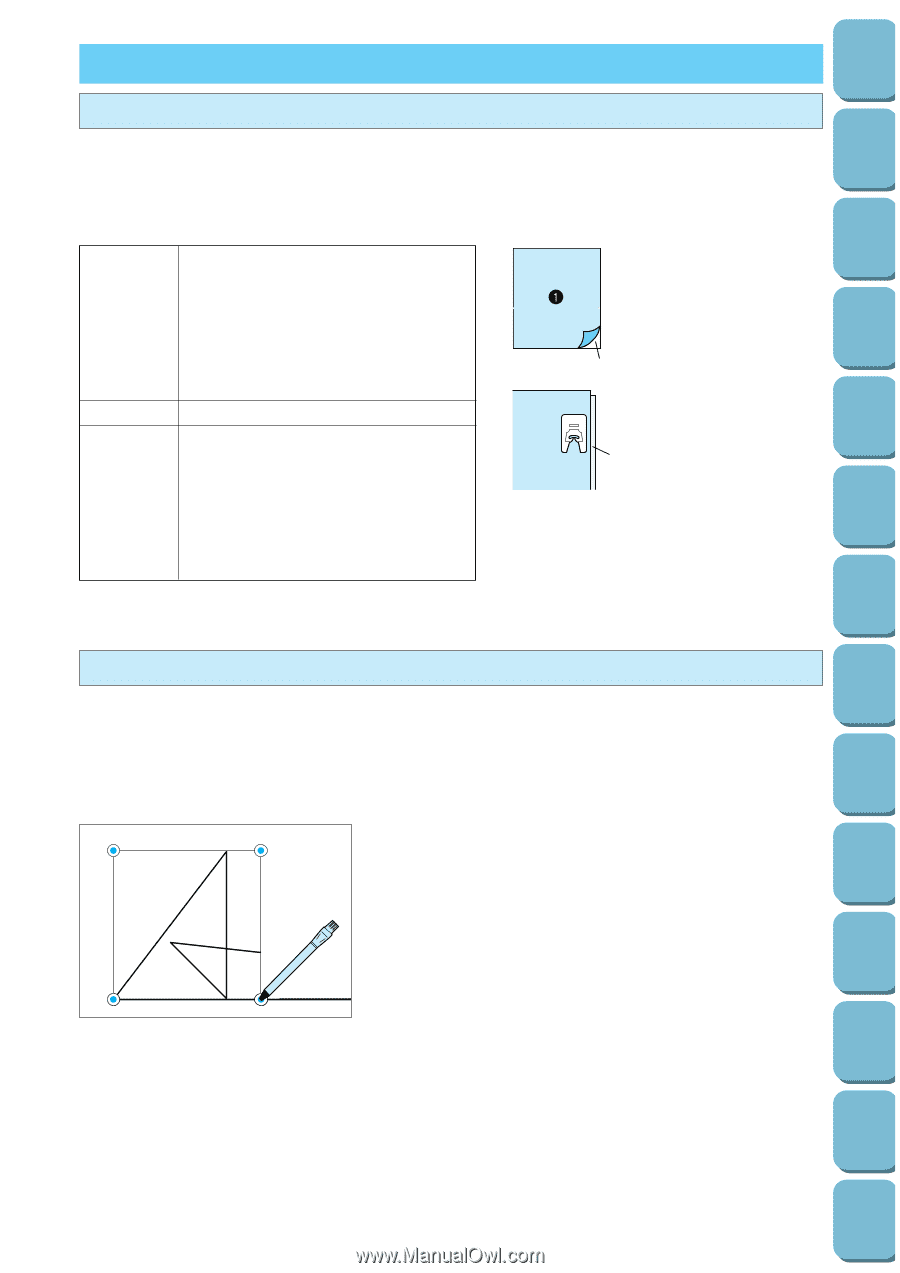
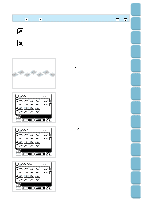
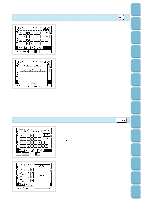
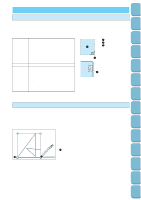
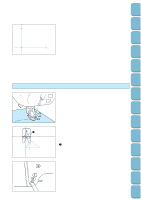
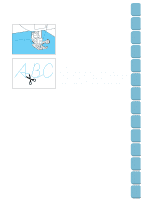
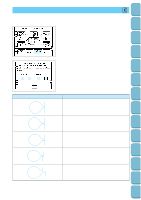
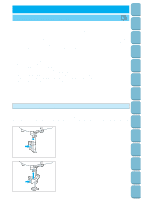
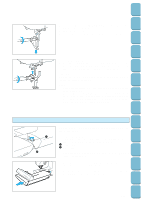
Setting Up Sewing Utility Stitches Characters and Decorative Stitches Embroidering Editing Embroidery Patterns SEWING Sewing attractive finishes Refer to the table below and the "RELATED CHART OF SEWING FABRICS, THREADS AND NEEDLES" for recommended fabrics, threads and needles to use in order to obtain attractive sewing finishes. Furthermore, fabric pattern slippages may occur when using different fabric thicknesses or types of stabilizers. Be sure to carry out a test sewing beforehand to check. FABRIC THREAD NEEDLE When sewing thin or stretch fabrics, fabrics with coarse weaves, or characters/decorative stitches stored in the machine attach interfacing to the reverse side. If you do not wish to attach interfacing, place the fabric onto a thin paper such as tracing paper before starting to sew. This acts as a stabilizer. #50 - #60 Thin and medium fabrics 75/11 (Embroidery) Thick fabrics 90/14 (Embroidery) Stretch fabrics #14 (Golden needle) 1 Fabric 2 Stabilizer 3 Thin paper 2 N 3 Using a pattern sheet You can use the clear plastic pattern sheet which is provided as an accessory to make reference marks on your material for use in positioning. This is particularly helpful when sewing large characters. 1. Align the picture on the pattern sheet with the place where the pattern is to be sewn on the fabric, and use a chalk pen to make marks on the fabric at the positions of the holes. * When sewing patterns in mirror image, turn the pattern sheet upside-down. 1 Initial needle drop point 1 Retrieving My Custom Stitch TM Error Maintenance Messages Trouble shooting Sewing Chart Patterns (Programmed in Machine) Patterns (Memory Card) 102
-
 1
1 -
2
-
3
-
4
-
5
-
6
-
7
-
8
-
9
-
10
-
11
-
12
-
13
-
14
-
15
-
16
-
17
-
18
-
19
-
20
-
21
-
22
-
23
-
24
-
25
-
26
-
27
-
28
-
29
-
30
-
31
-
32
-
33
-
34
-
35
-
36
-
37
-
38
-
39
-
40
-
41
-
42
-
43
-
44
-
45
-
46
-
47
-
48
-
49
-
50
-
51
-
52
-
53
-
54
-
55
-
56
-
57
-
58
-
59
-
60
-
61
-
62
-
63
-
64
-
65
-
66
-
67
-
68
-
69
-
70
-
71
-
72
-
73
-
74
-
75
-
76
-
77
-
78
-
79
-
80
-
81
-
82
-
83
-
84
-
85
-
86
-
87
-
88
-
89
-
90
-
91
-
92
-
93
-
94
-
95
-
96
-
97
-
98
-
99
-
 100
100 -
 101
101 -
 102
102 -
 103
103 -
 104
104 -
 105
105 -
 106
106 -
 107
107 -
 108
108 -
 109
109 -
 110
110 -
111
-
112
-
113
-
114
-
115
-
116
-
117
-
118
-
119
-
120
-
121
-
122
-
123
-
124
-
125
-
126
-
127
-
128
-
129
-
130
-
131
-
132
-
133
-
134
-
135
-
136
-
137
-
138
-
139
-
140
-
141
-
142
-
143
-
144
-
145
-
146
-
147
-
148
-
149
-
150
-
151
-
152
-
153
-
154
-
155
-
156
-
157
-
158
-
159
-
160
-
161
-
162
-
163
-
164
-
165
-
166
-
167
-
168
-
169
-
170
-
171
-
172
-
173
-
174
-
175
-
176
-
177
-
178
-
179
-
180
-
181
-
182
-
183
-
184
-
185
-
186
-
187
-
188
-
189
-
190
-
191
-
192
-
193
-
194
-
195
-
196
 |
 |