Brother International PC-8500 Users Manual - English - Page 47
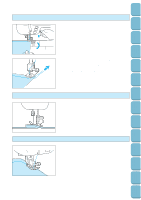
Sewing thick fabric, you guide the fabric around the curve.
 |
View all Brother International PC-8500 manuals
Add to My Manuals
Save this manual to your list of manuals |
Page 47 highlights
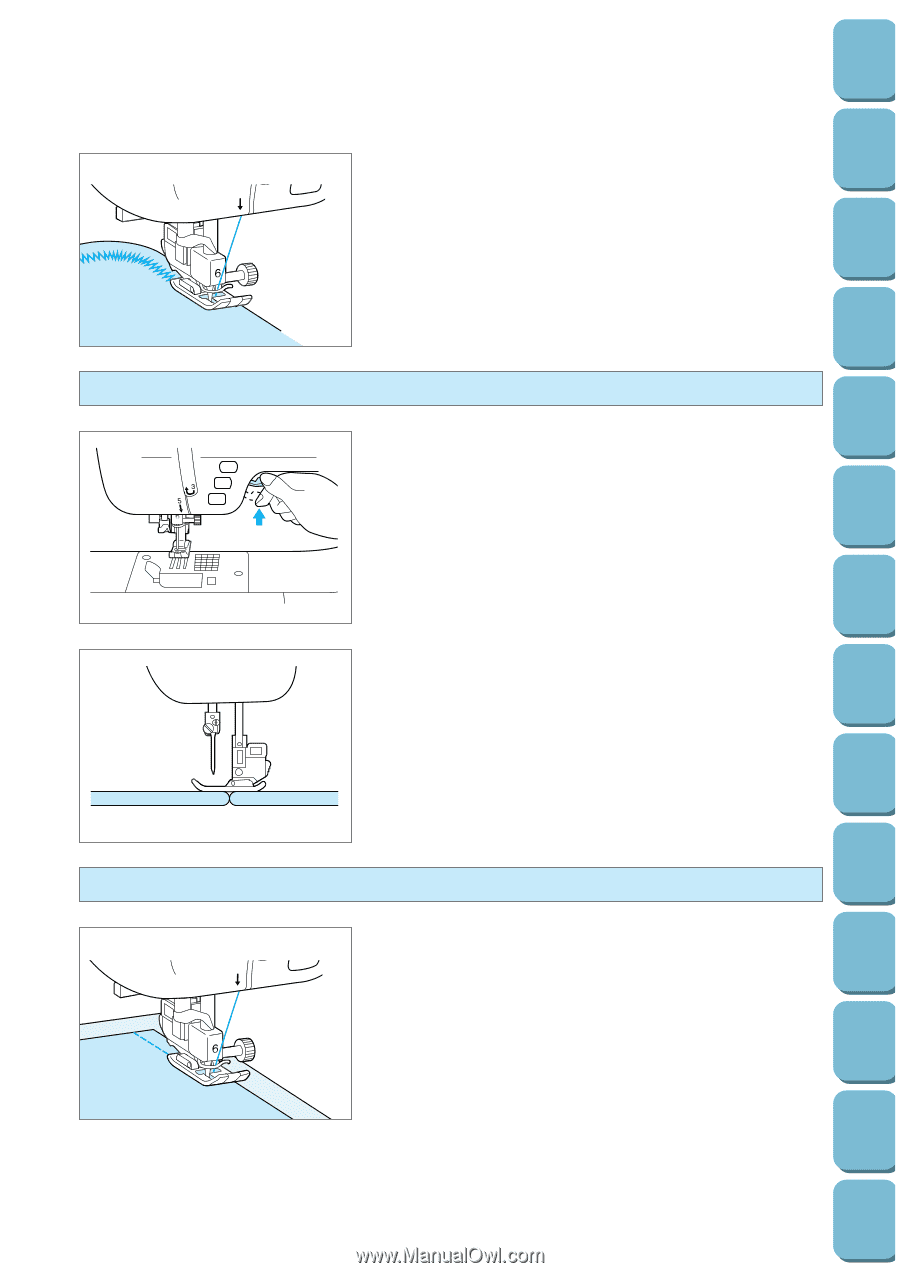
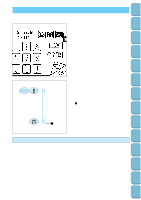
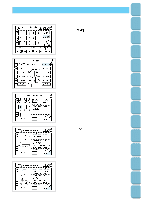
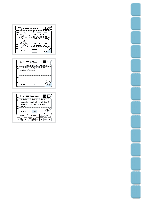
Setting Up Sewing Utility Stitches Characters and Decorative Stitches Embroidering Editing Embroidery Patterns Retrieving 3 5 Sewing thick fabric Sewing a curve with a zigzag stitch Set the stitch length short in order to obtain a fine stitch. Sew slowly while keeping the seams parallel with the fabric edge as you guide the fabric around the curve. * For sharp corners, temporarily stop sewing while keeping the needle in the material, then raise the presser foot and carefully turn the fabric while keeping it level with the presser foot. Lower the presser foot and continue sewing. 1. When you raise the presser foot lever further, the presser foot is raised to a higher position to handle thicker fabrics. With the presser foot in the up position, raise the presser foot lever higher to make room for thicker fabrics. Sewing thin fabric 3 5 2. If the fabric will not feed at the beginning of sewing, place another piece of fabric with the same thickness at the back of the material. * Using a straight stitch foot (optional accessory item SA108 or X80823001) will stop the fabric lifting up and down as the needle pierces very thick fabrics. Remember that this foot is only to be used with the straight stitch in the center needle position. Place thin paper or stabilizer material under the fabric, and then start sewing. * Use a straight stitch foot (optional accessory item SA108 or X80823001) to eliminate any puckering. Remember to select the center needle position. Additional adjustment of stitch length and tension may be necessary. My Custom Stitch TM Error Maintenance Messages Trouble shooting Sewing Chart Patterns (Programmed in Machine) Patterns (Memory Card) 44
-
 1
1 -
2
-
3
-
4
-
5
-
6
-
7
-
8
-
9
-
10
-
11
-
12
-
13
-
14
-
15
-
16
-
17
-
18
-
19
-
20
-
21
-
22
-
23
-
24
-
25
-
26
-
27
-
28
-
29
-
30
-
31
-
32
-
33
-
34
-
35
-
36
-
37
-
38
-
39
-
40
-
41
-
 42
42 -
 43
43 -
 44
44 -
 45
45 -
 46
46 -
 47
47 -
 48
48 -
 49
49 -
 50
50 -
 51
51 -
 52
52 -
53
-
54
-
55
-
56
-
57
-
58
-
59
-
60
-
61
-
62
-
63
-
64
-
65
-
66
-
67
-
68
-
69
-
70
-
71
-
72
-
73
-
74
-
75
-
76
-
77
-
78
-
79
-
80
-
81
-
82
-
83
-
84
-
85
-
86
-
87
-
88
-
89
-
90
-
91
-
92
-
93
-
94
-
95
-
96
-
97
-
98
-
99
-
100
-
101
-
102
-
103
-
104
-
105
-
106
-
107
-
108
-
109
-
110
-
111
-
112
-
113
-
114
-
115
-
116
-
117
-
118
-
119
-
120
-
121
-
122
-
123
-
124
-
125
-
126
-
127
-
128
-
129
-
130
-
131
-
132
-
133
-
134
-
135
-
136
-
137
-
138
-
139
-
140
-
141
-
142
-
143
-
144
-
145
-
146
-
147
-
148
-
149
-
150
-
151
-
152
-
153
-
154
-
155
-
156
-
157
-
158
-
159
-
160
-
161
-
162
-
163
-
164
-
165
-
166
-
167
-
168
-
169
-
170
-
171
-
172
-
173
-
174
-
175
-
176
-
177
-
178
-
179
-
180
-
181
-
182
-
183
-
184
-
185
-
186
-
187
-
188
-
189
-
190
-
191
-
192
-
193
-
194
-
195
-
196
 |
 |