Brother International PC-8500 Users Manual - English - Page 99
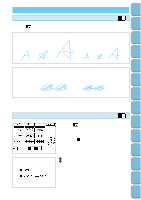
Changing the stitch length and the stitch width, Example: To combine
 |
View all Brother International PC-8500 manuals
Add to My Manuals
Save this manual to your list of manuals |
Page 99 highlights
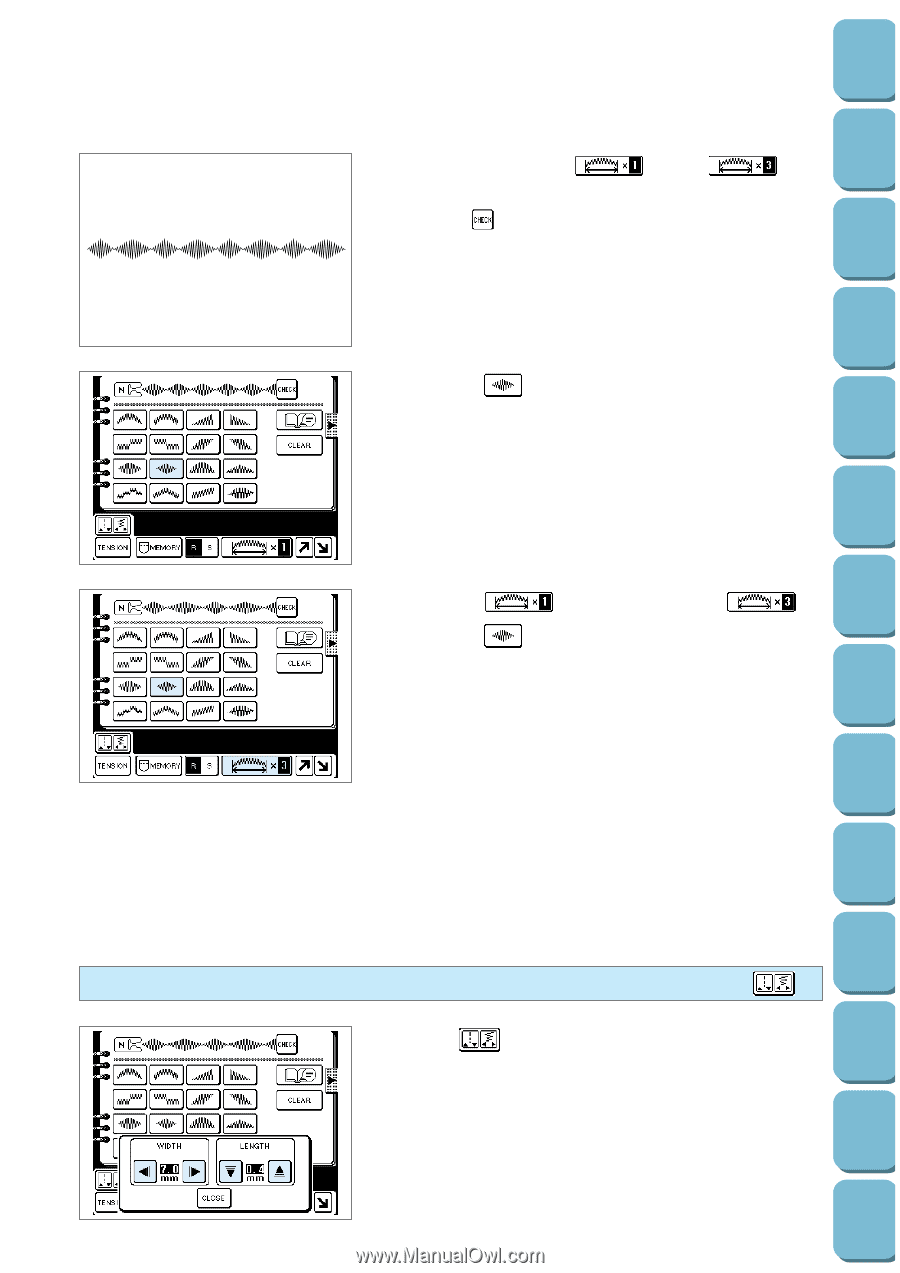
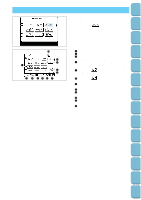
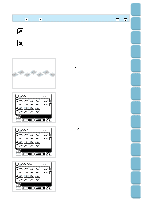
Setting Up Sewing Utility Stitches Characters and Decorative Stitches Embroidering Example: To combine " " and " " Note Pressing the stitches. key will provide a confirmation of the selected 1. Select the " " stitch. 2. Touch the " " key twice to switch to " ". 3. Select the " " stitch. The thread may easily become knotted when certain types of fabric or thread are used; therefore, the upper thread tension should be adjusted according to the application. Editing Embroidery Patterns Retrieving My Custom Stitch TM Error Maintenance Messages Trouble shooting Sewing Chart Patterns (Programmed in Machine) Changing the stitch length and the stitch width Touch the " " key. The stitch width and stitch length setting screen will be displayed. Touch the stitch width and stitch length setting keys to change the settings. (Refer to pages 24 to 26.) The thread may easily become knotted when certain types of fabric or thread are used; therefore, the upper thread tension should be adjusted according to the application. 96 Patterns (Memory Card)
-
 1
1 -
2
-
3
-
4
-
5
-
6
-
7
-
8
-
9
-
10
-
11
-
12
-
13
-
14
-
15
-
16
-
17
-
18
-
19
-
20
-
21
-
22
-
23
-
24
-
25
-
26
-
27
-
28
-
29
-
30
-
31
-
32
-
33
-
34
-
35
-
36
-
37
-
38
-
39
-
40
-
41
-
42
-
43
-
44
-
45
-
46
-
47
-
48
-
49
-
50
-
51
-
52
-
53
-
54
-
55
-
56
-
57
-
58
-
59
-
60
-
61
-
62
-
63
-
64
-
65
-
66
-
67
-
68
-
69
-
70
-
71
-
72
-
73
-
74
-
75
-
76
-
77
-
78
-
79
-
80
-
81
-
82
-
83
-
84
-
85
-
86
-
87
-
88
-
89
-
90
-
91
-
92
-
93
-
 94
94 -
 95
95 -
 96
96 -
 97
97 -
 98
98 -
 99
99 -
 100
100 -
 101
101 -
 102
102 -
 103
103 -
 104
104 -
105
-
106
-
107
-
108
-
109
-
110
-
111
-
112
-
113
-
114
-
115
-
116
-
117
-
118
-
119
-
120
-
121
-
122
-
123
-
124
-
125
-
126
-
127
-
128
-
129
-
130
-
131
-
132
-
133
-
134
-
135
-
136
-
137
-
138
-
139
-
140
-
141
-
142
-
143
-
144
-
145
-
146
-
147
-
148
-
149
-
150
-
151
-
152
-
153
-
154
-
155
-
156
-
157
-
158
-
159
-
160
-
161
-
162
-
163
-
164
-
165
-
166
-
167
-
168
-
169
-
170
-
171
-
172
-
173
-
174
-
175
-
176
-
177
-
178
-
179
-
180
-
181
-
182
-
183
-
184
-
185
-
186
-
187
-
188
-
189
-
190
-
191
-
192
-
193
-
194
-
195
-
196
 |
 |