Brother International PC-8500 Users Manual - English - Page 14
Operation Buttons - speed
 |
View all Brother International PC-8500 manuals
Add to My Manuals
Save this manual to your list of manuals |
Page 14 highlights
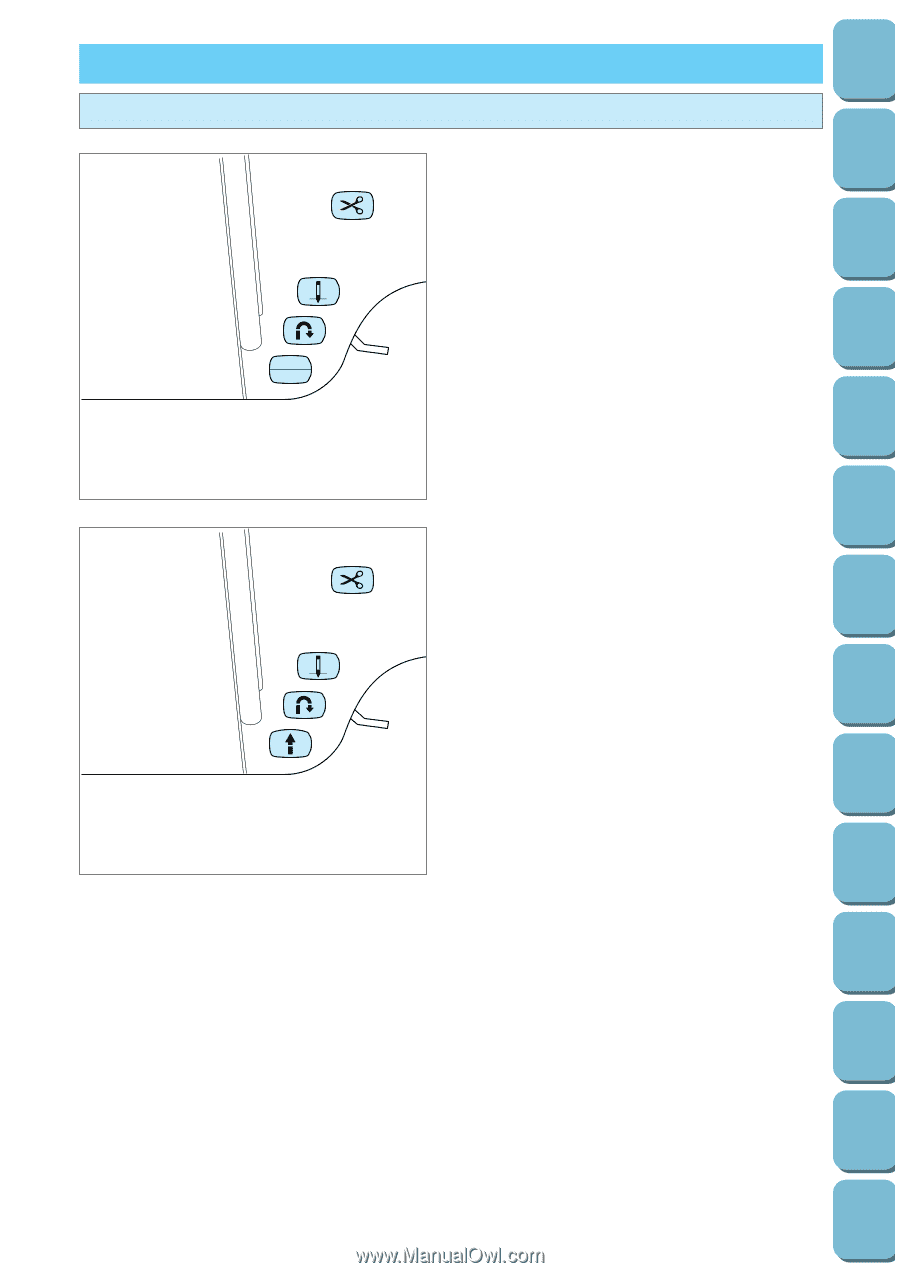
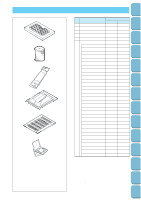
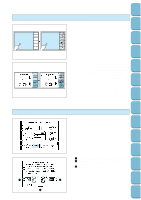
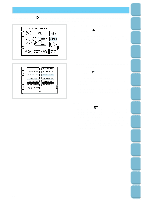
Setting Up Sewing Utility Stitches Characters and Decorative Stitches Embroidering OPERATION BUTTONS Using the operation buttons 1 2 3 4 START STOP 1 2 3 4 D. OPERATION BUTTONS 1 "THREAD CUTTER" BUTTON When you press this button, both upper and bobbin threads are cut automatically. 2 "NEEDLE POSITION" BUTTON Press to change the needle position from up to down or from down to up. 3 "REVERSE STITCH" BUTTON The reverse stitch button is used to secure and end stitching with a reverse stitch or reinforcement stitch. The reverse stitch function stitches backward. The reinforcement stitch function stitches three times in the same position. (See page 38 for full instructions.) 4 "START/STOP" BUTTON The button illuminates green when the machine is ready to be started and while sewing or embroidering. If starting is not possible, it illuminates red. In addition, it illuminates orange when the bobbin thread is being wound onto the bobbin (when the bobbin winder shaft is to the right). * Sewing continues at low speed while the button is pressed. * The needle will drop to its lowest position when the machine is stopped. Editing Embroidery Patterns Retrieving My Custom Stitch TM Error Maintenance Messages Trouble shooting Sewing Chart Patterns (Programmed in Machine) Patterns (Memory Card) 11
-
 1
1 -
2
-
3
-
4
-
5
-
6
-
7
-
8
-
 9
9 -
 10
10 -
 11
11 -
 12
12 -
 13
13 -
 14
14 -
 15
15 -
 16
16 -
 17
17 -
 18
18 -
 19
19 -
20
-
21
-
22
-
23
-
24
-
25
-
26
-
27
-
28
-
29
-
30
-
31
-
32
-
33
-
34
-
35
-
36
-
37
-
38
-
39
-
40
-
41
-
42
-
43
-
44
-
45
-
46
-
47
-
48
-
49
-
50
-
51
-
52
-
53
-
54
-
55
-
56
-
57
-
58
-
59
-
60
-
61
-
62
-
63
-
64
-
65
-
66
-
67
-
68
-
69
-
70
-
71
-
72
-
73
-
74
-
75
-
76
-
77
-
78
-
79
-
80
-
81
-
82
-
83
-
84
-
85
-
86
-
87
-
88
-
89
-
90
-
91
-
92
-
93
-
94
-
95
-
96
-
97
-
98
-
99
-
100
-
101
-
102
-
103
-
104
-
105
-
106
-
107
-
108
-
109
-
110
-
111
-
112
-
113
-
114
-
115
-
116
-
117
-
118
-
119
-
120
-
121
-
122
-
123
-
124
-
125
-
126
-
127
-
128
-
129
-
130
-
131
-
132
-
133
-
134
-
135
-
136
-
137
-
138
-
139
-
140
-
141
-
142
-
143
-
144
-
145
-
146
-
147
-
148
-
149
-
150
-
151
-
152
-
153
-
154
-
155
-
156
-
157
-
158
-
159
-
160
-
161
-
162
-
163
-
164
-
165
-
166
-
167
-
168
-
169
-
170
-
171
-
172
-
173
-
174
-
175
-
176
-
177
-
178
-
179
-
180
-
181
-
182
-
183
-
184
-
185
-
186
-
187
-
188
-
189
-
190
-
191
-
192
-
193
-
194
-
195
-
196
 |
 |