Panasonic KXFPG381 KXFPG381 User Guide - Page 45
Caller ID number auto, edit feature, 11 Erasing caller, information, 10.1 Using the handset
 |
View all Panasonic KXFPG381 manuals
Add to My Manuals
Save this manual to your list of manuals |
Page 45 highlights
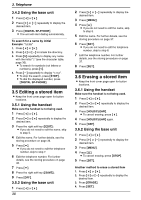
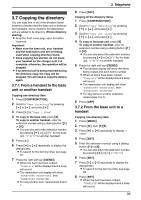
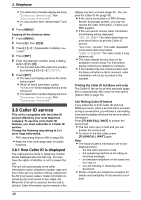
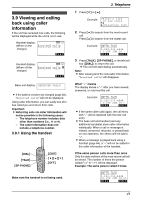
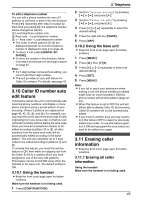
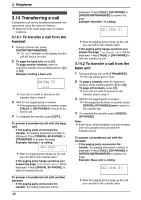
To edit a telephone number You can edit a phone number into one of 3 patterns to call back or store it into the directory. Press {*} repeatedly after step 2 on page 42. Each time you press {*}, the telephone number will be changed as follows: 1 Local telephone number only 2 Area code - Local telephone number 3 1 - Area code - Local telephone number L The order in which patterns 1-3 are displayed depends on how the telephone number is displayed in step 2 on page 42. L To return a call, press {DIGITAL SPPHONE}. L To store the number in the directory, follow from step 3 of the base unit storing procedure on page 45. Note: L If a 7-digit number comes without editing, you cannot edit that 7-digit number. L The unit provides an auto edit feature for Caller ID numbers. For details, see page 43. 3.10 Caller ID number auto edit feature This feature allows the unit to automatically edit incoming phone numbers, and display or store phone numbers using a preset pattern of your choosing. (These 3 patterns are explained on page 42, 43, 1, 2, and 3.) For example, you may want the unit to ignore the area code of calls originating from your area code, so that you can call these numbers without dialing the area code. Once you have set a telephone number to be edited according to pattern 1 or 2, all other numbers from the same area code will be automatically edited according to the same pattern. The unit can remember up to 4 area codes to be edited according to patterns 1 and 2. To activate this feature, you must first set this feature to ON, then make an outgoing call from the Caller ID list to a number which you have assigned to one of the auto edit patterns. This feature can be turned ON using either the handset or the base unit. The default setting is ON. 3.10.1 Using the handset L Keep the front cover page open for button locations. Make sure the handset is not being used. 1 Press {CONF/FUNCTION}. 3. Telephone 2 Scroll to "Initial setting" by pressing {v} or {e}, and press {>}. 3 Scroll to "Caller ID edit" by pressing {v} or {e}, and press {>}. 4 Press {v} or {e} repeatedly to select the desired setting. 5 Press the right soft key ({SAVE}). 6 Press {OFF}. 3.10.2 Using the base unit L Keep the front cover page open for button locations. 1 Press {MENU}. 2 Press {#}, then {7}{5}. 3 Press {A} or {B} repeatedly to select the desired setting. 4 Press {SET}. 5 Press {MENU}. Note: L If you fail to reach your destination when making a call, the phone number you dialed might have an incorrect pattern. Edit the phone number with another pattern (page 42, 43). L When this feature is set to OFF the unit will still be able to display Caller ID, but incoming Caller ID numbers will not be automatically edited. L If you move to another area you may need to turn this feature OFF to erase the previously edited area codes. To use this feature again, turn it ON and reprogram the area codes you want to be edited once again. 3.11 Erasing caller information L Keep the front cover page open for button locations. 3.11.1 Erasing all caller information Using the handset Make sure the handset is not being used. 43
-
 1
1 -
2
-
3
-
4
-
5
-
6
-
7
-
8
-
9
-
10
-
11
-
12
-
13
-
14
-
15
-
16
-
17
-
18
-
19
-
20
-
21
-
22
-
23
-
24
-
25
-
26
-
27
-
28
-
29
-
30
-
31
-
32
-
33
-
34
-
35
-
36
-
37
-
38
-
39
-
 40
40 -
 41
41 -
 42
42 -
 43
43 -
 44
44 -
 45
45 -
 46
46 -
 47
47 -
 48
48 -
 49
49 -
 50
50 -
51
-
52
-
53
-
54
-
55
-
56
-
57
-
58
-
59
-
60
-
61
-
62
-
63
-
64
-
65
-
66
-
67
-
68
-
69
-
70
-
71
-
72
-
73
-
74
-
75
-
76
-
77
-
78
-
79
-
80
-
81
-
82
-
83
-
84
-
85
-
86
-
87
-
88
-
89
-
90
-
91
-
92
-
93
-
94
-
95
-
96
-
97
-
98
-
99
-
100
-
101
-
102
-
103
-
104
-
105
-
106
 |
 |