Panasonic KXFPG381 KXFPG381 User Guide - Page 52
Fax, Sending Faxes, Fax/start, Redial/pause, Digital Sp-phone
 |
View all Panasonic KXFPG381 manuals
Add to My Manuals
Save this manual to your list of manuals |
Page 52 highlights
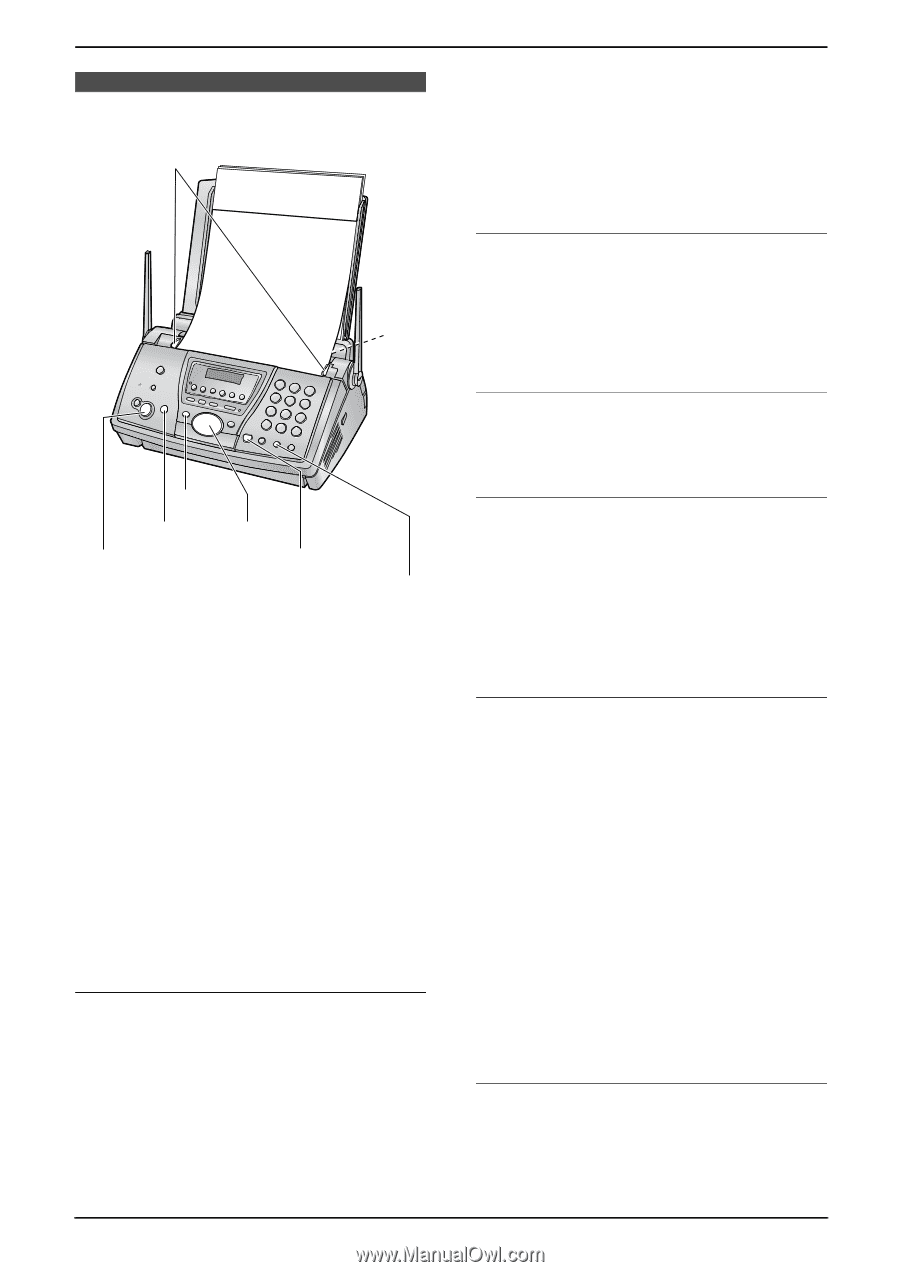
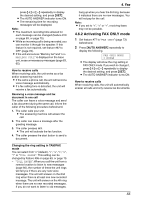
4. Fax 4SeFnadxing Faxes 4.1 Sending a fax manually 1 2 {HELP} {STOP} {A}{B} {FAX/START} {DIGITAL SP-PHONE} {SET} {REDIAL/PAUSE} 1 Adjust the width of the document guides (1) to the size of the document. 2 Insert the document (up to 10 pages) FACE DOWN (2) until a single beep is heard and the unit grasps the document. 3 If necessary, press {A} or {B} repeatedly to select the desired resolution. 4 Press {DIGITAL SP-PHONE}. 5 Dial the fax number. 6 When a fax tone is heard: Press {FAX/START}. When the other party answers your call: Ask them to press their start button. When the fax tone is heard, press {FAX/START}. To select the resolution Select the desired resolution according to the type of document. - "STANDARD": For printed or typewritten originals with normal-sized characters. - "FINE": For originals with small printing. - "SUPER FINE": For originals with very small printing. This setting only works with other compatible fax machines. - "PHOTO": For originals containing photographs, shaded drawings, etc. L Using the "FINE", "SUPER FINE" and "PHOTO" settings will increase transmission time. L If the resolution setting is changed during feeding, it will be effective from the next page. To redial the last number 1. Press {REDIAL/PAUSE}. 2. Press {FAX/START}. L If the line is busy, the unit will automatically redial the number up to 2 times. L To cancel redialing, press {STOP}. To send more than 10 pages at a time Insert the first 10 pages of the document. Add the other pages (up to 10 at a time) before the last page feeds into the unit. Pre-dialing a fax number You can dial the fax number first before inserting the document. This is convenient if you need to refer to the document for the other party's fax number. 1. Enter the fax number. 2. Insert the document. 3. Press {FAX/START}. Sending from memory (Quick scan feature) You can scan the document into memory before sending it. To use this feature, activate feature #34 (page 70). 1. Insert the document. 2. Enter the fax number. 3. Press {FAX/START}. L The document will be fed into the unit and scanned into memory. The unit will then transmit the data. If the document exceeds the memory capacity, transmission will be canceled and this feature will be turned OFF automatically. You must transmit the entire document manually. L This feature cannot be used if {DIGITAL SPPHONE}, {TALK} or {SP-PHONE} is pressed. To stop transmission Press {STOP}. 50
-
 1
1 -
2
-
3
-
4
-
5
-
6
-
7
-
8
-
9
-
10
-
11
-
12
-
13
-
14
-
15
-
16
-
17
-
18
-
19
-
20
-
21
-
22
-
23
-
24
-
25
-
26
-
27
-
28
-
29
-
30
-
31
-
32
-
33
-
34
-
35
-
36
-
37
-
38
-
39
-
40
-
41
-
42
-
43
-
44
-
45
-
46
-
 47
47 -
 48
48 -
 49
49 -
 50
50 -
 51
51 -
 52
52 -
 53
53 -
 54
54 -
 55
55 -
 56
56 -
 57
57 -
58
-
59
-
60
-
61
-
62
-
63
-
64
-
65
-
66
-
67
-
68
-
69
-
70
-
71
-
72
-
73
-
74
-
75
-
76
-
77
-
78
-
79
-
80
-
81
-
82
-
83
-
84
-
85
-
86
-
87
-
88
-
89
-
90
-
91
-
92
-
93
-
94
-
95
-
96
-
97
-
98
-
99
-
100
-
101
-
102
-
103
-
104
-
105
-
106
 |
 |