Panasonic KXFPG381 KXFPG381 User Guide - Page 70
PROGRAMMABLE FEATURES, FEATURES (BASE UNIT), 1.1 Programming basic, features
 |
View all Panasonic KXFPG381 manuals
Add to My Manuals
Save this manual to your list of manuals |
Page 70 highlights
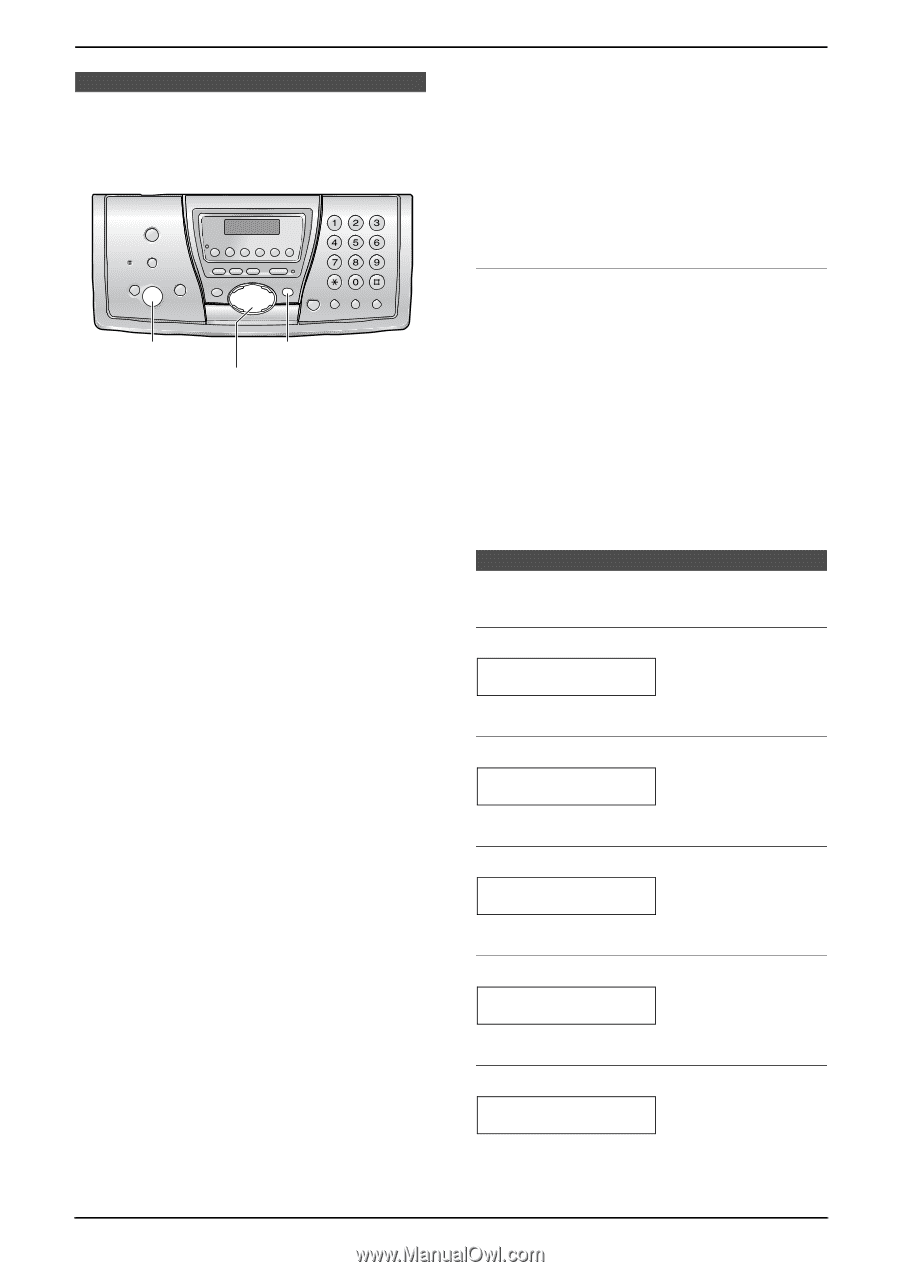
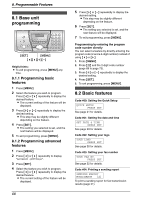
8. Programmable Features 8FePartougrerasm(BmaasbeleUFneita) tures 8.1 Base unit programming {SET} {MENU} {}{A}{B} Helpful hints: L To exit programming, press {MENU} any time. 8.1.1 Programming basic features 1 Press {MENU}. 2 Select the feature you wish to program. Press {} repeatedly to display the desired feature. L The current setting of the feature will be displayed. 3 Press {A} or {B} repeatedly to display the desired setting. L This step may be slightly different depending on the feature. 4 Press {SET}. L The setting you selected is set, and the next feature will be displayed. 5 To exit programming, press {MENU}. 8.1.2 Programming advanced features 1 Press {MENU}. 2 Press {} repeatedly to display "ADVANCE SETTINGS". 3 Press {SET}. 4 Select the feature you wish to program. Press {} repeatedly to display the desired feature. L The current setting of the feature will be displayed. 68 5 Press {A} or {B} repeatedly to display the desired setting. L This step may be slightly different depending on the feature. 6 Press {SET}. L The setting you selected is set, and the next feature will be displayed. 7 To exit programming, press {MENU}. Programming by entering the program code number directly You can select a feature by directly entering the program code (# and a 2-digit number) instead of using {}. 1. Press {MENU}. 2. Press {#} and the 2-digit code number (page 68 to page 73). 3. Press {A} or {B} repeatedly to display the desired setting. 4. Press {SET}. 5. To exit programming, press {MENU}. 8.2 Basic features Code #00: Setting the Quick Setup QUICK SETUP PRESS SET See page 21 for details. Code #01: Setting the date and time SET DATE & TIME PRESS SET See page 29 for details. Code #02: Setting your logo YOUR LOGO PRESS SET See page 30 for details. Code #03: Setting your fax number YOUR FAX NO. PRESS SET See page 32 for details. Code #04: Printing a sending report SENDING REPORT MODE=ERROR [±] To print a sending report for fax transmission results (page 51).
-
 1
1 -
2
-
3
-
4
-
5
-
6
-
7
-
8
-
9
-
10
-
11
-
12
-
13
-
14
-
15
-
16
-
17
-
18
-
19
-
20
-
21
-
22
-
23
-
24
-
25
-
26
-
27
-
28
-
29
-
30
-
31
-
32
-
33
-
34
-
35
-
36
-
37
-
38
-
39
-
40
-
41
-
42
-
43
-
44
-
45
-
46
-
47
-
48
-
49
-
50
-
51
-
52
-
53
-
54
-
55
-
56
-
57
-
58
-
59
-
60
-
61
-
62
-
63
-
64
-
 65
65 -
 66
66 -
 67
67 -
 68
68 -
 69
69 -
 70
70 -
 71
71 -
 72
72 -
 73
73 -
 74
74 -
 75
75 -
76
-
77
-
78
-
79
-
80
-
81
-
82
-
83
-
84
-
85
-
86
-
87
-
88
-
89
-
90
-
91
-
92
-
93
-
94
-
95
-
96
-
97
-
98
-
99
-
100
-
101
-
102
-
103
-
104
-
105
-
106
 |
 |