Panasonic KXFPG381 KXFPG381 User Guide - Page 55
RECEIVING FAXES, 5.1 Activating TEL mode
 |
View all Panasonic KXFPG381 manuals
Add to My Manuals
Save this manual to your list of manuals |
Page 55 highlights
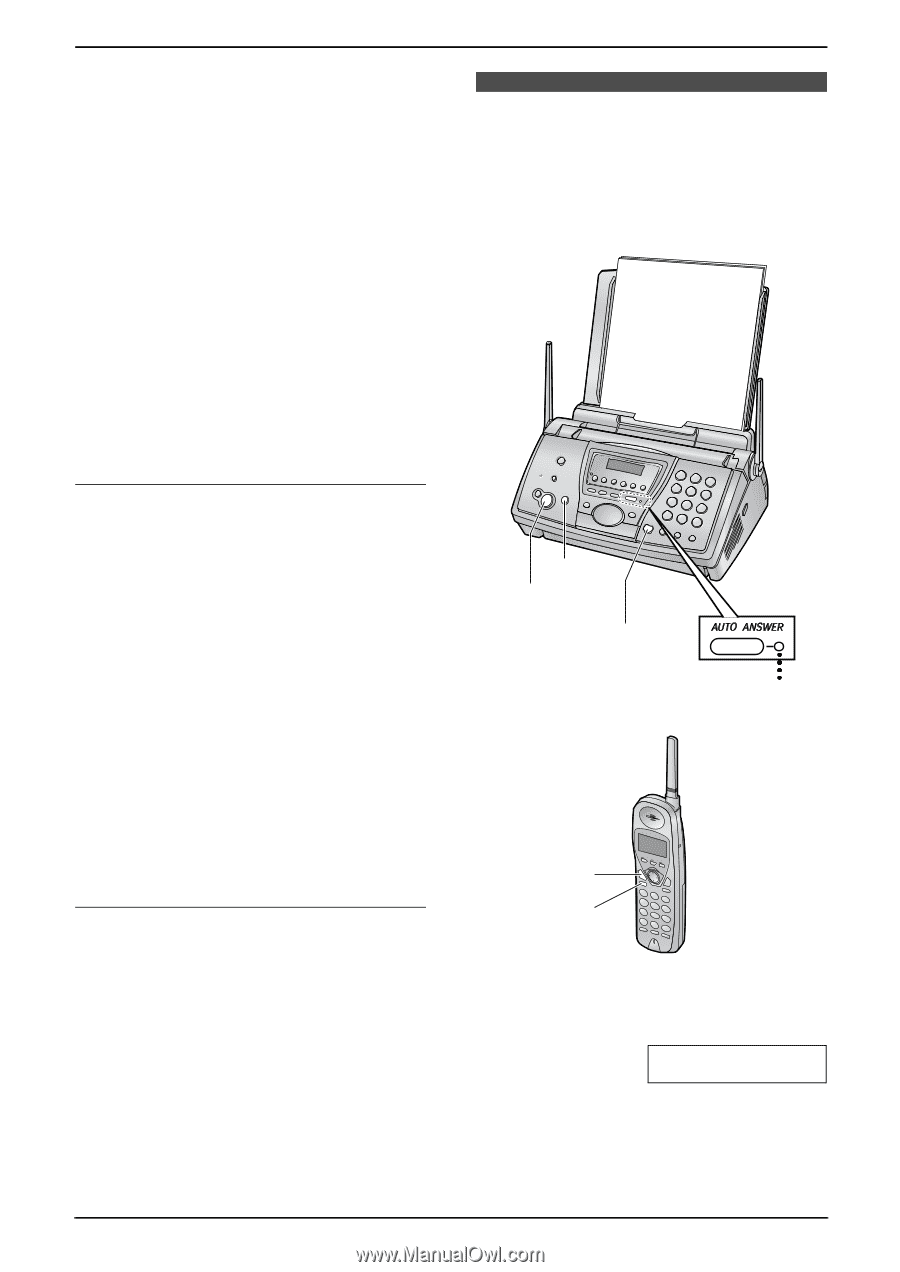
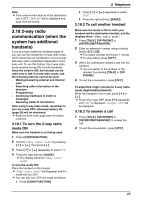
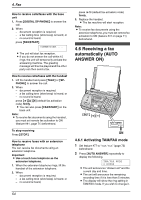
4 Press {A} or {B} repeatedly to display "". 5 Press {SET}. L The document will be fed into the unit and scanned into memory. The unit will then transmit the data to each party, calling each number sequentially. L After transmission, the stored document will be erased automatically, and the unit will automatically print a broadcast sending report. Note: L If you select "FINE", "SUPER FINE" or "PHOTO" resolution, the number of pages that the unit can transmit will decrease. L If the document exceeds the memory capacity, transmission will be canceled. L If a party is busy or does not answer, it will be skipped and redialed later up to 2 times. To send the same document to a one-time group of items You can also select a one-time group of parties to send the same document to. After transmission, this group will be deleted. 1. Insert the document. 2. Press {>}. 3. Press {A} or {B} repeatedly to display "". 4. Press {SET} to start programming the items you want to transmit to. 5. Press {A} or {B} repeatedly to display the desired item. 6. Press {SET}. L To program other items, repeat steps 5 and 6 (up to 20 items). 7. Press {SET} to start transmission to the programmed items. To cancel broadcast transmission 1. Press {STOP} while the unit displays "BROADCASTING". L The display will show "SEND CANCELED?". 2. Press {SET}. 4. Fax Receiving Faxes 4.5 Receiving a fax manually (AUTO ANSWER OFF) 4.5.1 Activating TEL mode {STOP} {FAX/START} {DIGITAL SP-PHONE} OFF {TALK} {SP-PHONE} Set the fax machine to TEL mode by pressing {AUTO ANSWER} repeatedly to display the following. TEL MODE L The AUTO ANSWER indicator turns OFF. 53
-
 1
1 -
2
-
3
-
4
-
5
-
6
-
7
-
8
-
9
-
10
-
11
-
12
-
13
-
14
-
15
-
16
-
17
-
18
-
19
-
20
-
21
-
22
-
23
-
24
-
25
-
26
-
27
-
28
-
29
-
30
-
31
-
32
-
33
-
34
-
35
-
36
-
37
-
38
-
39
-
40
-
41
-
42
-
43
-
44
-
45
-
46
-
47
-
48
-
49
-
 50
50 -
 51
51 -
 52
52 -
 53
53 -
 54
54 -
 55
55 -
 56
56 -
 57
57 -
 58
58 -
 59
59 -
 60
60 -
61
-
62
-
63
-
64
-
65
-
66
-
67
-
68
-
69
-
70
-
71
-
72
-
73
-
74
-
75
-
76
-
77
-
78
-
79
-
80
-
81
-
82
-
83
-
84
-
85
-
86
-
87
-
88
-
89
-
90
-
91
-
92
-
93
-
94
-
95
-
96
-
97
-
98
-
99
-
100
-
101
-
102
-
103
-
104
-
105
-
106
 |
 |