Samsung GT-P5113 User Manual - Page 61
Linked Contacts, Send email, Select all, Compose Gmail, Change order, Contacts, Join contact.
 |
View all Samsung GT-P5113 manuals
Add to My Manuals
Save this manual to your list of manuals |
Page 61 highlights
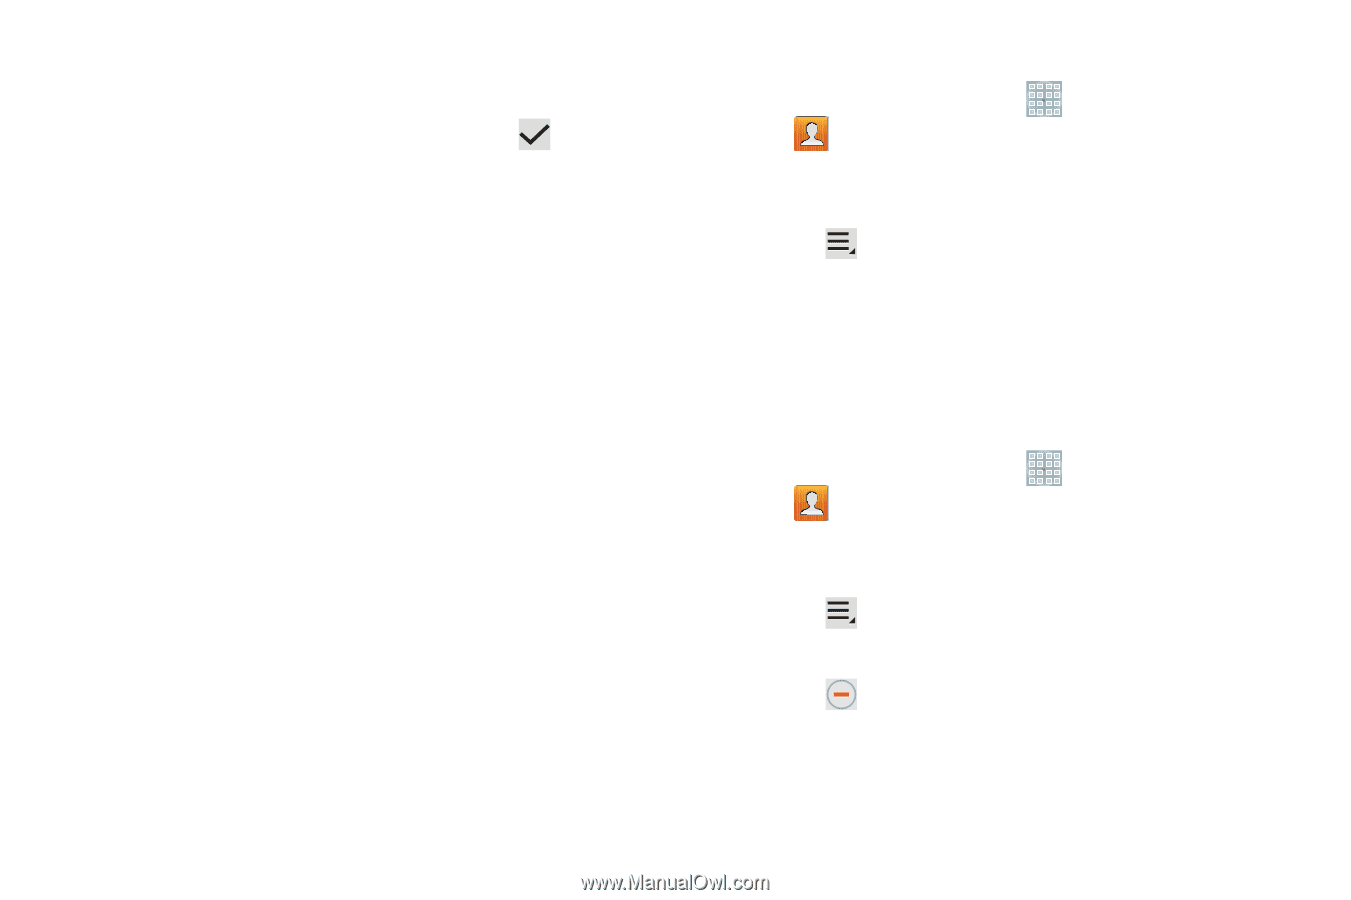
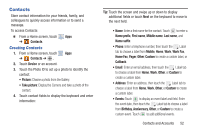
• Send email: To send an email to one or more members of the group, touch and check mark the box next to each contact you want to send to, or touch Select all, and touch Done. Touch Compose Gmail or Compose Email as the method for sending the email. • Change order: Changes the order of how the groups display. Linked Contacts Your device can synchronize with multiple accounts, including Google, Corporate Exchange, and other email providers. When you synchronize contacts from these accounts with your device, you may have multiple contacts for one person. Linking, or joining, imported contact records allows you to see all the contact's numbers and addresses together in one contact entry. Linking also helps you keep your contacts updated, because any changes that your contacts make to their information in the respective accounts is automatically updated the next time you synchronize with the account. Joining Contacts 1. From a Home screen, touch Apps ➔ Contacts. 2. Touch a contact in the Contacts list to view its information. 3. Touch Menu ➔ Join contact. 4. Touch the contact you want to Join. The joined contact's information is displayed with the original contact's information. 5. Repeat Steps 3 and 4 to join other contacts. Separating Contacts 1. From a Home screen, touch Apps ➔ Contacts. 2. Touch a contact in the Contacts list to view its information. 3. Touch Menu ➔ Separate contact. A list of Joined contacts displays. 4. Touch ➔ OK to separate a joined contact. The contact is removed from the list. Contacts and Accounts 56
-
 1
1 -
2
-
3
-
4
-
5
-
6
-
7
-
8
-
9
-
10
-
11
-
12
-
13
-
14
-
15
-
16
-
17
-
18
-
19
-
20
-
21
-
22
-
23
-
24
-
25
-
26
-
27
-
28
-
29
-
30
-
31
-
32
-
33
-
34
-
35
-
36
-
37
-
38
-
39
-
40
-
41
-
42
-
43
-
44
-
45
-
46
-
47
-
48
-
49
-
50
-
51
-
52
-
53
-
54
-
55
-
 56
56 -
 57
57 -
 58
58 -
 59
59 -
 60
60 -
 61
61 -
 62
62 -
 63
63 -
 64
64 -
 65
65 -
 66
66 -
67
-
68
-
69
-
70
-
71
-
72
-
73
-
74
-
75
-
76
-
77
-
78
-
79
-
80
-
81
-
82
-
83
-
84
-
85
-
86
-
87
-
88
-
89
-
90
-
91
-
92
-
93
-
94
-
95
-
96
-
97
-
98
-
99
-
100
-
101
-
102
-
103
-
104
-
105
-
106
-
107
-
108
-
109
-
110
-
111
-
112
-
113
-
114
-
115
-
116
-
117
-
118
-
119
-
120
-
121
-
122
-
123
-
124
-
125
-
126
-
127
-
128
-
129
-
130
-
131
-
132
-
133
-
134
-
135
-
136
-
137
-
138
-
139
-
140
-
141
-
142
-
143
-
144
-
145
-
146
-
147
-
148
-
149
-
150
-
151
-
152
-
153
-
154
-
155
-
156
-
157
-
158
-
159
-
160
-
161
-
162
-
163
-
164
-
165
-
166
-
167
-
168
-
169
-
170
-
171
-
172
-
173
-
174
-
175
-
176
-
177
-
178
-
179
-
180
-
181
-
182
-
183
-
184
-
185
-
186
-
187
-
188
-
189
-
190
-
191
-
192
-
193
-
194
-
195
-
196
-
197
-
198
-
199
-
200
-
201
-
202
-
203
-
204
-
205
-
206
-
207
-
208
-
209
-
210
-
211
-
212
-
213
-
214
-
215
-
216
-
217
-
218
-
219
-
220
-
221
-
222
-
223
-
224
-
225
-
226
-
227
-
228
-
229
-
230
-
231
-
232
-
233
-
234
-
235
-
236
-
237
-
238
-
239
-
240
-
241
-
242
 |
 |