Samsung SCX 4828FN SyncThru 5.0 Guide (ENGLISH) - Page 22
Installing SyncThru™ Admin 5 Plug-ins, Uninstalling SyncThru™ Admin 5 Plug-ins
 |
UPC - 635753612172
View all Samsung SCX 4828FN manuals
Add to My Manuals
Save this manual to your list of manuals |
Page 22 highlights
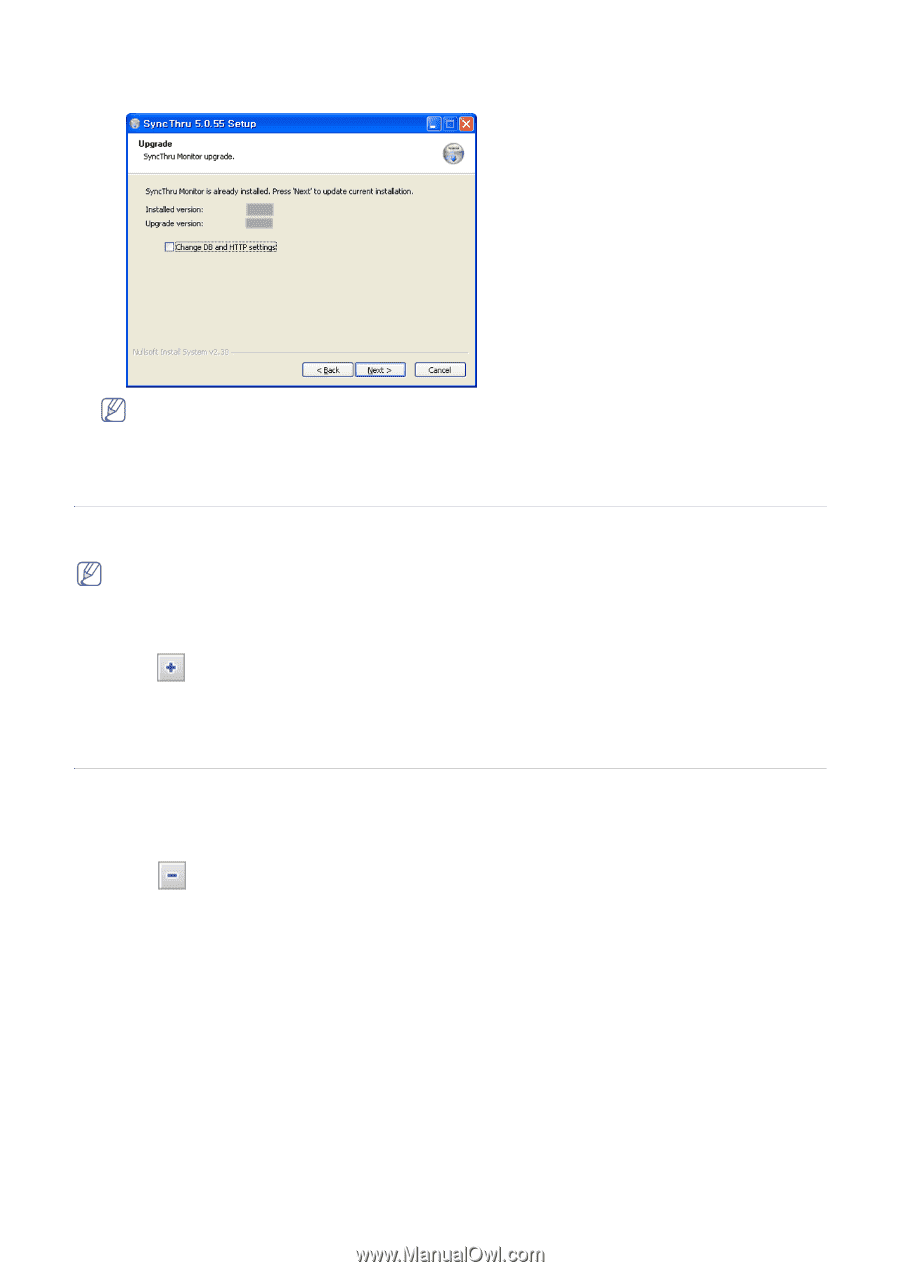
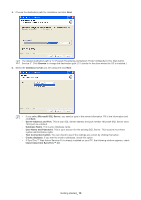
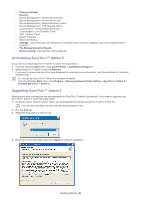
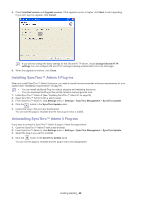
5. Check Installed version and Upgrade version. If the upgrade version is higher, click Next to start upgrading. If you don't want to upgrade, click Cancel. If you want to change the basic settings for the DB and HTTP server, check Change DB and HTTP settings.You can configure DB and HTTP settings including authentication from the next page. 6. When the upgrade is finished, click Close. Installing SyncThru™ Admin 5 Plug-ins When you install SyncThru™ Admin 5 plug-ins, you need to check the recommended minimum requirements for your system (See "Installation requirements" on page 17). • You can install additional Plug-ins without stopping and restarting the server. • You can download the Plug-in files at http://solution.samsungprinter.com. 1. Install SyncThru™ Admin 5 (See "Installing SyncThru™ Admin 5" on page18). 2. Open SyncThru™ Admin 5 with a web browser. 3. From SyncThru™ Admin 5, click Settings menu > Settings > SyncThru Management > SyncThru Update. 4. Click the button in the SyncThru Update panel. 5. Upload the plug-in file you have downloaded. You can see the page is reloaded and the new plug-in menu is added. Uninstalling SyncThru™ Admin 5 Plug-ins If you want to uninstall a SyncThru™ Admin 5 plug-in, follow the steps below. 1. Open the SyncThru™ Admin 5 with a web browser. 2. From SyncThru™ Admin 5, click Settings menu > Settings > SyncThru Management > SyncThru Update. 3. Select the plug-in you want to uninstall. 4. Click the button in the SyncThru Update panel. You can see the page is reloaded and the plug-in menu has disappeared. Getting started_ 22
-
 1
1 -
2
-
3
-
4
-
5
-
6
-
7
-
8
-
9
-
10
-
11
-
12
-
13
-
14
-
15
-
16
-
 17
17 -
 18
18 -
 19
19 -
 20
20 -
 21
21 -
 22
22 -
 23
23 -
 24
24 -
 25
25 -
 26
26 -
 27
27 -
28
-
29
-
30
-
31
-
32
-
33
-
34
-
35
-
36
-
37
-
38
-
39
-
40
-
41
-
42
-
43
-
44
-
45
-
46
-
47
-
48
-
49
-
50
-
51
-
52
-
53
-
54
-
55
-
56
-
57
-
58
-
59
-
60
-
61
-
62
-
63
-
64
-
65
-
66
-
67
-
68
-
69
-
70
-
71
-
72
-
73
-
74
-
75
-
76
-
77
-
78
-
79
-
80
-
81
-
82
-
83
-
84
-
85
-
86
-
87
-
88
-
89
-
90
-
91
-
92
-
93
-
94
-
95
-
96
-
97
-
98
-
99
-
100
-
101
-
102
-
103
-
104
-
105
-
106
-
107
-
108
-
109
-
110
-
111
 |
 |