Yamaha PSR-630 Owner's Manual - Page 87
Select the SONG Record Mode, If Necessary, Select a User Song Number, Select the Track to be Recorded
 |
View all Yamaha PSR-630 manuals
Add to My Manuals
Save this manual to your list of manuals |
Page 87 highlights
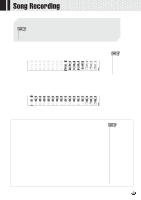
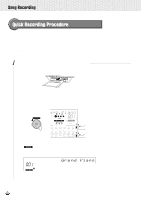
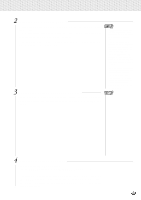
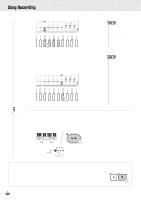
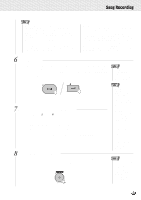
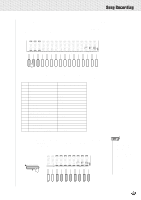
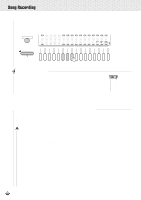
,,QQ,,QQ,,QQ,,QQ,,QQ,,QQ,,QQ,,QQ,,QQ,,QQ,,QQ,,QQ,,QQ,,QQ,,QQ,,QQ 2 Select the SONG Record Mode Press the [SONG] button to select the SONG record mode. The SONG menu icon will light. The beat indicator dots will flash at the currently set tempo, indicating that the record ready (Synchro Start) mode is engaged. The track bars for MELODY 1-4 and ACMP tracks will flash at the bottom of the display (Record Ready Mode). 3 If Necessary, Select a User Song Number When you want to change the user song number selected in step two, use the [-] and [+] buttons, [1]-[0] number buttons, or Data Dial to change it as required. • In Song Record Ready Mode, the track numbers (9-13) for corresponding to tracks where data is already recorded will light. • If the [RECORD] button is pressed, the lowest-numbered user song which does not contain any recorded data will automatically be selected. • The following panel setting changes will occur when the record ready mode is engaged: • The measure number will be reset to "1". • If the Metronome function is on (page 116), the metronome will sound at the current tempo. • The Registration Memory Freeze function will be turned on (it cannot be turned off while the record mode is engaged). • The SYNCHRO STOP function wil be turned off. 4 Select the Track to be Recorded q When recording a melody track. Use the TRACK buttons to select a MELODY 1-4 track to record. For example, if you press the track button below the MELODY 1 track, the MELODY 1 track bar will stop flashing, and the track bars for the other tracks will go out. This shows that you have selected the MELODY 1 track as the track for recording. 85
-
 1
1 -
2
-
3
-
4
-
5
-
6
-
7
-
8
-
9
-
10
-
11
-
12
-
13
-
14
-
15
-
16
-
17
-
18
-
19
-
20
-
21
-
22
-
23
-
24
-
25
-
26
-
27
-
28
-
29
-
30
-
31
-
32
-
33
-
34
-
35
-
36
-
37
-
38
-
39
-
40
-
41
-
42
-
43
-
44
-
45
-
46
-
47
-
48
-
49
-
50
-
51
-
52
-
53
-
54
-
55
-
56
-
57
-
58
-
59
-
60
-
61
-
62
-
63
-
64
-
65
-
66
-
67
-
68
-
69
-
70
-
71
-
72
-
73
-
74
-
75
-
76
-
77
-
78
-
79
-
80
-
81
-
 82
82 -
 83
83 -
 84
84 -
 85
85 -
 86
86 -
 87
87 -
 88
88 -
 89
89 -
 90
90 -
 91
91 -
 92
92 -
93
-
94
-
95
-
96
-
97
-
98
-
99
-
100
-
101
-
102
-
103
-
104
-
105
-
106
-
107
-
108
-
109
-
110
-
111
-
112
-
113
-
114
-
115
-
116
-
117
-
118
-
119
-
120
-
121
-
122
-
123
-
124
-
125
-
126
-
127
-
128
-
129
-
130
-
131
-
132
-
133
-
134
-
135
-
136
-
137
-
138
-
139
-
140
-
141
-
142
-
143
-
144
-
145
-
146
-
147
-
148
-
149
-
150
-
151
-
152
-
153
-
154
-
155
-
156
-
157
-
158
-
159
-
160
-
161
-
162
-
163
-
164
-
165
-
166
-
167
-
168
-
169
-
170
-
171
-
172
-
173
-
174
-
175
-
176
-
177
-
178
 |
 |