Yamaha PSR-630 Owner's Manual - Page 92
About the Recording with the Digital Effects Applied, Only one type of each of the Digital Effects
 |
View all Yamaha PSR-630 manuals
Add to My Manuals
Save this manual to your list of manuals |
Page 92 highlights
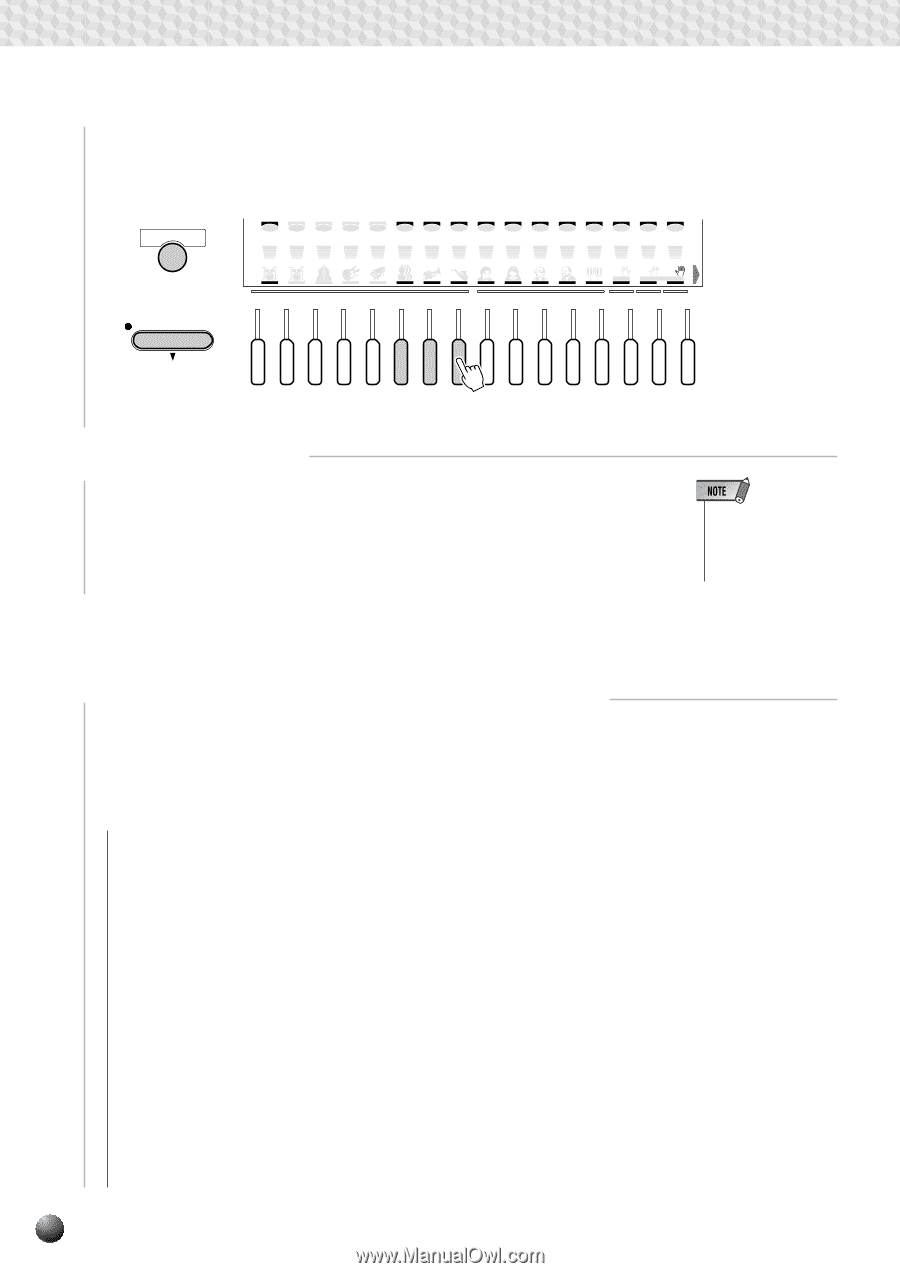
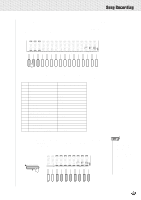
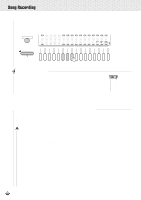
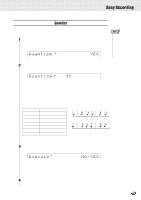
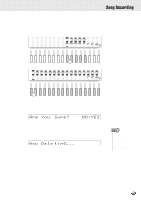
,,QQ,,QQSon,,QQgRec,,QQordin,,QQg ,,QQ,,QQ,,QQ,,QQ,,QQ,,QQ,,QQ,,QQ,,QQ,,QQ,,QQ The harmony notes (type 7-16) can be recorded to the tracks 6-8. To record harmony notes, first turn Harmony on and then press the TRACK buttons numbered 6-8 to select 6-8 tracks for recording. HARMONY ACCOMPANIMENT ON / OFF 1 2 3 4 5 6 7 8 9 10 11 12 13 14 15 16 001 213 337 391 259 434 468 442 471 216 252 213 213 213 213 213 RHYTHM RHYTHM BASS CHORD CHORD 1 2 1 2 PAD PHRASE PHRASE MELODY MELODY MELODY MELODY ACMP VOICE VOICE VOICE 1 2 1 2 3 4 L R2 R1 SPLIT DUAL ACCOMPANIMENT TRACK SONG TRACK L R2 R1 1 2 3 4 5 6 7 8 9 10 11 12 13 14 15 16 4 Start/Stop Recording Record the track(s) in the same way as steps 5-7 for Quick Recording. Since the recorded accompaniment data is recorded on each accompaniment track, it can be edited using the Song Edit function (page 97). • You can also use Rehearsal Mode to practice before recording when doing Multi Recording. s About the Recording with the Digital Effects Applied Only one type of each of the Digital Effects, Reverb, Chorus, DSP and Multi Effect (PSR-730) can be set at one time. Be aware of the following facts, especially when recording a song with different effects applied to the different tracks. A Reverb type and Chorus type effects can be set and recorded independently for each of the 16 tracks. However, only the latest settings made (one each) will be effective if several effects are used in a song (the latest setting priority). [EX.] While the panel REVERB button is turned on: 1. Select the Hall 1 (Reverb) for the Accompaniment track, and record the Accompa- niment track for ten measures from the beginning. 2. Start recording the keyboard (R1) track with the Hall 1 (Reverb) selected from the beginning and then change the effect type to Room 1 (Reverb) respectively from the fifth measure through the end. When you play back the song recorded as above, the first four measures will be played back with the Hall 1 applied to both the Accompaniment track and keyboard (R1) track, and the remaining six measures, from fifth through the end, with the Room 1 applied to both tracks. The effect types set for the Accompaniment track are replaced with the latest settings. Only the Depth for each track remains the same. 90
-
 1
1 -
2
-
3
-
4
-
5
-
6
-
7
-
8
-
9
-
10
-
11
-
12
-
13
-
14
-
15
-
16
-
17
-
18
-
19
-
20
-
21
-
22
-
23
-
24
-
25
-
26
-
27
-
28
-
29
-
30
-
31
-
32
-
33
-
34
-
35
-
36
-
37
-
38
-
39
-
40
-
41
-
42
-
43
-
44
-
45
-
46
-
47
-
48
-
49
-
50
-
51
-
52
-
53
-
54
-
55
-
56
-
57
-
58
-
59
-
60
-
61
-
62
-
63
-
64
-
65
-
66
-
67
-
68
-
69
-
70
-
71
-
72
-
73
-
74
-
75
-
76
-
77
-
78
-
79
-
80
-
81
-
82
-
83
-
84
-
85
-
86
-
 87
87 -
 88
88 -
 89
89 -
 90
90 -
 91
91 -
 92
92 -
 93
93 -
 94
94 -
 95
95 -
 96
96 -
 97
97 -
98
-
99
-
100
-
101
-
102
-
103
-
104
-
105
-
106
-
107
-
108
-
109
-
110
-
111
-
112
-
113
-
114
-
115
-
116
-
117
-
118
-
119
-
120
-
121
-
122
-
123
-
124
-
125
-
126
-
127
-
128
-
129
-
130
-
131
-
132
-
133
-
134
-
135
-
136
-
137
-
138
-
139
-
140
-
141
-
142
-
143
-
144
-
145
-
146
-
147
-
148
-
149
-
150
-
151
-
152
-
153
-
154
-
155
-
156
-
157
-
158
-
159
-
160
-
161
-
162
-
163
-
164
-
165
-
166
-
167
-
168
-
169
-
170
-
171
-
172
-
173
-
174
-
175
-
176
-
177
-
178
 |
 |