Brother International MacBroidery„ Embroidery Lettering Software for Mac - Page 17
View Actual Size, Grid Tool, View in 3D, Garment Preview, Printing a Design
 |
View all Brother International MacBroidery„ Embroidery Lettering Software for Mac manuals
Add to My Manuals
Save this manual to your list of manuals |
Page 17 highlights
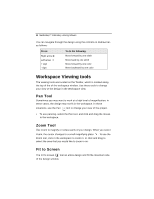
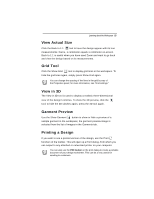
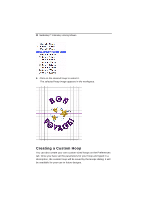
Learning about the Workspace 15 View Actual Size Click the Back to 1:1 tool to have the design appear with its true measurements: that is, 1 centimeter equals 1 centimeter on-screen. Back to 1:1 is useful when you have used Zoom and want to go back and view the design based on its measurements. Grid Tool Click the Show Grid tool to display grid lines in the workspace. To hide the grid lines again, simply press Show Grid again. You can change the spacing of the lines in the grid by way of the Properties panel; for more information, see "Grid settings." View in 3D The View in 3D tool is used to display a realistic three-dimensional view of the design's stitches. To show the 3D preview, click the tool; to hide the 3D stitches again, press the 3D tool again. Garment Preview Use the Show Garment button to show or hide a preview of a sample garment in the workspace; the garment preview image is selected from the list of images in the Garments tab. Printing a Design If you wish to see a printed version of the design, use the Print function on the toolbar. This will open up a Print dialog, from which you can output to any attached or networked printer on your computer. You can also use the PDF button on the print dialog to create a portable document of your design worksheet. This can be a very useful for sending to customers.
-
 1
1 -
2
-
3
-
4
-
5
-
6
-
7
-
8
-
9
-
10
-
11
-
 12
12 -
 13
13 -
 14
14 -
 15
15 -
 16
16 -
 17
17 -
 18
18 -
 19
19 -
 20
20 -
 21
21 -
 22
22 -
23
-
24
-
25
-
26
-
27
-
28
-
29
-
30
-
31
-
32
-
33
-
34
-
35
-
36
-
37
-
38
-
39
-
40
-
41
-
42
-
43
-
44
-
45
-
46
-
47
-
48
-
49
-
50
-
51
-
52
-
53
-
54
-
55
 |
 |