Brother International MacBroidery„ Embroidery Lettering Software for Mac - Page 37
Using the Add Design tool to add a design from File
 |
View all Brother International MacBroidery„ Embroidery Lettering Software for Mac manuals
Add to My Manuals
Save this manual to your list of manuals |
Page 37 highlights
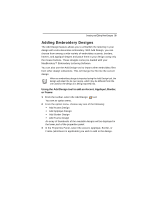
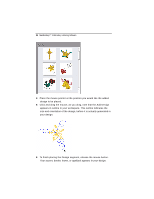
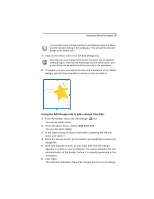
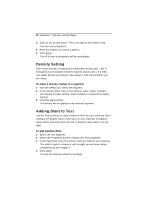
Creating and Editing New Designs 35 You can also insert a design quickly by just following steps 1-4 above, and then double-clicking in the workspace. This will add the selected design at the default size. 7 Click on the Select tool to exit the Add Design tool. Note that you must change to the Select tool when you are finished adding designs; otherwise the Add Design tool will still be active, and a new design will be added each time you click in the workspace. 8 If needed, you can now adjust the size and orientation of the added design; use the frame handles to move, resize or rotate it. Using the Add Design tool to add a design from File: 1 From the toolbar, select the Add Design tool. You see an option menu. 2 From the option menu, choose Add from File. You see the Open dialog. 3 In the Open dialog, browse to the folder containing the file you want, and select it. 4 Place the mouse pointer at the position you would like to place the design file. 5 Click and drag the mouse; as you drag, note that the Design appears in outline in your workspace; the outline indicates the size and orientation of the design, before it is actually generated in the workspace. 6 Click Open. The selected embroidery file will be merged into the current design.
-
 1
1 -
2
-
3
-
4
-
5
-
6
-
7
-
8
-
9
-
10
-
11
-
12
-
13
-
14
-
15
-
16
-
17
-
18
-
19
-
20
-
21
-
22
-
23
-
24
-
25
-
26
-
27
-
28
-
29
-
30
-
31
-
 32
32 -
 33
33 -
 34
34 -
 35
35 -
 36
36 -
 37
37 -
 38
38 -
 39
39 -
 40
40 -
 41
41 -
 42
42 -
43
-
44
-
45
-
46
-
47
-
48
-
49
-
50
-
51
-
52
-
53
-
54
-
55
 |
 |
