Brother International MacBroidery„ Embroidery Lettering Software for Mac - Page 9
Customizing the Toolbar
 |
View all Brother International MacBroidery„ Embroidery Lettering Software for Mac manuals
Add to My Manuals
Save this manual to your list of manuals |
Page 9 highlights
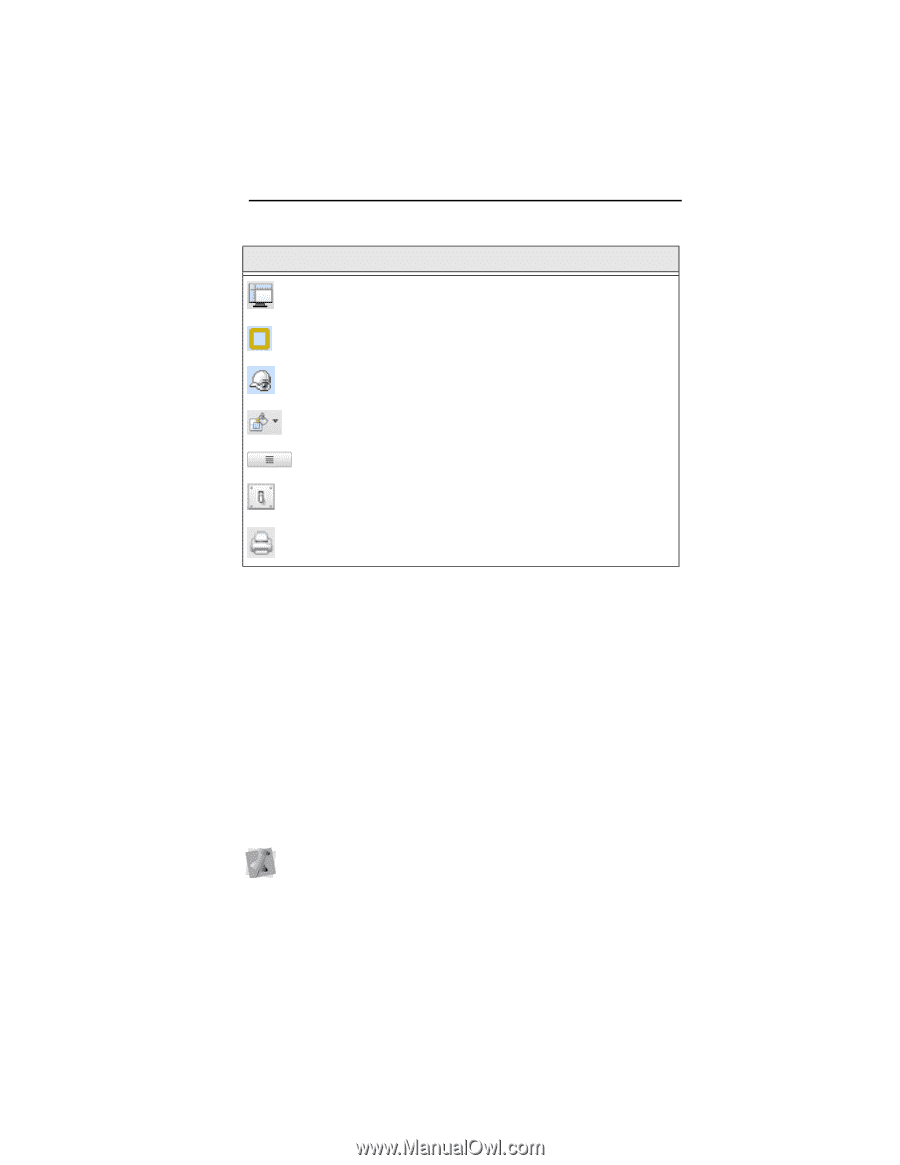
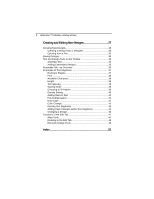
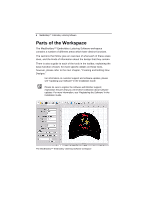
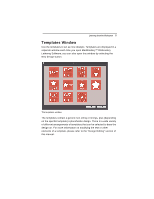
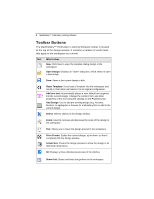
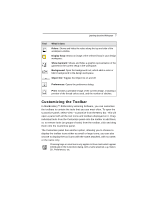
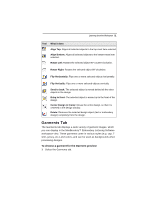
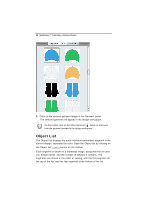
Learning about the Workspace 7 Tool What it does Rulers: Shows and hides the rulers along the top and side of the workspace window. Display hoop: Shows an image of the selected hoop in your design workspace. Show Garment: Shows and hides a graphic representation of the garment in the current setup in the workspace. Background: Open the background tool, which adds a color or fabric background to the design workspace. Object list: Toggles the Object list on and off. Preferences: Opens the preference dialog. Print: Creates a printable image of the current design, including a preview of the thread colors used, and the number of stitches. Customizing the Toolbar In MacBroidery™ Embroidery Lettering Software, you can customize the toolbars to contain the tools that you use most often. To open the Customize panel, select View-Customize from the Menu bar. This will open a panel with all the tool icons and toolbars displayed on it. Drag individual tools from the Customize panel onto the toolbar to add them; or, to remove tools (or groups of tools) from the toolbar, click and drag them onto the Customize panel. The Customize panel has another option, allowing you to choose to display the toolbar icons either as small or large icons; you can also choose to display the tool icons with the name attached, with no name, or the name only. Choosing large or small icons only applies to those tools which appear individually in the Customize dialog, with a name attached, e.g. Select, 3D, Preferences, etc.
-
 1
1 -
2
-
3
-
 4
4 -
 5
5 -
 6
6 -
 7
7 -
 8
8 -
 9
9 -
 10
10 -
 11
11 -
 12
12 -
 13
13 -
 14
14 -
15
-
16
-
17
-
18
-
19
-
20
-
21
-
22
-
23
-
24
-
25
-
26
-
27
-
28
-
29
-
30
-
31
-
32
-
33
-
34
-
35
-
36
-
37
-
38
-
39
-
40
-
41
-
42
-
43
-
44
-
45
-
46
-
47
-
48
-
49
-
50
-
51
-
52
-
53
-
54
-
55
 |
 |