Dell S2810dn Dell Smart Printer Users Guide - Page 207
Registering the Printer to the Google Cloud Print Service, Register This Device to Google Cloud Print
 |
View all Dell S2810dn manuals
Add to My Manuals
Save this manual to your list of manuals |
Page 207 highlights
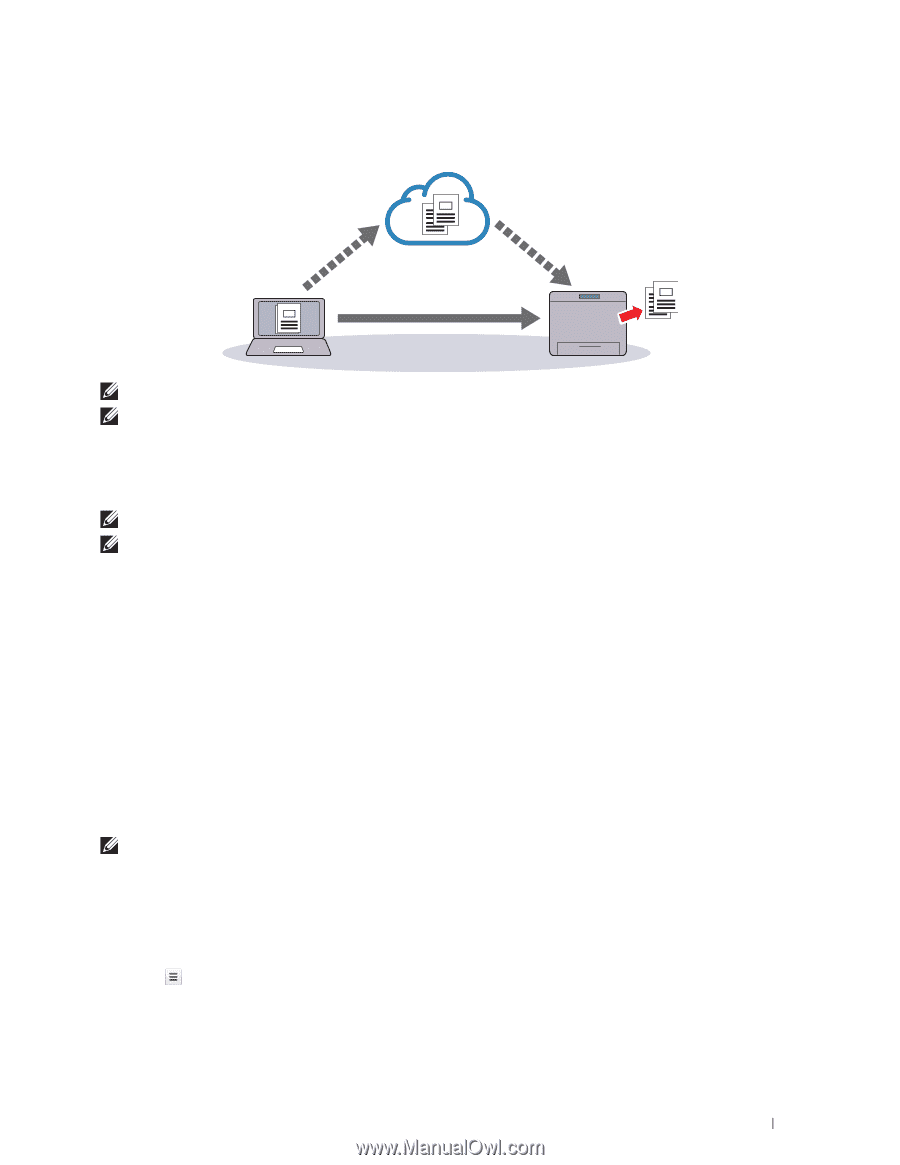
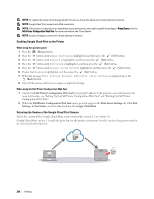
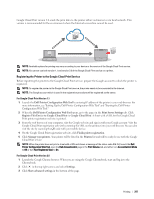
Google Cloud Print version 2.0 sends the print data to the printer either via Internet or via local network. This version is recommended for the environment where the Internet connection cannot be used. NOTE: Available options for printing may vary according to your device or the version of the Google Cloud Print service. NOTE: You cannot use both version 1.1 and version 2.0 of the Google Cloud Print service on a printer. Registering the Printer to the Google Cloud Print Service Before registering the printer to the Google Cloud Print service, prepare the Google account to which the printer is registered. NOTE: To register the printer to the Google Cloud Print service, the printer needs to be connected to the Internet. NOTE: The Google account which is used in the registration procedure will be registered as the owner. For Google Cloud Print Version 1.1 1 Launch the Dell Printer Configuration Web Tool by entering IP address of the printer in your web browser. For more information, see "Setting Up the Dell Printer Configuration Web Tool" and "Starting the Dell Printer Configuration Web Tool." 2 When the Dell Printer Configuration Web Tool opens, go to the pages in the Print Server Settings tab. Click Register This Device to Google Cloud Print in Google Cloud Print. A sheet with a URL for the Google Cloud Print printer registration web site is printed. 3 From the web browser of your computer, visit the Google web site and sign in with your Google account. Visit the Google Cloud Print registration web site by entering the URL on the printout into your web browser. You can also visit the site by scanning the QR code with your mobile device. 4 On the Google Cloud Print registration web site, click Finish printer registration. 5 Click Manage your printers. Your printer will be listed in the Printers list and will be ready for use with the Google Cloud Print service. NOTE: When the printer does not print a sheet with a URL and shows a message of the status code 016-757, launch the Dell Printer Configuration Web Tool, open the Dell AccessControl page in the Print Volume tab, and either turn AccessControl Mode to Off or turn Non Registered User to On. For Google Cloud Print Version 2.0 1 Launch the Google Chrome browser. When you are using the Google Chromebook, start and log in to the Chromebook. 2 Click in the top right corner, and select Settings. 3 Click Show advanced settings in the bottom of the page. Printing 207
-
 1
1 -
2
-
3
-
4
-
5
-
6
-
7
-
8
-
9
-
10
-
11
-
12
-
13
-
14
-
15
-
16
-
17
-
18
-
19
-
20
-
21
-
22
-
23
-
24
-
25
-
26
-
27
-
28
-
29
-
30
-
31
-
32
-
33
-
34
-
35
-
36
-
37
-
38
-
39
-
40
-
41
-
42
-
43
-
44
-
45
-
46
-
47
-
48
-
49
-
50
-
51
-
52
-
53
-
54
-
55
-
56
-
57
-
58
-
59
-
60
-
61
-
62
-
63
-
64
-
65
-
66
-
67
-
68
-
69
-
70
-
71
-
72
-
73
-
74
-
75
-
76
-
77
-
78
-
79
-
80
-
81
-
82
-
83
-
84
-
85
-
86
-
87
-
88
-
89
-
90
-
91
-
92
-
93
-
94
-
95
-
96
-
97
-
98
-
99
-
100
-
101
-
102
-
103
-
104
-
105
-
106
-
107
-
108
-
109
-
110
-
111
-
112
-
113
-
114
-
115
-
116
-
117
-
118
-
119
-
120
-
121
-
122
-
123
-
124
-
125
-
126
-
127
-
128
-
129
-
130
-
131
-
132
-
133
-
134
-
135
-
136
-
137
-
138
-
139
-
140
-
141
-
142
-
143
-
144
-
145
-
146
-
147
-
148
-
149
-
150
-
151
-
152
-
153
-
154
-
155
-
156
-
157
-
158
-
159
-
160
-
161
-
162
-
163
-
164
-
165
-
166
-
167
-
168
-
169
-
170
-
171
-
172
-
173
-
174
-
175
-
176
-
177
-
178
-
179
-
180
-
181
-
182
-
183
-
184
-
185
-
186
-
187
-
188
-
189
-
190
-
191
-
192
-
193
-
194
-
195
-
196
-
197
-
198
-
199
-
200
-
201
-
 202
202 -
 203
203 -
 204
204 -
 205
205 -
 206
206 -
 207
207 -
 208
208 -
 209
209 -
 210
210 -
 211
211 -
 212
212 -
213
-
214
-
215
-
216
-
217
-
218
-
219
-
220
-
221
-
222
-
223
-
224
-
225
-
226
-
227
-
228
-
229
-
230
-
231
-
232
-
233
-
234
-
235
-
236
-
237
-
238
-
239
-
240
-
241
-
242
-
243
-
244
-
245
-
246
-
247
-
248
-
249
-
250
-
251
-
252
-
253
-
254
-
255
-
256
-
257
-
258
-
259
-
260
-
261
-
262
-
263
-
264
-
265
-
266
-
267
-
268
-
269
-
270
-
271
-
272
-
273
-
274
-
275
-
276
-
277
-
278
-
279
-
280
-
281
-
282
-
283
-
284
-
285
-
286
-
287
-
288
-
289
-
290
-
291
-
292
-
293
-
294
-
295
-
296
-
297
-
298
-
299
-
300
-
301
-
302
-
303
-
304
-
305
-
306
-
307
-
308
-
309
-
310
-
311
-
312
-
313
-
314
-
315
-
316
 |
 |