Epson 680Pro Service Manual - Page 56
Table 3-14. Fatal Error indication, Table 3-15. Fastal Error indication
 |
UPC - 010343832138
View all Epson 680Pro manuals
Add to My Manuals
Save this manual to your list of manuals |
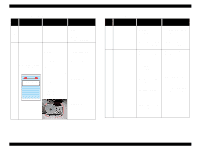
Page 56 highlights
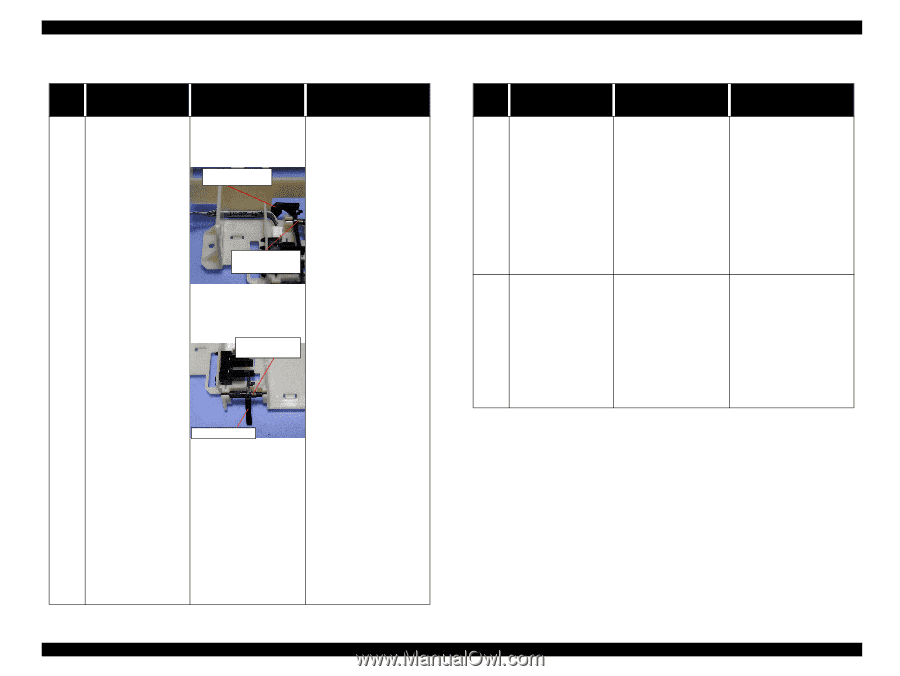
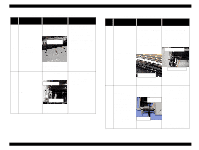
EPSON Stylus COLOR 680/777/777i Table 3-14. Fatal Error indication Step No. Detail phenomenon Check point Remedy 1. Check if the Torsion spring 0.22 comes off on the both HP sensor lever. HP sensor lever 1. Set the Torsion spring 0.22 on the HP sensor lever. Torsion spring 0.22 2. Check if the Torsion spring 0.22 comes off on the both PE sensor 2. Set the Torsion spring 0.22 on the PE sensor lever. When the printer is lever. turned on, the printer 1 continue the paper Tension spring 0.22 eject sequence even if the paper is not in the paper path. PE sensor lever 3. Check if the CN4 connector cable is connected on the CN4 on the Main board or sensor. 4. Check if the HP/PE sensor work correctly by using the tester. Refer to Table 3-2. 3. Connect the CN4 connector cable to the CN4 on the Main board. 4. Replace the HP/PE sensor with new one. 5. If the problem is not solved, replace the Main board with new one. Revision B Table 3-15. Fastal Error indication Step No. Detail phenomenon Check point Remedy 1. Check if the CR 1. Connect the CR motor motor connector is connected CN12 on the Main board. connector to the CN12 on the Main board. When the printer is 2. Check if the coil 2. Replace the CR motor 2 turned on, the CR unit dose not move at all in resistance of the CR motor is about 7.8ohm with new one. the power on sequence. by using the tester. Refer to Table 3-1. 3. If the problem is not solved, replace the Main board with new one. 1. Check if the PF motor 1. Connect the PF motor connector is connected connector to the CN7 on to the CN7. the Main board. When the printer is 2. Check if the PF motor 2. Replace the PF motor 3 turned on, PF roller dose not rotate at all in coil resistance is about 7.8 ohm by using with new one. the power on sequence. tester. 3. If the problem is not solved, replace the Main board with new one. Troubleshooting Troubleshooting with LED Error Indications 56
-
 1
1 -
2
-
3
-
4
-
5
-
6
-
7
-
8
-
9
-
10
-
11
-
12
-
13
-
14
-
15
-
16
-
17
-
18
-
19
-
20
-
21
-
22
-
23
-
24
-
25
-
26
-
27
-
28
-
29
-
30
-
31
-
32
-
33
-
34
-
35
-
36
-
37
-
38
-
39
-
40
-
41
-
42
-
43
-
44
-
45
-
46
-
47
-
48
-
49
-
50
-
 51
51 -
 52
52 -
 53
53 -
 54
54 -
 55
55 -
 56
56 -
 57
57 -
 58
58 -
 59
59 -
 60
60 -
 61
61 -
62
-
63
-
64
-
65
-
66
-
67
-
68
-
69
-
70
-
71
-
72
-
73
-
74
-
75
-
76
-
77
-
78
-
79
-
80
-
81
-
82
-
83
-
84
-
85
-
86
-
87
-
88
-
89
-
90
-
91
-
92
-
93
-
94
-
95
-
96
-
97
-
98
-
99
-
100
-
101
-
102
-
103
-
104
-
105
-
106
-
107
-
108
-
109
-
110
-
111
-
112
-
113
-
114
-
115
-
116
-
117
-
118
-
119
-
120
-
121
-
122
-
123
-
124
-
125
-
126
-
127
-
128
-
129
-
130
-
131
-
132
-
133
-
134
-
135
-
136
-
137
-
138
-
139
-
140
-
141
-
142
-
143
-
144
-
145
 |
 |