HP Dc5750 WebPAM User Manual - Page 84
Cancel a Schedule, Logical Drive Initialization, Enable, by Day, by Week, by Month, Schedule, Disable
 |
UPC - 883585056446
View all HP Dc5750 manuals
Add to My Manuals
Save this manual to your list of manuals |
Page 84 highlights
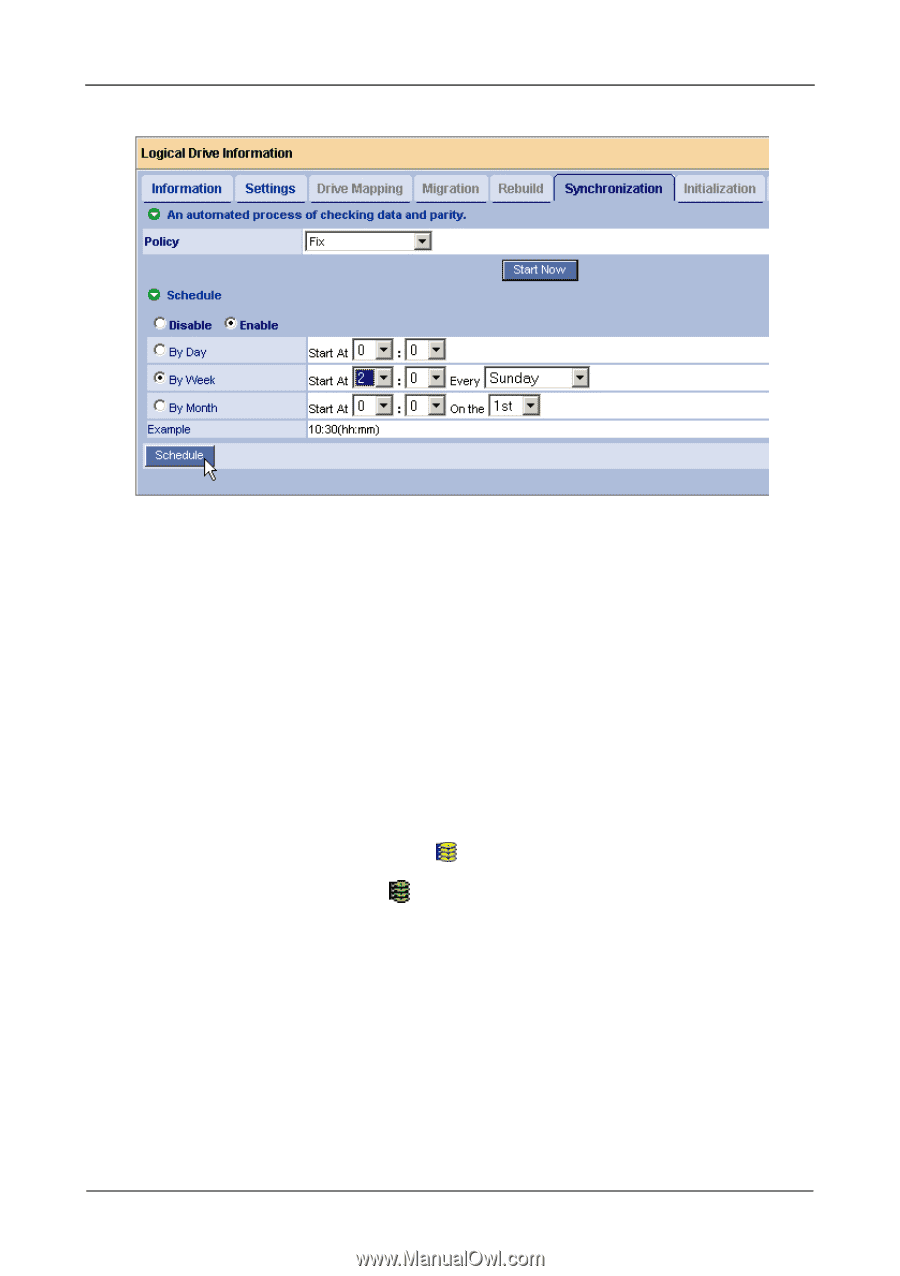
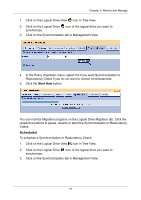
WebPAM User Manual 4. In the Policy dropdown menu, select Fix if you want Synchronization or Redundancy Check if you do not want to correct inconsistencies. 5. Click on the Enable radio button. 6. Click on the by Day, by Week or by Month radio button. 7. From the dropdown menus, select a start time and a day of the Week or Month, if applicable. Start time is based on a 24-hour clock. 8. Click the Schedule button. Cancel a Schedule If you want to cancel the scheduled Synchronization or Redundancy Check, do the following: 1. Click on the Logical Drive View icon in Tree View. 2. Click on the Logical Drive icon. 3. Click on the Synchronization tab in Management View. 4. Click on the Disable radio button. Logical Drive Initialization When logical drive is first created, you can select one of three choices for initialization: • Quick Initialization - Erases the reserve and master boot sectors of the physical drives being added to the logical drive. 78
-
 1
1 -
2
-
3
-
4
-
5
-
6
-
7
-
8
-
9
-
10
-
11
-
12
-
13
-
14
-
15
-
16
-
17
-
18
-
19
-
20
-
21
-
22
-
23
-
24
-
25
-
26
-
27
-
28
-
29
-
30
-
31
-
32
-
33
-
34
-
35
-
36
-
37
-
38
-
39
-
40
-
41
-
42
-
43
-
44
-
45
-
46
-
47
-
48
-
49
-
50
-
51
-
52
-
53
-
54
-
55
-
56
-
57
-
58
-
59
-
60
-
61
-
62
-
63
-
64
-
65
-
66
-
67
-
68
-
69
-
70
-
71
-
72
-
73
-
74
-
75
-
76
-
77
-
78
-
 79
79 -
 80
80 -
 81
81 -
 82
82 -
 83
83 -
 84
84 -
 85
85 -
 86
86 -
 87
87 -
 88
88 -
 89
89 -
90
-
91
-
92
-
93
-
94
-
95
-
96
-
97
-
98
-
99
-
100
-
101
-
102
-
103
-
104
-
105
-
106
-
107
-
108
-
109
-
110
-
111
-
112
-
113
-
114
 |
 |