HP Vectra XU 6/XXX HP Vectra XU6/150 PC - User’s Guide - Page 45
Moving The Power Supply
 |
View all HP Vectra XU 6/XXX manuals
Add to My Manuals
Save this manual to your list of manuals |
Page 45 highlights
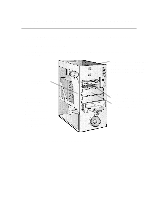
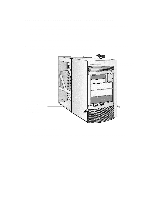
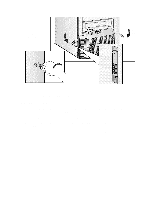
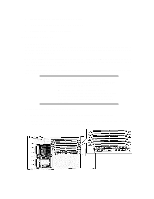
Lock the cover (at the back of the computer) Push the latches down to secure the cover 7 If required, lock the cover using the key. 8 Reconnect all cables and power cables. MOVING THE POWER SUPPLY You can slide the power supply unit out of the computer to improve access to the system board and the cables at the rear of the disk drives. 1 Disconnect the computer's power cord and any telecommunications cable. 2 Remove the computer's cover (see "Removing and Replacing the Cover" earlier in this chapter). 3 Unscrew the two self-retaining screws at the back of the power supply.
-
 1
1 -
2
-
3
-
4
-
5
-
6
-
7
-
8
-
9
-
10
-
11
-
12
-
13
-
14
-
15
-
16
-
17
-
18
-
19
-
20
-
21
-
22
-
23
-
24
-
25
-
26
-
27
-
28
-
29
-
30
-
31
-
32
-
33
-
34
-
35
-
36
-
37
-
38
-
39
-
 40
40 -
 41
41 -
 42
42 -
 43
43 -
 44
44 -
 45
45 -
 46
46 -
 47
47 -
 48
48 -
 49
49 -
 50
50 -
51
-
52
-
53
-
54
-
55
-
56
-
57
-
58
-
59
-
60
-
61
-
62
-
63
-
64
-
65
-
66
-
67
-
68
-
69
-
70
-
71
-
72
-
73
-
74
-
75
-
76
-
77
-
78
-
79
-
80
-
81
-
82
-
83
-
84
-
85
-
86
-
87
-
88
-
89
-
90
-
91
-
92
-
93
-
94
-
95
-
96
-
97
-
98
-
99
-
100
-
101
-
102
-
103
-
104
-
105
-
106
-
107
-
108
-
109
-
110
-
111
-
112
-
113
-
114
-
115
-
116
-
117
-
118
-
119
-
120
-
121
-
122
-
123
-
124
-
125
-
126
 |
 |
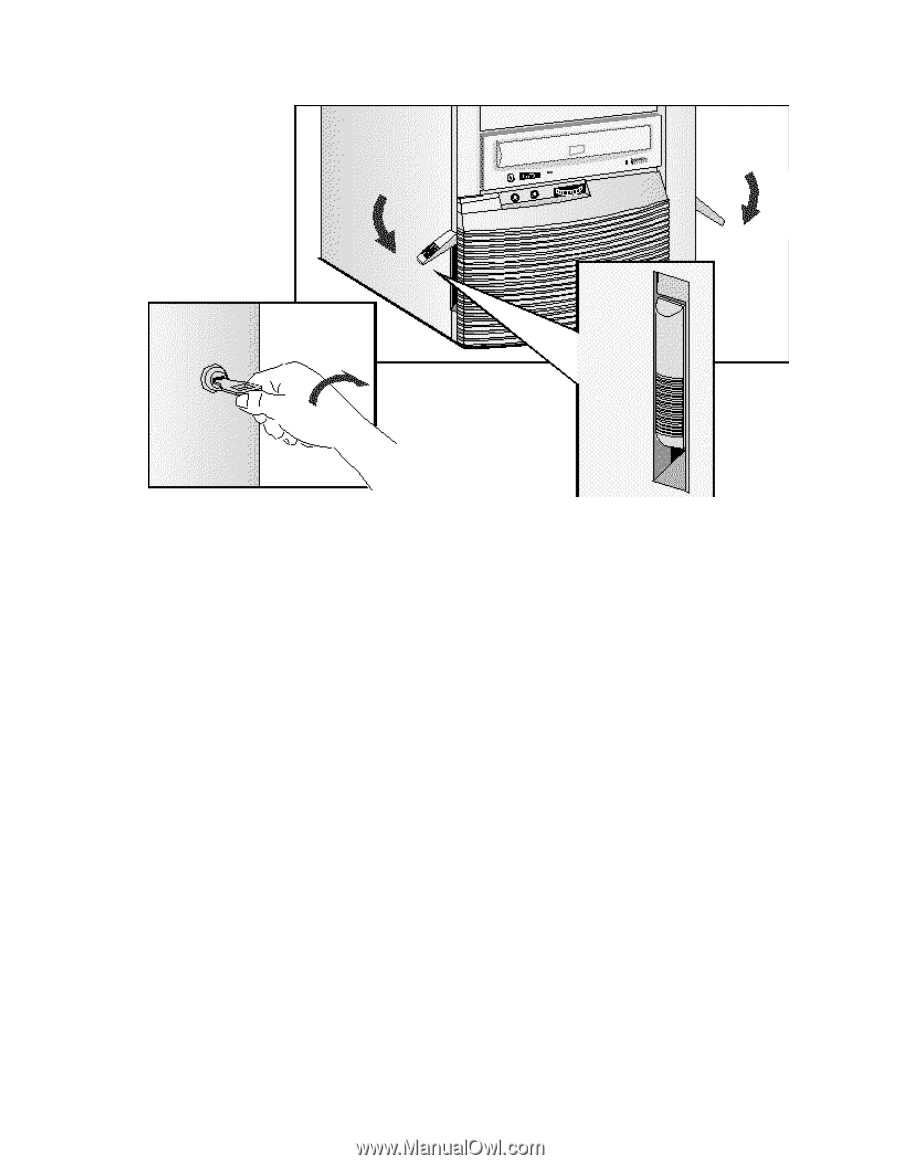
Lock the cover
(at the back of
the computer)
Push the
latches down
to secure the
cover
7
If required, lock the cover using the key.
8
Reconnect all cables and power cables.
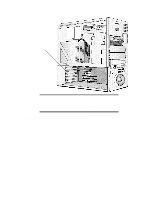
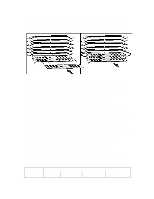
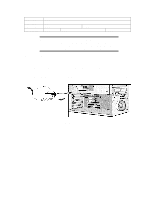
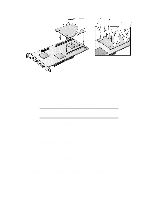
MOVING THE POWER SUPPLY
You can slide the power supply unit out of the computer to improve access to the system board
and the cables at the rear of the disk drives.
1
Disconnect the computer’s power cord and any telecommunications cable.
2
Remove the computer’s cover (see "Removing and Replacing the Cover" earlier in this
chapter).
3
Unscrew the two self-retaining screws at the back of the power supply.