HP Vectra XU 6/XXX HP Vectra XU6/150 PC - User’s Guide - Page 50
Installing Accessory Boards, Configuring Accessory Boards With Plug And Play
 |
View all HP Vectra XU 6/XXX manuals
Add to My Manuals
Save this manual to your list of manuals |
Page 50 highlights
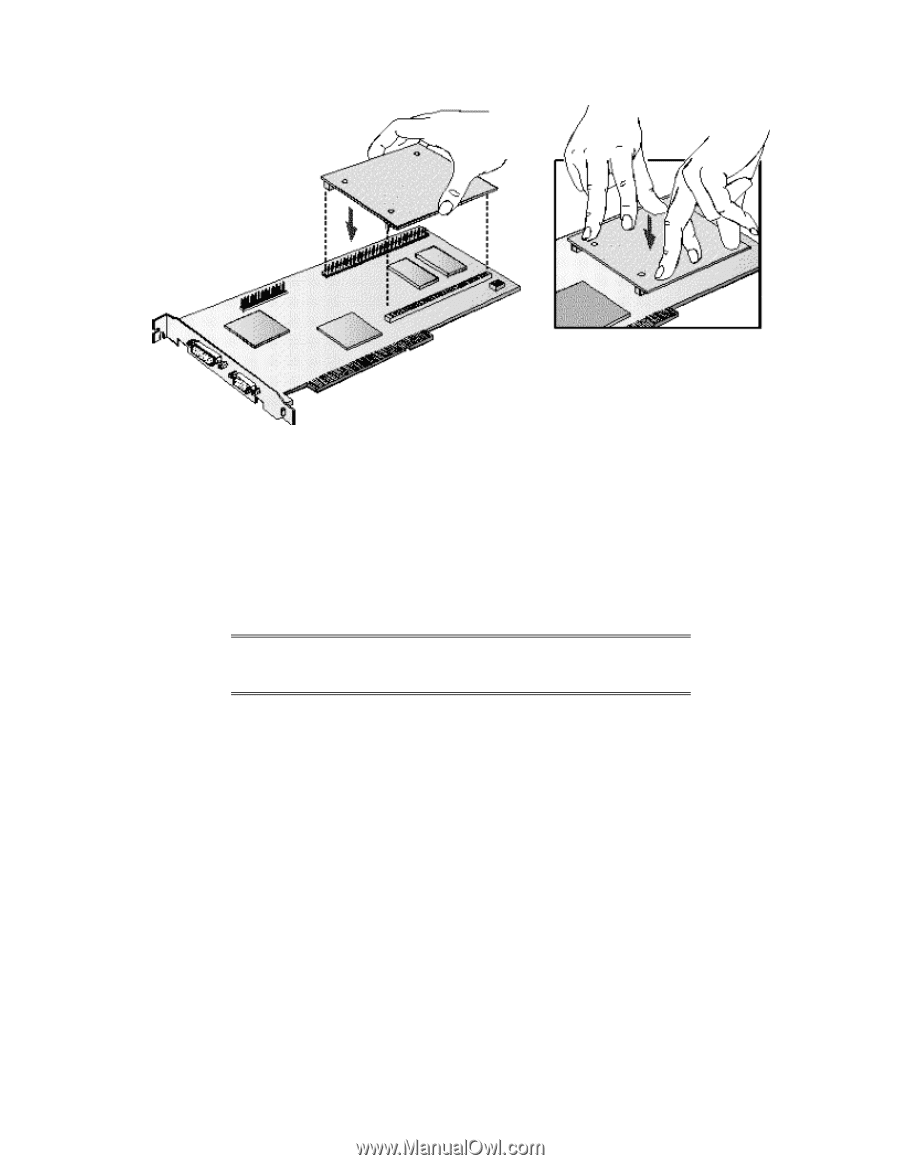
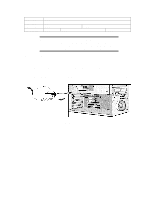
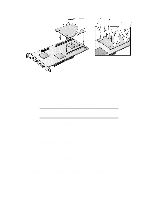
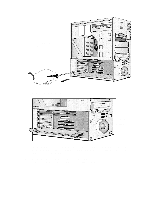
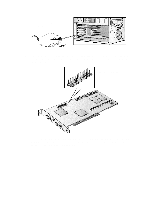
5 Replace the MGA video adapter in the computer. 6 Install any other accessories before replacing the cover (see "Removing and Replacing the Cover" earlier in this chapter). Reconnect all cables and power cords. Completing the Video Memory Installation Procedure 1 Switch on the PC. 2 Check that the Setup program has detected and configured the Video memory. NOTE If you need to use a special video driver for your application, you may be asked to insert the CD-ROM or diskette containing the driver. Video Adapter accessories available from other sources Additional accessories, including memory upgrades and a video MPEG module, are available for your video adapter. However, these accessories cannot be ordered from HP. Contact your dealer for more details about these accessories. INSTALLING ACCESSORY BOARDS The PC has six accessory board slots: • Slot 1 (the bottom slot) for full-length 16-bit ISA boards • Slot 2 for full-length 16-bit ISA boards • Slot 3 for either a full-length 32-bit PCI or a 16-bit ISA board • Slot 4 can be used for a full-length 32-bit PCI board • Slot 5 for a full-length 32-bit PCI board • Slot 6 (the top slot) for a full-length 32-bit PCI board. CONFIGURING ACCESSORY BOARDS WITH PLUG AND PLAY
-
 1
1 -
2
-
3
-
4
-
5
-
6
-
7
-
8
-
9
-
10
-
11
-
12
-
13
-
14
-
15
-
16
-
17
-
18
-
19
-
20
-
21
-
22
-
23
-
24
-
25
-
26
-
27
-
28
-
29
-
30
-
31
-
32
-
33
-
34
-
35
-
36
-
37
-
38
-
39
-
40
-
41
-
42
-
43
-
44
-
 45
45 -
 46
46 -
 47
47 -
 48
48 -
 49
49 -
 50
50 -
 51
51 -
 52
52 -
 53
53 -
 54
54 -
 55
55 -
56
-
57
-
58
-
59
-
60
-
61
-
62
-
63
-
64
-
65
-
66
-
67
-
68
-
69
-
70
-
71
-
72
-
73
-
74
-
75
-
76
-
77
-
78
-
79
-
80
-
81
-
82
-
83
-
84
-
85
-
86
-
87
-
88
-
89
-
90
-
91
-
92
-
93
-
94
-
95
-
96
-
97
-
98
-
99
-
100
-
101
-
102
-
103
-
104
-
105
-
106
-
107
-
108
-
109
-
110
-
111
-
112
-
113
-
114
-
115
-
116
-
117
-
118
-
119
-
120
-
121
-
122
-
123
-
124
-
125
-
126
 |
 |