IBM 4500R Hardware Maintenance Manual - Page 67
Replacing a hot-swap fan assembly, Attention
 |
UPC - 087944567837
View all IBM 4500R manuals
Add to My Manuals
Save this manual to your list of manuals |
Page 67 highlights
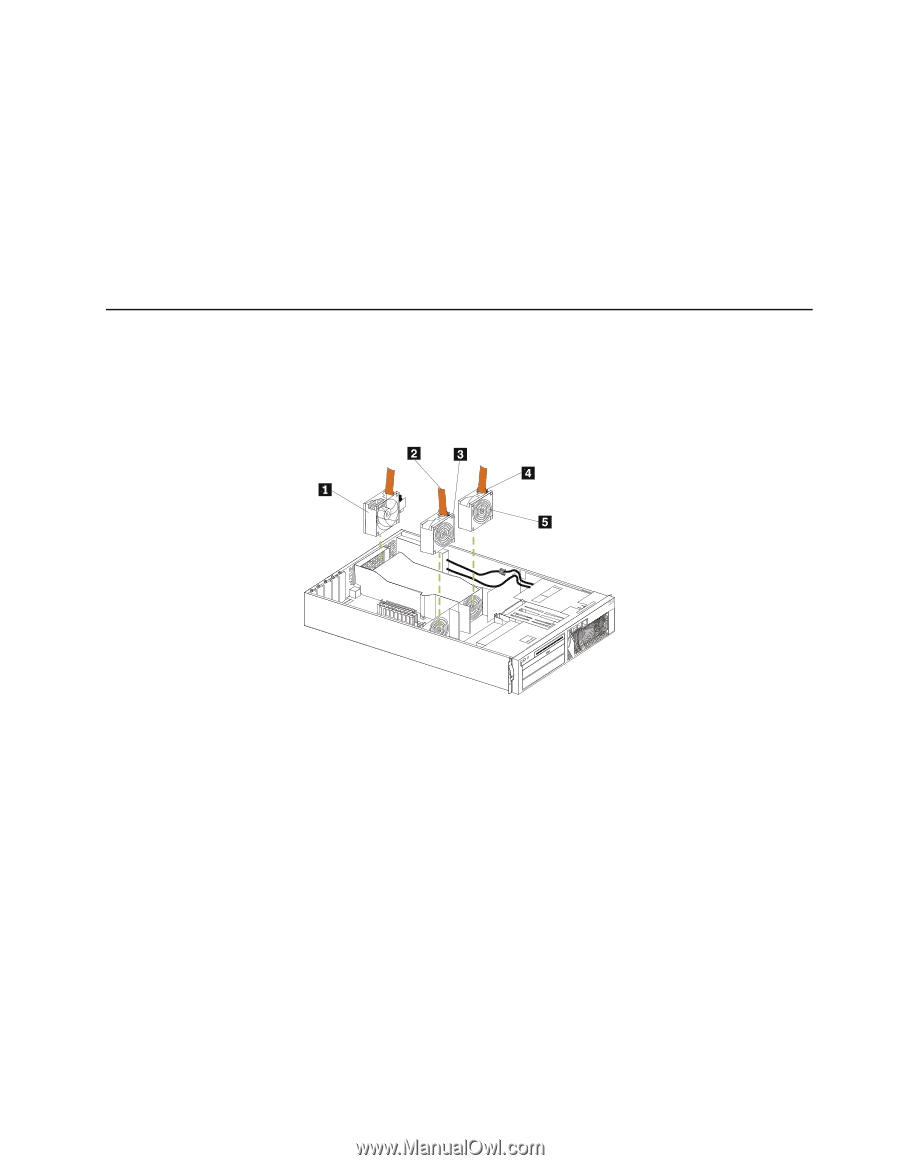
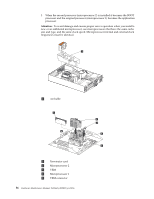
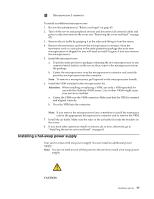
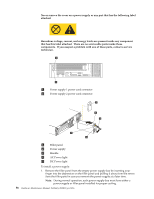
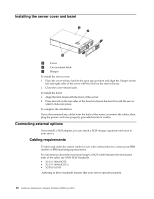
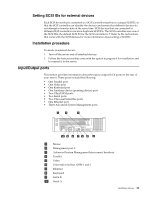
2. Install the power supply in the bay: a. Place the handle on the power supply in the open position (that is, perpendicular to the power supply) and slide the power supply into the chassis. b. Gently close the handle to seat the power supply in the bay. 3. Plug the power cord for the added power supply into the power cord connector on the rear of the server. 4. Plug the power cord into a properly grounded electrical outlet. 5. Verify that the DC Power light and AC Power light on the power supply are lit, indicating that the power supply is operating correctly. Replacing a hot-swap fan assembly Your server comes with three hot-swap fan assemblies. You do not need to turn off the power to the server to replace a hot-swap fan assembly. Attention: Replace a fan that has failed within 48 hours to help ensure proper cooling. 1 Handle 2 Fan 3 3 Fan 1 4 Fan 2 Error LED 5 Fan 2 To replace a hot-swap fan assembly: 1. Remove the cover. See "Removing the cover and bezel" on page 47. Attention: To ensure proper system cooling, do not remove the top cover for more than 30 minutes during this procedure. 2. The LED on the failing fan assembly will be lit. Remove the failing fan assembly from the server by lifting the orange handle on the top of the fan assembly and and pulling the fan assembly away from the server. 3. Slide the replacement fan assembly into the server until it clicks into place. 4. Verify that the FAN LED on the diagnostics panel on the system board is not lit. If the FAN LED is lit, reseat the fan. 5. Replace the cover. See "Installing the server cover and bezel" on page 60. Installing options 59
-
 1
1 -
2
-
3
-
4
-
5
-
6
-
7
-
8
-
9
-
10
-
11
-
12
-
13
-
14
-
15
-
16
-
17
-
18
-
19
-
20
-
21
-
22
-
23
-
24
-
25
-
26
-
27
-
28
-
29
-
30
-
31
-
32
-
33
-
34
-
35
-
36
-
37
-
38
-
39
-
40
-
41
-
42
-
43
-
44
-
45
-
46
-
47
-
48
-
49
-
50
-
51
-
52
-
53
-
54
-
55
-
56
-
57
-
58
-
59
-
60
-
61
-
 62
62 -
 63
63 -
 64
64 -
 65
65 -
 66
66 -
 67
67 -
 68
68 -
 69
69 -
 70
70 -
 71
71 -
 72
72 -
73
-
74
-
75
-
76
-
77
-
78
-
79
-
80
-
81
-
82
-
83
-
84
-
85
-
86
-
87
-
88
-
89
-
90
-
91
-
92
-
93
-
94
-
95
-
96
-
97
-
98
-
99
-
100
-
101
-
102
-
103
-
104
-
105
-
106
-
107
-
108
-
109
-
110
-
111
-
112
-
113
-
114
-
115
-
116
-
117
-
118
-
119
-
120
-
121
-
122
-
123
-
124
-
125
-
126
-
127
-
128
-
129
-
130
-
131
-
132
-
133
-
134
-
135
-
136
-
137
-
138
-
139
-
140
-
141
-
142
-
143
-
144
-
145
-
146
-
147
-
148
-
149
-
150
-
151
-
152
-
153
-
154
-
155
-
156
-
157
-
158
-
159
-
160
-
161
-
162
-
163
-
164
-
165
-
166
-
167
-
168
-
169
-
170
-
171
-
172
-
173
-
174
-
175
-
176
-
177
-
178
-
179
-
180
-
181
-
182
-
183
-
184
-
185
-
186
-
187
-
188
-
189
-
190
-
191
-
192
 |
 |