HP Officejet Pro 8500A User Guide - Page 30
Load transparencies, Load custom-size media, To load cards and photo paper, CAUTION
 |
View all HP Officejet Pro 8500A manuals
Add to My Manuals
Save this manual to your list of manuals |
Page 30 highlights
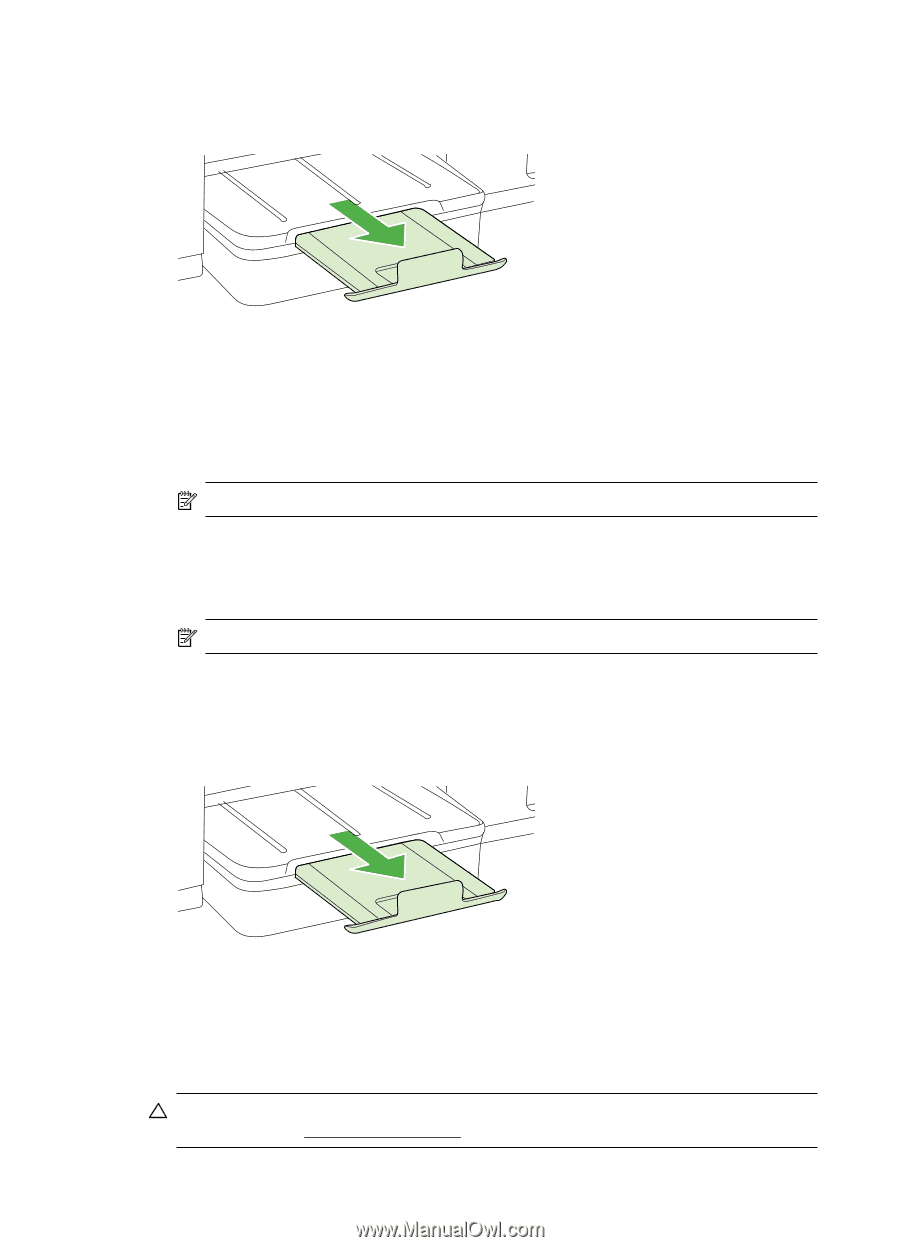
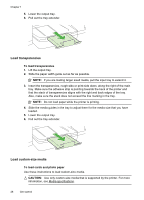
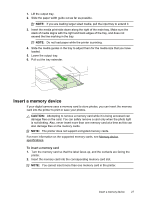
Chapter 1 5. Lower the output tray. 6. Pull out the tray extender. Load transparencies To load transparencies 1. Lift the output tray. 2. Slide the paper width guide out as far as possible. NOTE: If you are loading larger sized media, pull the input tray to extend it. 3. Insert the transparencies, rough-side or print-side down, along the right of the main tray. Make sure the adhesive strip is pointing towards the back of the printer and that the stack of transparencies aligns with the right and back edges of the tray. Also, make sure the stack does not exceed the line marking in the tray. NOTE: Do not load paper while the printer is printing. 4. Slide the media guides in the tray to adjust them for the media size that you have loaded. 5. Lower the output tray. 6. Pull out the tray extender. Load custom-size media To load cards and photo paper Use these instructions to load custom-size media. CAUTION: Use only custom-size media that is supported by the printer. For more information, see Media specifications. 26 Get started
-
 1
1 -
2
-
3
-
4
-
5
-
6
-
7
-
8
-
9
-
10
-
11
-
12
-
13
-
14
-
15
-
16
-
17
-
18
-
19
-
20
-
21
-
22
-
23
-
24
-
 25
25 -
 26
26 -
 27
27 -
 28
28 -
 29
29 -
 30
30 -
 31
31 -
 32
32 -
 33
33 -
 34
34 -
 35
35 -
36
-
37
-
38
-
39
-
40
-
41
-
42
-
43
-
44
-
45
-
46
-
47
-
48
-
49
-
50
-
51
-
52
-
53
-
54
-
55
-
56
-
57
-
58
-
59
-
60
-
61
-
62
-
63
-
64
-
65
-
66
-
67
-
68
-
69
-
70
-
71
-
72
-
73
-
74
-
75
-
76
-
77
-
78
-
79
-
80
-
81
-
82
-
83
-
84
-
85
-
86
-
87
-
88
-
89
-
90
-
91
-
92
-
93
-
94
-
95
-
96
-
97
-
98
-
99
-
100
-
101
-
102
-
103
-
104
-
105
-
106
-
107
-
108
-
109
-
110
-
111
-
112
-
113
-
114
-
115
-
116
-
117
-
118
-
119
-
120
-
121
-
122
-
123
-
124
-
125
-
126
-
127
-
128
-
129
-
130
-
131
-
132
-
133
-
134
-
135
-
136
-
137
-
138
-
139
-
140
-
141
-
142
-
143
-
144
-
145
-
146
-
147
-
148
-
149
-
150
-
151
-
152
-
153
-
154
-
155
-
156
-
157
-
158
-
159
-
160
-
161
-
162
-
163
-
164
-
165
-
166
-
167
-
168
-
169
-
170
-
171
-
172
-
173
-
174
-
175
-
176
-
177
-
178
-
179
-
180
-
181
-
182
-
183
-
184
-
185
-
186
-
187
-
188
-
189
-
190
-
191
-
192
-
193
-
194
-
195
-
196
-
197
-
198
-
199
-
200
-
201
-
202
-
203
-
204
-
205
-
206
-
207
-
208
-
209
-
210
-
211
-
212
-
213
-
214
-
215
-
216
-
217
-
218
-
219
-
220
-
221
-
222
-
223
-
224
-
225
-
226
-
227
-
228
-
229
-
230
-
231
-
232
-
233
-
234
-
235
-
236
-
237
-
238
-
239
-
240
-
241
-
242
-
243
-
244
-
245
-
246
 |
 |