Sony PMWF3K Operating Instructions - Page 41
Executing Auto White Balance, Press the AUTO WHT BAL button.
 |
View all Sony PMWF3K manuals
Add to My Manuals
Save this manual to your list of manuals |
Page 41 highlights
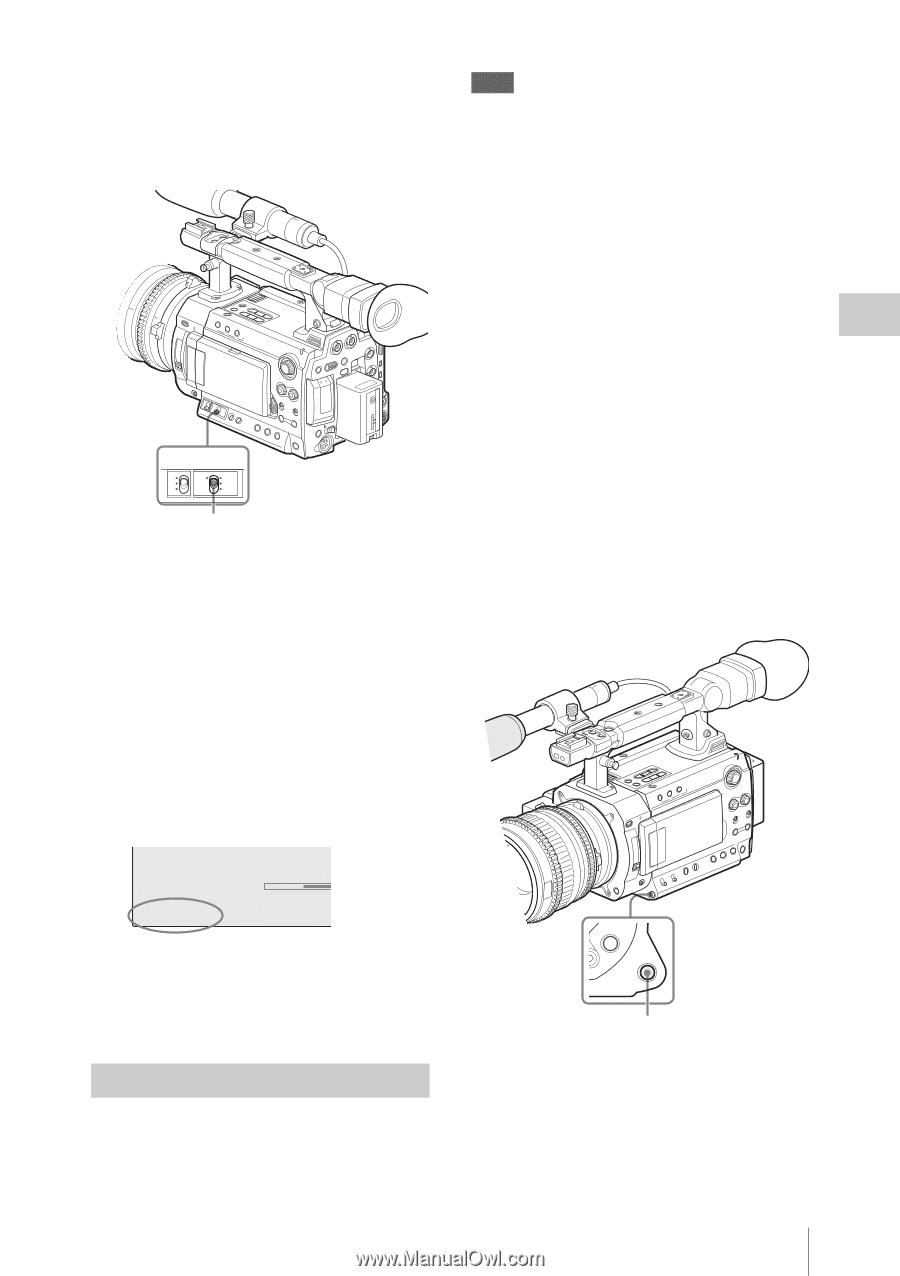
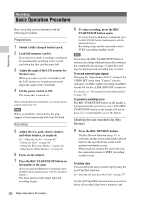
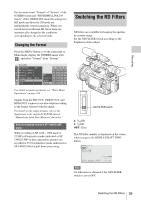
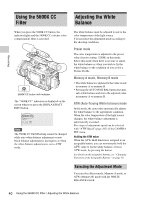
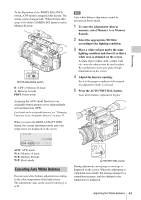
To the B position of the WHITE BALANCE switch, ATW mode is assigned at the factory. The setting can be changed with "White Switch " (page 105) of the CAMERA SET menu to select Memory B mode. WHITE GAIN BALANCE L ATW B M A H PRST WHITE BALANCE switch B: ATW or Memory B mode A: Memory A mode PRST: Preset mode Assigning the ATW on/off function to an assignable button permits you to independently activate/deactivate ATW. For details on the assignable buttons, see "Changing Functions of the Assignable Buttons" on page 58. When you press the DISPLAY/BATT INFO button, the current adjustment mode and color temperature are displayed on the screen. TLCS . 1 1.5 2 3 4 ATW 4300K PPOFF ++T1.6 ATW: ATW mode W:A: Memory A mode W:B: Memory B mode W:P: Preset mode Executing Auto White Balance Execute auto white-balance adjustment according to the color temperature of the light source. The adjustment value can be stored in memory A or B. Note Auto white-balance adjustment cannot be executed in Preset mode. 1 To store the adjustment value in memory, select Memory A or Memory B mode. 2 Select the appropriate ND filter according to the lighting condition. 3 Place a white subject under the same lighting condition and shoot it so that a white area is obtained on the screen. A white object (white cloth, a white wall, etc.) near the subject may be used in place. Be careful not to have any spots of high illumination on the screen. 4 Adjust the lens iris opening. Set it to the proper condition if the manual iris adjustment mode is selected. 5 Press the AUTO WHT BAL button. Auto white-balance adjustment begins. ASSIGN 4 AUTO WHT BAL AUTO WHT BAL button During adjustment, an in-progress message is displayed on the screen. When the adjustment is completed successfully, the message changes to a completion message, and the obtained color temperature is displayed. Adjusting the White Balance 41 Recording
-
 1
1 -
2
-
3
-
4
-
5
-
6
-
7
-
8
-
9
-
10
-
11
-
12
-
13
-
14
-
15
-
16
-
17
-
18
-
19
-
20
-
21
-
22
-
23
-
24
-
25
-
26
-
27
-
28
-
29
-
30
-
31
-
32
-
33
-
34
-
35
-
 36
36 -
 37
37 -
 38
38 -
 39
39 -
 40
40 -
 41
41 -
 42
42 -
 43
43 -
 44
44 -
 45
45 -
 46
46 -
47
-
48
-
49
-
50
-
51
-
52
-
53
-
54
-
55
-
56
-
57
-
58
-
59
-
60
-
61
-
62
-
63
-
64
-
65
-
66
-
67
-
68
-
69
-
70
-
71
-
72
-
73
-
74
-
75
-
76
-
77
-
78
-
79
-
80
-
81
-
82
-
83
-
84
-
85
-
86
-
87
-
88
-
89
-
90
-
91
-
92
-
93
-
94
-
95
-
96
-
97
-
98
-
99
-
100
-
101
-
102
-
103
-
104
-
105
-
106
-
107
-
108
-
109
-
110
-
111
-
112
-
113
-
114
-
115
-
116
-
117
-
118
-
119
-
120
-
121
-
122
-
123
-
124
-
125
-
126
-
127
-
128
-
129
-
130
-
131
-
132
-
133
-
134
-
135
-
136
-
137
-
138
-
139
-
140
-
141
-
142
-
143
-
144
-
145
-
146
-
147
-
148
-
149
-
150
 |
 |