Toshiba GSC-R60 Owners Manual - Page 120
Use the jog dial to select [OK] and press the OK button
 |
View all Toshiba GSC-R60 manuals
Add to My Manuals
Save this manual to your list of manuals |
Page 120 highlights
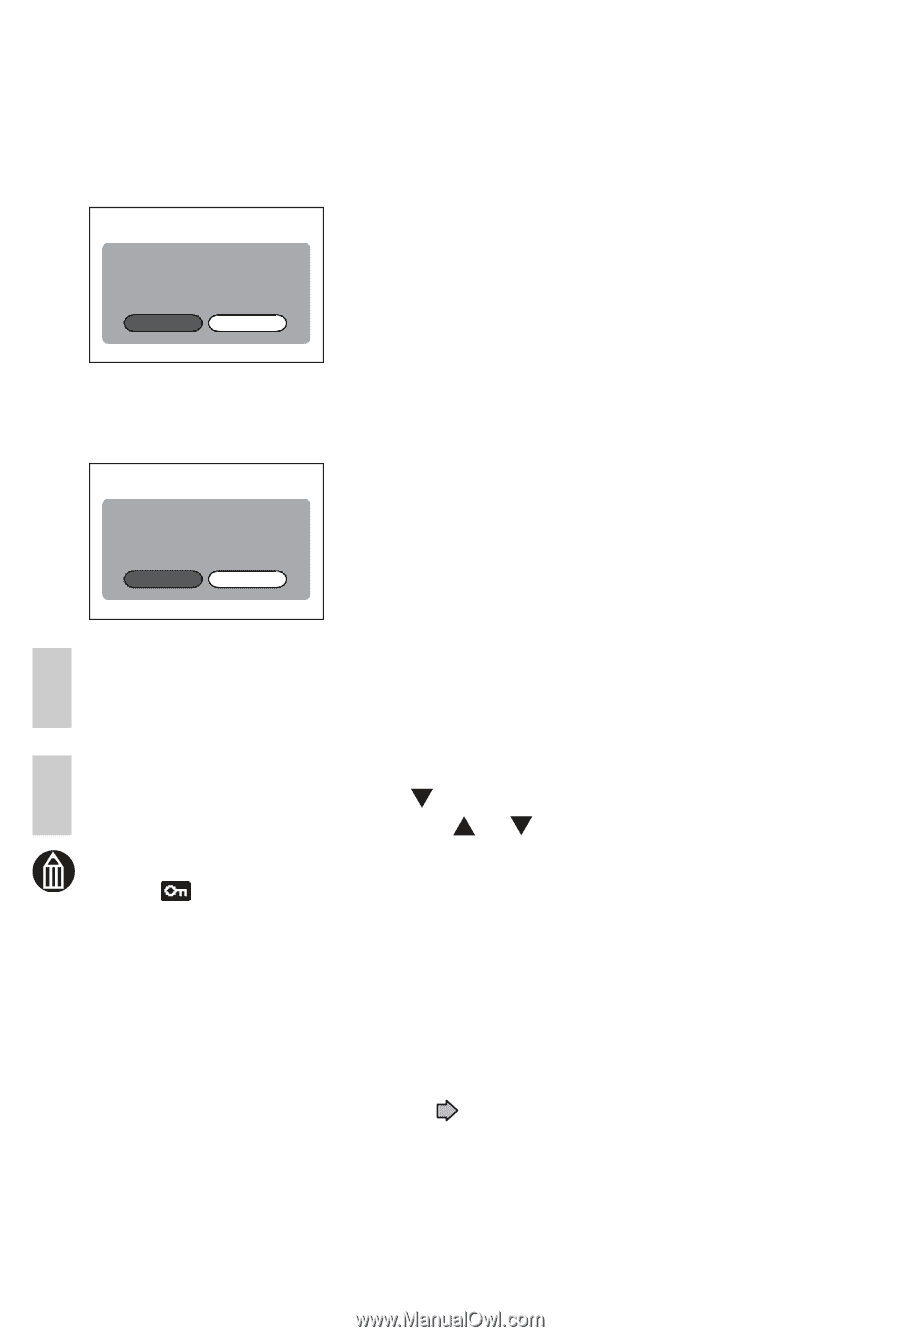
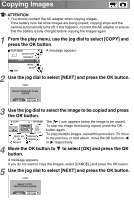
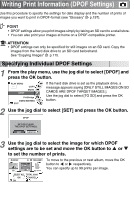
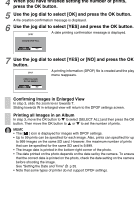
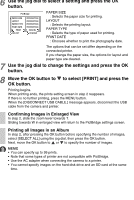
4 When you have finished setting the number of prints, press the OK button. 5 Use the jog dial to select [OK] and press the OK button. A file creation confirmation message is displayed. 6 Use the jog dial to select [YES] and press the OK button. A date printing confirmation message is displayed. DPOF CREATE DPOF FILE. YES NO 7 Use the jog dial to select [YES] or [NO] and press the OK button. DPOF PRINT THE DATE ON THE IMAGE? A printing information (DPOF) file is created and the play menu reappears. YES NO Confirming Images in Enlarged View In step 3, slide the zoom lever towards T. Sliding towards W in enlarged view will return to the DPOF settings screen. Printing all Images in an Album In step 3, move the OK button to to select [SELECT ALL] and then press the OK button. Then move the OK button to or to set the number of prints. MEMO • The [ ] icon is displayed for images with DPOF settings. • Up to 99 prints can be specified for each image. Also, prints can specified for up to 999 images on the same SD card. However, the maximum number of prints that can be specified for the same SD card is 9,999. • The image date is printed in the bottom-right corner of the photo. • The date printed on the photo depends on the date set by the camera. To ensure that the correct date is printed on the photo, check the date setting on the camera before shooting the image. See "Setting the Date and Time" p.35. • Note that some types of printer do not support DPOF settings.
-
 1
1 -
2
-
3
-
4
-
5
-
6
-
7
-
8
-
9
-
10
-
11
-
12
-
13
-
14
-
15
-
16
-
17
-
18
-
19
-
20
-
21
-
22
-
23
-
24
-
25
-
26
-
27
-
28
-
29
-
30
-
31
-
32
-
33
-
34
-
35
-
36
-
37
-
38
-
39
-
40
-
41
-
42
-
43
-
44
-
45
-
46
-
47
-
48
-
49
-
50
-
51
-
52
-
53
-
54
-
55
-
56
-
57
-
58
-
59
-
60
-
61
-
62
-
63
-
64
-
65
-
66
-
67
-
68
-
69
-
70
-
71
-
72
-
73
-
74
-
75
-
76
-
77
-
78
-
79
-
80
-
81
-
82
-
83
-
84
-
85
-
86
-
87
-
88
-
89
-
90
-
91
-
92
-
93
-
94
-
95
-
96
-
97
-
98
-
99
-
100
-
101
-
102
-
103
-
104
-
105
-
106
-
107
-
108
-
109
-
110
-
111
-
112
-
113
-
114
-
 115
115 -
 116
116 -
 117
117 -
 118
118 -
 119
119 -
 120
120 -
 121
121 -
 122
122 -
 123
123 -
 124
124 -
 125
125 -
126
-
127
-
128
-
129
-
130
-
131
-
132
-
133
-
134
-
135
-
136
-
137
-
138
-
139
-
140
-
141
-
142
-
143
-
144
-
145
-
146
-
147
-
148
-
149
-
150
-
151
-
152
-
153
-
154
-
155
-
156
-
157
-
158
-
159
-
160
-
161
-
162
-
163
-
164
-
165
-
166
-
167
-
168
-
169
-
170
-
171
-
172
-
173
-
174
-
175
-
176
-
177
-
178
-
179
-
180
-
181
-
182
-
183
-
184
-
185
-
186
-
187
-
188
-
189
-
190
-
191
-
192
-
193
-
194
-
195
-
196
-
197
-
198
-
199
-
200
-
201
-
202
-
203
-
204
-
205
-
206
-
207
-
208
-
209
-
210
-
211
-
212
-
213
-
214
-
215
-
216
-
217
-
218
-
219
-
220
-
221
-
222
-
223
-
224
-
225
-
226
-
227
-
228
-
229
-
230
-
231
-
232
-
233
-
234
-
235
-
236
-
237
-
238
-
239
-
240
-
241
-
242
-
243
-
244
-
245
-
246
-
247
-
248
-
249
-
250
-
251
-
252
-
253
-
254
-
255
-
256
-
257
-
258
-
259
-
260
-
261
-
262
-
263
-
264
-
265
-
266
-
267
 |
 |