Yamaha MD4S Owner's Manual - Page 52
Punch-in/out, Manual punch-in/out
 |
View all Yamaha MD4S manuals
Add to My Manuals
Save this manual to your list of manuals |
Page 52 highlights
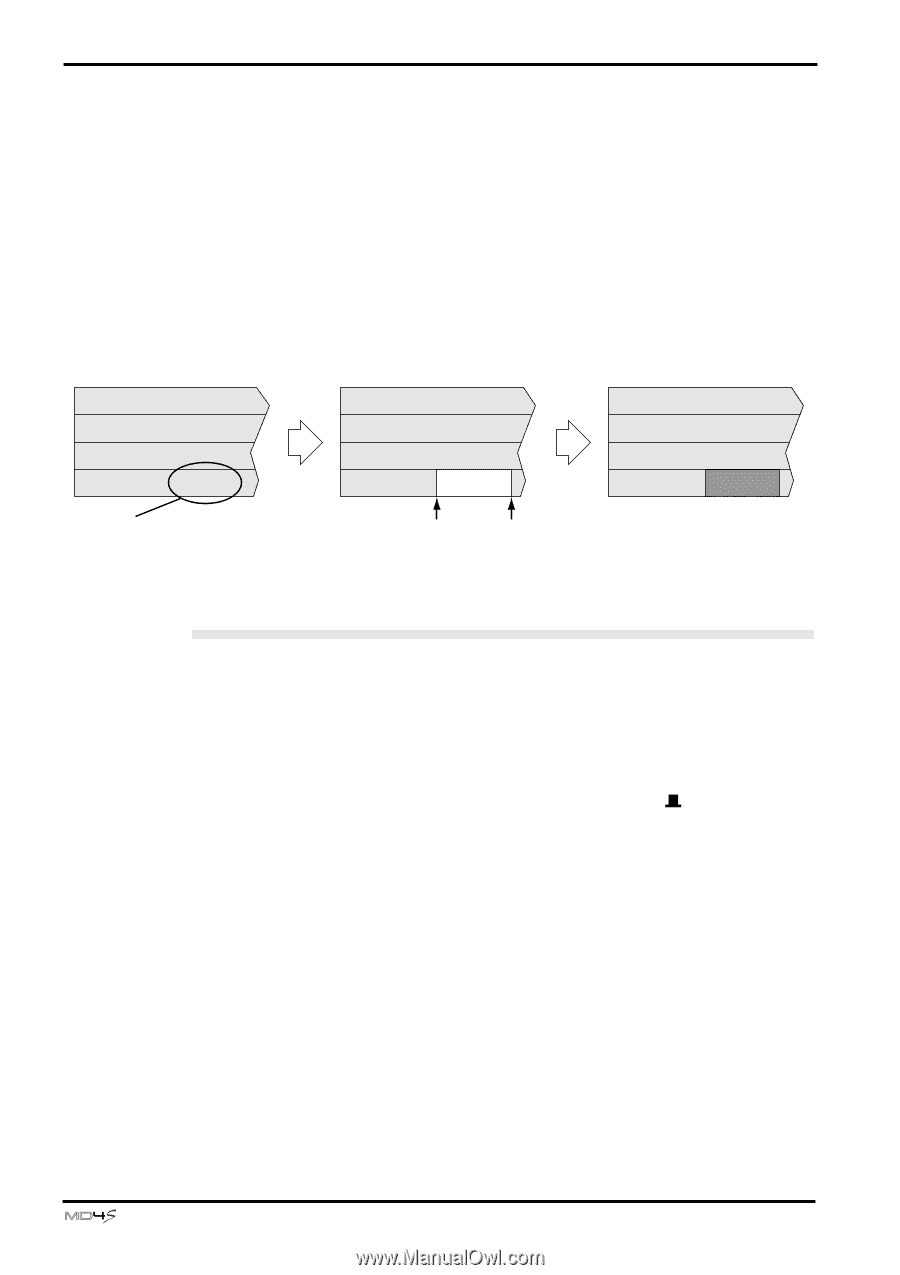
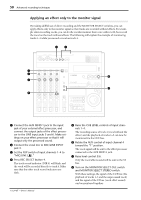
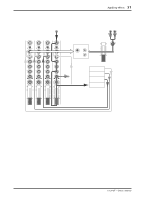
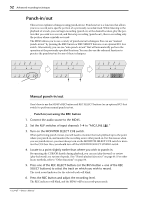
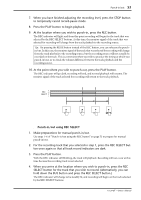
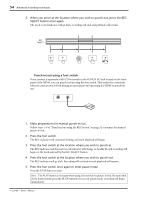
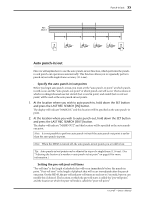
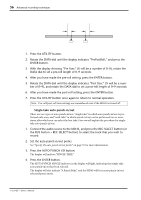
52 Advanced recording techniques Punch-in/out This section explains techniques using punch-in/out. Punch-in/out is a function that allows you to re-record just a specific portion of a previously-recorded track. While listening to the playback of a track, you can begin recording (punch-in) at the desired location, play the portion that you wish to re-record, and then stop recording (punch-out), thus re-recording only the portion where a mistake occurred. The MD4S allows you to use a variety of punch-in/out techniques. You can use "manual punch-in/out" by pressing the REC button or REC SELECT buttons or an optional FC5 foot switch. Alternatively, you can use "auto punch-in/out" that will automatically perform the operation at the previously-specified locations. You can also use the rehearsal function to practice the punch-in/out for any of these techniques. Wrong notes Re-record Punch-in Punch-out Manual punch-in/out Here's how to use the MD4S's REC button and REC SELECT buttons (or an optional FC5 foot switch) to perform manual punch-in/out. s Punch-in/out using the REC button 1. Connect the audio source to the MD4S. 2. Set the FLIP switches of input channels 1-4 to "MIC/LINE ( )." 3. Turn on the MONITOR SELECT CUE switch. When performing punch-in/out, you will need to monitor the track playback up to the point where you punch-in, and monitor the recording source after punch-in. For this reason when you use punch-in/out, you must always turn on the MONITOR SELECT CUE switch to monitor the CUE bus. Also, you should turn off the MONITOR SELECT STEREO switch. 4. Locate to a point slightly earlier than where you wish to punch-in. By operating the CURSOR shuttle during playback, you can cue (play forward) or review (play backward) at a variety of speeds. (See "Shuttle playback functions" on page 66.) For other locate methods, refer to "Other functions" on page 84. 5. Press one of the REC SELECT buttons (or the BUS button + one of the REC SELECT buttons) to select the track on which you wish to record. The track record indicator for the selected track will blink. 6. Press the REC button and adjust the recording level. The REC indicator will blink, and the MD4S will be in record-pause mode. -Owner's Manual
-
 1
1 -
2
-
3
-
4
-
5
-
6
-
7
-
8
-
9
-
10
-
11
-
12
-
13
-
14
-
15
-
16
-
17
-
18
-
19
-
20
-
21
-
22
-
23
-
24
-
25
-
26
-
27
-
28
-
29
-
30
-
31
-
32
-
33
-
34
-
35
-
36
-
37
-
38
-
39
-
40
-
41
-
42
-
43
-
44
-
45
-
46
-
 47
47 -
 48
48 -
 49
49 -
 50
50 -
 51
51 -
 52
52 -
 53
53 -
 54
54 -
 55
55 -
 56
56 -
 57
57 -
58
-
59
-
60
-
61
-
62
-
63
-
64
-
65
-
66
-
67
-
68
-
69
-
70
-
71
-
72
-
73
-
74
-
75
-
76
-
77
-
78
-
79
-
80
-
81
-
82
-
83
-
84
-
85
-
86
-
87
-
88
-
89
-
90
-
91
-
92
-
93
-
94
-
95
-
96
-
97
-
98
-
99
-
100
-
101
-
102
-
103
-
104
-
105
-
106
-
107
-
108
-
109
-
110
-
111
-
112
-
113
-
114
-
115
 |
 |