Yamaha MD4S Owner's Manual - Page 93
Meter, Tempo, the value.
 |
View all Yamaha MD4S manuals
Add to My Manuals
Save this manual to your list of manuals |
Page 93 highlights
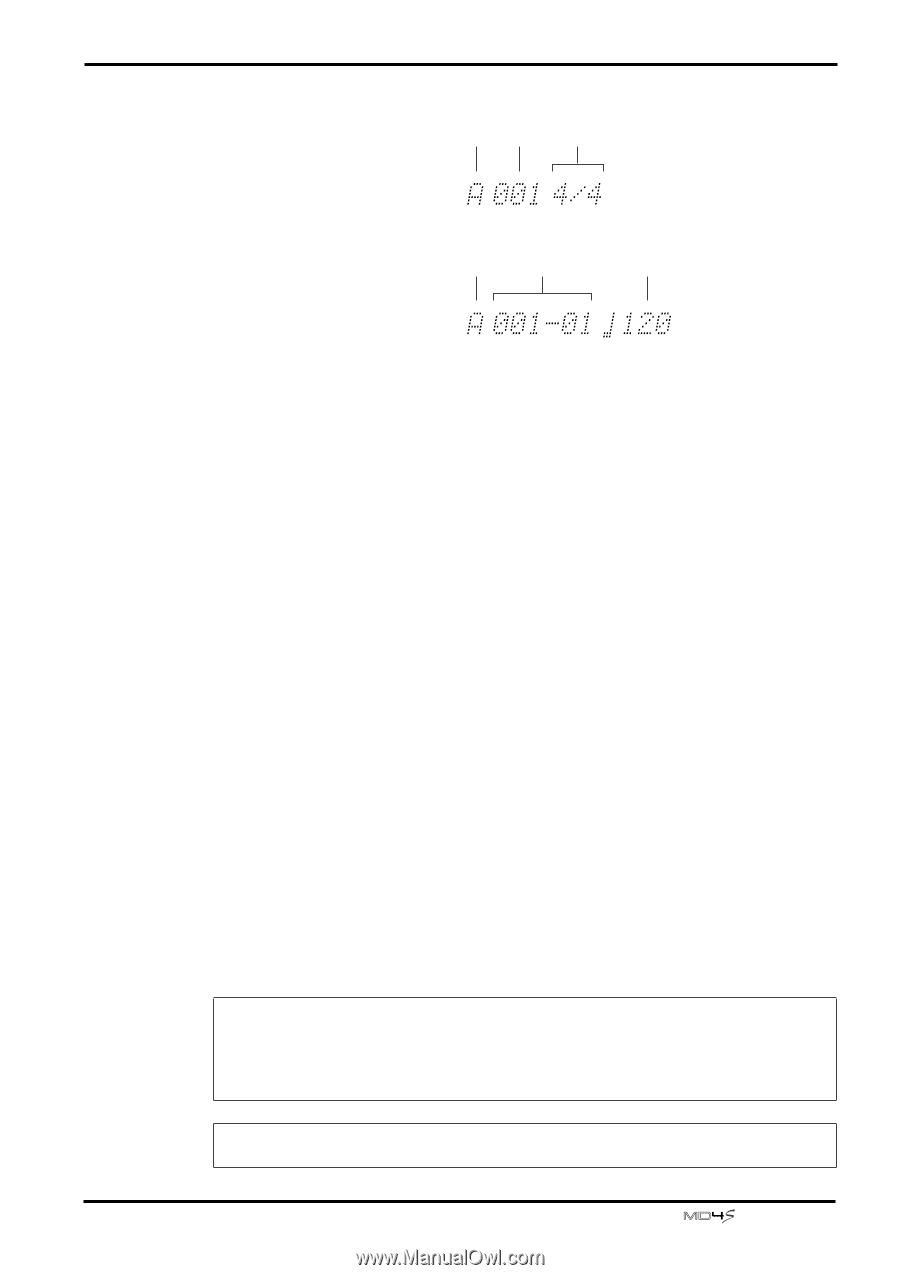
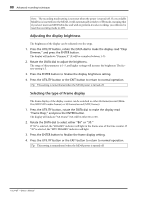
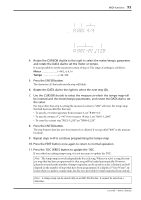
MIDI functions 93 When setting Meter (time signature) data Step Measure Meter STEP NO. When setting Tempo data Step Measure/beat Tempo STEP NO. 4. Rotate the CURSOR shuttle to the right to select the meter/tempo parameter, and rotate the DATA dial to set the meter or tempo. It is not possible to set the measure location of step A. The range of settings is as follows. Meter 1-99/2, 4, 8, 16 Tempo 20-300 5. Press the ENTER button. The character (A) that indicates the step will blink. 6. Rotate the DATA dial to the right to select the next step (B). 7. Use the CURSOR shuttle to select the measure at which the tempo map will be inserted and the meter/tempo parameters, and rotate the DATA dial to set the value. For steps other than step A, setting the measure location to "000" will erase the tempo map that had been specified for that step. • To specify a 3/4 time signature from measure 5, set "B 005 3/4". • To specify a tempo of " =90" from measure 10 beat 3, set "B010-3 090". • To erase the current step "B012-3 110", set "B000-0 110". 8. Press the ENTER button. The step B meter data has now been inserted (or deleted, if you specified "000" as the measure location). 9. Repeat steps 6-8 to continue programming the tempo map. 10. Press the EDIT button once again to return to normal operation. 11. Press the TOC WRITE button to update the TOC. If you edited an existing tempo map, it is not necessary to update the TOC. Note: The tempo map is saved independently for each song. When you select a song, the tempo map that has been programmed for that song will be loaded automatically. However, please be aware that the number of tempo maps that can be stored on a disc is limited, and will depend on the number of steps that have been programmed. If a display of "Save Warn!" appears when you update a tempo map, the disc area provided for tempo maps has been used up. Note: A tempo map can be saved only on an MD DATA disc. It cannot be saved on a MiniDisc. -Owner's Manual
-
 1
1 -
2
-
3
-
4
-
5
-
6
-
7
-
8
-
9
-
10
-
11
-
12
-
13
-
14
-
15
-
16
-
17
-
18
-
19
-
20
-
21
-
22
-
23
-
24
-
25
-
26
-
27
-
28
-
29
-
30
-
31
-
32
-
33
-
34
-
35
-
36
-
37
-
38
-
39
-
40
-
41
-
42
-
43
-
44
-
45
-
46
-
47
-
48
-
49
-
50
-
51
-
52
-
53
-
54
-
55
-
56
-
57
-
58
-
59
-
60
-
61
-
62
-
63
-
64
-
65
-
66
-
67
-
68
-
69
-
70
-
71
-
72
-
73
-
74
-
75
-
76
-
77
-
78
-
79
-
80
-
81
-
82
-
83
-
84
-
85
-
86
-
87
-
 88
88 -
 89
89 -
 90
90 -
 91
91 -
 92
92 -
 93
93 -
 94
94 -
 95
95 -
 96
96 -
 97
97 -
 98
98 -
99
-
100
-
101
-
102
-
103
-
104
-
105
-
106
-
107
-
108
-
109
-
110
-
111
-
112
-
113
-
114
-
115
 |
 |