Yamaha MD4S Owner's Manual - Page 78
Erasing a song Song Erase, Executing the Song Copy
 |
View all Yamaha MD4S manuals
Add to My Manuals
Save this manual to your list of manuals |
Page 78 highlights
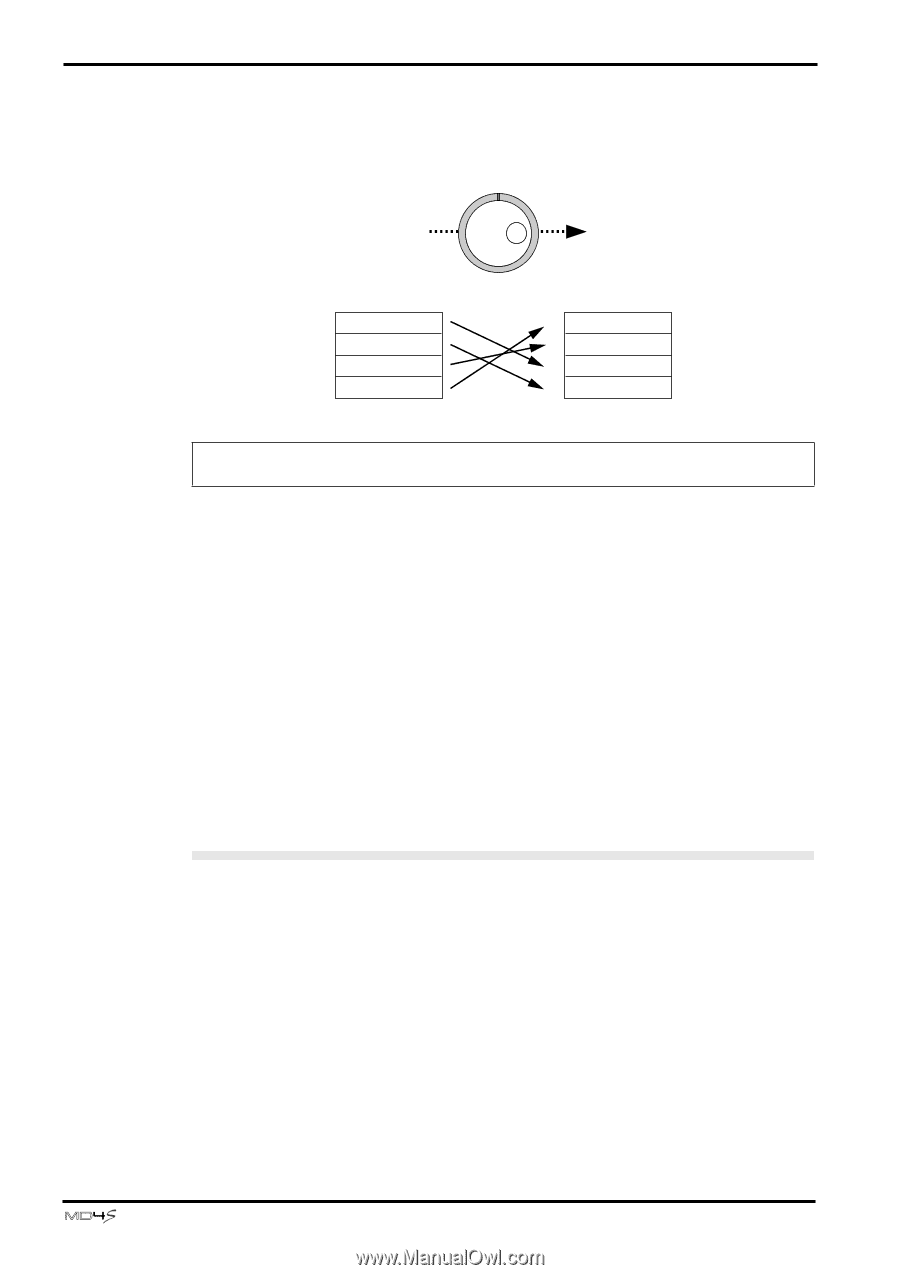
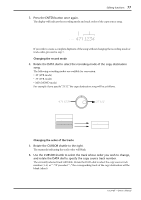
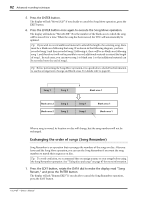
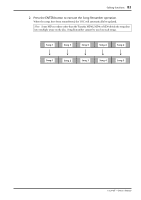
78 Advanced recording techniques For example if you specified "4T:3421," the order of copy destination tracks would be as follows. 4T:1234 4T:3421 Copy source song 4 Vocal 3 Guitar 2 Bass 1 Drums Copy destination song 4 Drums 3 Bass 2 Vocal 1 Guitar Tip: You can specify the same track number more than once. For example if you specify "4T:3422" the contents of copy source track 2 will be copied to tracks 3 and 4. Executing the Song Copy 7. When you have finished making settings, press the ENTER button. The display will indicate "Copy to BX" (X is the number of a blank area). 8. Rotate the DATA dial to specify the copy destination blank area. 9. Press the ENTER button. The display will ask "Copy EXE?" If you decide to cancel the Song Copy, press the EXIT button. 10. Press the ENTER button to execute the Song Copy operation. The display will indicate "CopyTo X" (X is the song number of the copy destination) for a time, and when the copy is completed, the TOC will be updated automatically and the MD4S will select the copy destination song and then stop. Erasing a song (Song Erase) Song erase is a function that erases an entire song. The song that was erased will become a blank area. Use this function when you need to increase disc space in order to record a new song. 1. Press a SONG SEARCH button to select the song you wish to erase. 2. Press the EDIT button, and rotate the DATA dial to make the display read "Song Erase." Then press the ENTER button. The display will indicate "Song No. X" (X is the number of the song to be erased). At this time you can rotate the DATA dial to select a different song. 3. Press the ENTER button. The display will ask "Erase EXE?" If you decide to cancel the Song Erase operation, you can press the EXIT button now. -Owner's Manual
-
 1
1 -
2
-
3
-
4
-
5
-
6
-
7
-
8
-
9
-
10
-
11
-
12
-
13
-
14
-
15
-
16
-
17
-
18
-
19
-
20
-
21
-
22
-
23
-
24
-
25
-
26
-
27
-
28
-
29
-
30
-
31
-
32
-
33
-
34
-
35
-
36
-
37
-
38
-
39
-
40
-
41
-
42
-
43
-
44
-
45
-
46
-
47
-
48
-
49
-
50
-
51
-
52
-
53
-
54
-
55
-
56
-
57
-
58
-
59
-
60
-
61
-
62
-
63
-
64
-
65
-
66
-
67
-
68
-
69
-
70
-
71
-
72
-
 73
73 -
 74
74 -
 75
75 -
 76
76 -
 77
77 -
 78
78 -
 79
79 -
 80
80 -
 81
81 -
 82
82 -
 83
83 -
84
-
85
-
86
-
87
-
88
-
89
-
90
-
91
-
92
-
93
-
94
-
95
-
96
-
97
-
98
-
99
-
100
-
101
-
102
-
103
-
104
-
105
-
106
-
107
-
108
-
109
-
110
-
111
-
112
-
113
-
114
-
115
 |
 |